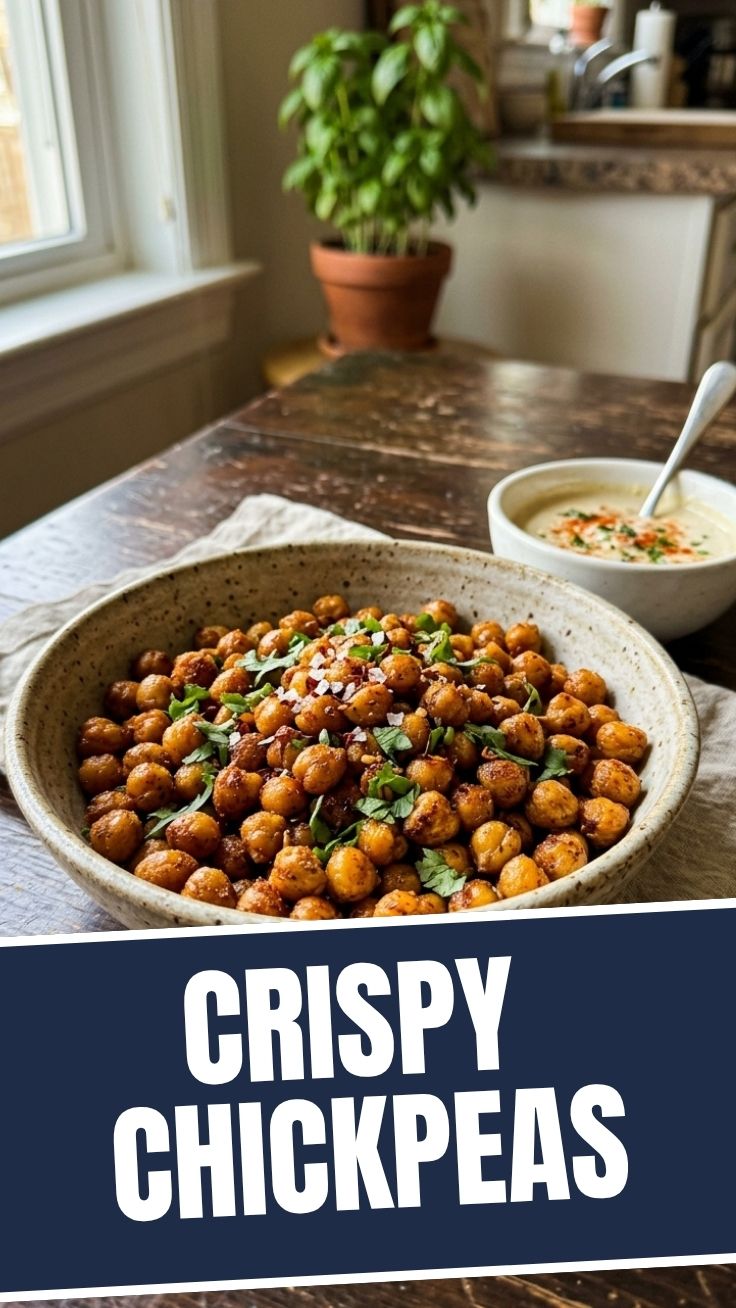
Crispy Chickpeas (Roasted): The Ultimate Healthy Snack You Need to Try Today
Have you ever craved something crunchy, salty, and satisfying—but also nutritious? That’s the magic of homemade Crispy Chickpeas (Roasted). These little golden bites transform humble canned chickpeas into a protein-packed, fiber-rich snack that rivals any bag of chips. Preparing them at home costs pennies compared to store-bought versions, and you control every pinch of seasoning. Ready to revolutionize your snack game?
Ingredients & Kitchen Tools
Core Ingredients
– Canned chickpeas (15 oz) – Rinsed and drained thoroughly. Pat dry with a clean kitchen towel; excess moisture is the enemy of crispiness.
– Olive oil (2 tbsp) – Provides the fat needed for browning. Avocado oil works too for a higher smoke point.
– Sea salt (½ tsp) – Enhances natural flavors. Use fine salt for even distribution.
– Garlic powder (½ tsp) – Adds savory depth without burning like fresh garlic.
– Smoked paprika (¼ tsp) – Optional but recommended for a subtle smoky kick.
Kitchen Tools
– Colander – For rinsing chickpeas.
– Clean kitchen towel or paper towels – Crucial for drying.
– Baking sheet – Standard 13×18 inch sheet pan.
– Parchment paper – Prevents sticking and makes cleanup effortless.
– Mixing bowl – For seasoning.
Optional Substitutions
– Replace smoked paprika with cumin, chili powder, or onion powder.
– For a spicy version, add cayenne pepper or red pepper flakes.
– Use coconut oil for a subtle sweetness and crispier exterior.
– Swap salt with soy sauce (reduce other salt) for umami-rich chickpeas.
Prep Time & Cooking Schedule
– Prep Time: 10 minutes (includes drying and seasoning)
– Cook Time: 30–40 minutes at 400°F (200°C)
– Cooling Time: 10–15 minutes (critical for final crispness)
– Total Time: Approximately 55 minutes
Note: While oven heats, prep chickpeas. Cooling happens on the baking sheet after removal—resist the urge to eat immediately! They continue crisping as they cool.
Step-by-Step Instructions
1. Preheat oven to 400°F (200°C). Line a baking sheet with parchment paper.
2. Rinse and dry chickpeas thoroughly in a colander. Transfer to a clean kitchen towel and gently roll to absorb all moisture—this step determines crunch level.
3. Toss with oil and seasonings in a mixing bowl until evenly coated. Don’t oversaturate; oil should lightly coat each chickpea.
4. Spread in a single layer on prepared baking sheet. Avoid overcrowding—chickpeas steaming instead of roasting ruins texture.
5. Roast for 30–40 minutes, shaking the pan halfway through. Look for golden-brown color and a firm, crackling sound when stirred.
6. Cool completely on the baking sheet (about 10 minutes). They’ll harden further as they cool.
Pro tip: For extra-crispy Healthy Snacks, after roasting, turn off the oven and leave chickpeas inside for 5–10 minutes with the door slightly ajar. This draws out remaining moisture without over-browning.
Nutritional Benefits & Advantages
This recipe delivers impressive nutritional density per serving (about ¼ cup):
– Protein: 7 grams – Supports muscle repair and satiety.
– Fiber: 6 grams – Promotes digestive health and stable blood sugar.
– Iron: 10% of daily value – Essential for oxygen transport.
– Magnesium: 8% of daily value – Supports nerve function and bone health.
Compared to potato chips, roasted chickpeas contain 75% less fat and 3x more protein. They’re naturally gluten-free, vegan, and nut-free, making them suitable for most dietary patterns. The fiber-protein combo helps curb cravings better than refined snacks, keeping you full between meals.
Tips Variations & Cooking Advice
Flavor Variations
– Mediterranean: Add dried oregano, lemon zest, and rosemary.
– Curry: Mix curry powder, turmeric, and a pinch of cayenne.
– Sweet: Toss with cinnamon, coconut sugar, and a dash of nutmeg.
– Ranch: Combine dried dill, onion powder, garlic powder, and parsley.
Dietary Adaptations
– Oil-free version: Use aquafaba (chickpea liquid) whisked until frothy, then coat and roast at 375°F (190°C) for 45 minutes.
– Air fryer method: Cook at 375°F (190°C) for 12–15 minutes, shaking halfway. Faster but requires smaller batches.
Texture Tweaks
– For extra crunch, remove chickpea skins before roasting (pinch off gently after drying).
– Add 1 teaspoon baking soda during rinsing to help skins loosen—then rinse thoroughly.
Common Mistakes to Avoid
| Mistake | Solution |
|———|———-|
| Soggy chickpeas | Dry thoroughly with a towel for 5+ minutes; moisture is the #1 enemy of crispiness. |
| Burnt exteriors, raw interiors | Lower oven to 375°F (190°C) and extend cooking time by 5–7 minutes. |
| Uneven cooking | Ensure chickpeas are in a single layer; use two pans if needed. |
| Limp after cooling | Store in an airtight container with a silica gel packet (food-grade) to absorb lingering moisture. |
| Too salty | Start with ¼ teaspoon salt; you can always add more after roasting. |
Storage & Meal Prep Tips
– Room temperature: Store in an airtight container for up to 5 days. Add a paper towel inside to absorb moisture.
– Refrigeration: Not recommended—moisture from fridge ruins crispness.
– Freezing: Spread cooled chickpeas on a tray, freeze 1 hour, then transfer to freezer bag. Reheat directly from frozen at 350°F for 5–7 minutes.
– Reheating: Place on baking sheet at 325°F (160°C) for 5 minutes to revive crunch. Avoid microwaving at all costs.
Meal prep idea: Make a double batch—one for immediate eating, one for freezing. They’re perfect for lunchbox additions, salad toppers (add just before serving), or hiking snacks.
Conclusion
Making Crispy Chickpeas (Roasted) at home transforms a humble pantry staple into a customizable, nutrient-dense snack that satisfies cravings without compromising health. You’ve learned the critical drying technique, seasoning variations, and storage secrets to ensure consistently crunchy results. Whether you’re building a repertoire of Healthy Snacks or simply seeking a better alternative to processed options, this recipe delivers every time. Try it tonight—your taste buds and body will thank you. Share your seasoning experiments in the comments below!
FAQs
1. Can I use dried chickpeas instead of canned?
Yes, but you’ll need to soak them overnight, then boil until tender (about 1 hour). Proceed with drying and roasting as directed. Cooking time may be shorter because dried chickpeas have lower moisture content.
2. How do I prevent chickpeas from exploding in the oven?
This happens when steam builds inside. Ensure they’re thoroughly dried and pierce any that look particularly round with a fork before roasting.
3. My chickpeas are still soft after 40 minutes—what went wrong?
They weren’t dried enough, or the oven temperature is inaccurate. Use an oven thermometer to verify heat; if needed, increase temperature to 425°F (218°C) for the last 5 minutes.
4. Can I use an air fryer instead of an oven?
Absolutely! Air fry at 375°F (190°C) for 12–15 minutes, shaking the basket halfway. This method uses less oil and produces superior crispness in less time.
5. Why did my chickpeas become chewy after storing?
Moisture from the air rehydrated them. Always let them cool completely before sealing, and add a desiccant packet if storing for more than 2 days. Reheat to restore crunch.