The Ultimate Guide to Perfect Fudgy Brownies – Rich, Chewy, and Irresistible
Have you ever bitten into a brownie that was so dense, so intensely chocolatey, and so perfectly moist that it felt like a piece of heaven? That’s the magic of a truly great Brownies recipe. Whether you’re a seasoned baker or a complete beginner, learning to make fudgy brownies at home is a game-changer. Not only do you control the quality of ingredients, but you also avoid the preservatives and artificial flavors found in store-bought versions. In this guide, we’ll walk you through every step—from choosing the right cocoa to achieving that signature crackly top—so you can bake brownies that rival any bakery. Ready to become a brownie master? Let’s dive in.
Ingredients & Kitchen Tools
Every great recipe starts with quality components. Here’s what you’ll need:
Ingredients
– Unsalted butter (1 cup / 226 g) – Melted and cooled slightly. Unsalted lets you control the salt level.
– Granulated sugar (1¾ cups / 350 g) – Provides sweetness and helps create that shiny crust.
– Large eggs (3, at room temperature) – Room-temperature eggs emulsify better, giving a fudgy texture.
– Vanilla extract (1 tbsp) – Enhances chocolate flavor.
– Cocoa powder (¾ cup / 75 g) – Use Dutch-process for a darker, richer taste. Natural cocoa works too.
– All-purpose flour (½ cup / 60 g) – Just enough to hold the brownies together without making them cakey.
– Salt (½ tsp) – Balances sweetness and intensifies chocolate.
– Chocolate chips (1 cup / 175 g) – Optional but add gooey pockets. Semi-sweet or dark.
Optional substitutions: Swap butter with coconut oil (1:1) for dairy-free; use gluten-free flour blend instead of all-purpose.
Kitchen Tools
– 9×9-inch square baking pan
– Parchment paper or foil (for lining)
– Large mixing bowl + whisk
– Rubber spatula
– Cooling rack
– Microwave-safe bowl or saucepan (for melting butter)
Prep Time & Cooking Schedule
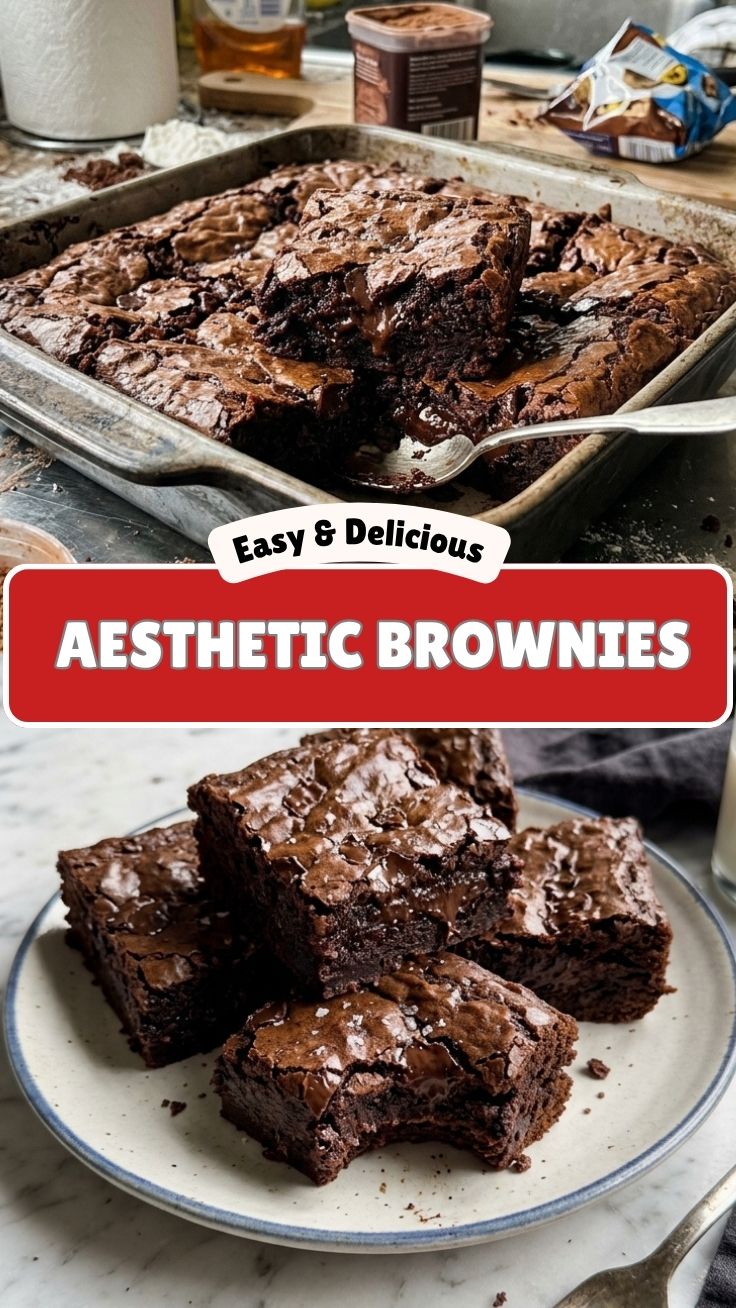
– Prep time: 10 minutes (measuring, melting butter, whisking)
– Bake time: 25–30 minutes (depending on your oven)
– Cooling time: 30 minutes (in pan), then 15 minutes on rack before slicing
Plan ahead: The brownies taste even better after a few hours—the flavors deepen as they rest. For best results, make them the day before serving.
Step-by-Step Instructions
1. Preheat oven to 350°F (175°C). Line the baking pan with parchment, leaving overhang on two sides.
2. Melt the butter in a large microwave-safe bowl (about 30–45 seconds). Stir in granulated sugar until combined.
3. Add eggs and vanilla one at a time, whisking vigorously after each addition. The mixture should become thick and glossy.
4. Sift cocoa powder, flour, and salt into the wet mixture. Fold gently with a spatula—do not overmix. Stop when no dry streaks remain.
5. Fold in chocolate chips (if using). Pour batter into prepared pan, spreading evenly.
6. Bake for 25 minutes initially. Check for doneness: a toothpick inserted 2 inches from the edge should come out with moist crumbs (not wet batter). The center may look slightly underdone—that’s perfect for fudgy brownies! For firmer brownies, bake 2–3 minutes longer.
7. Cool in the pan for 30 minutes, then lift using parchment onto a rack. Slice only after completely cool (about 1 hour). Pro tip: use a sharp knife and wipe clean between cuts for neat squares.
Nutritional Benefits & Advantages
These Brownies pack more than just indulgence. Dark cocoa powder is rich in antioxidants (flavonoids) that support heart health. Eggs provide high-quality protein and choline. Using dark chocolate chips adds iron and magnesium. Compared to store-bought versions, homemade brownies contain no trans fats or high-fructose corn syrup. A 2-inch square (without chips) has roughly 220 calories, 12g fat, 28g carbs, and 3g protein. Want lighter treats? Replace half the butter with unsweetened applesauce for a lower-calorie option.
Tips Variations & Cooking Advice
– Flavor twists: Add ½ tsp espresso powder to deepen chocolate notes. Swirl in peanut butter, caramel, or mint extract.
– Dietary adaptations: Gluten-free – substitute flour with almond flour or a 1:1 gluten-free baking blend. Dairy-free – use vegan butter or coconut oil (ensure cocoa is dairy-free).
– Texture changes: For more cake-like brownies, increase flour to ¾ cup and add ¼ tsp baking powder. For ultra-fudgy, slightly underbake and refrigerate.
– Portion variety: Bake in a mini-muffin tin for bite-sized brownies (bake 12–15 minutes).
Common Mistakes to Avoid
| Mistake | Why it happens | Fix |
|———|—————|—–|
| Dry, cakey brownies | Overmixing or overbaking | Fold only until combined; bake at 350°F and start checking at 25 minutes. |
| Sunken center | Too much sugar or oven too cool | Use exact sugar measurement; verify oven temperature with a thermometer. |
| Greasy top | Butter not properly emulsified | Whisk butter and sugar thoroughly before adding eggs. |
| Sticky, uncooked center | Pan too deep or batter too thick | Use a 9×9 pan; spread batter evenly. |
Storage & Meal Prep Tips
– Room temperature: Store in an airtight container with a slice of bread (absorbs excess moisture) for up to 4 days.
– Refrigeration: Keeps fresh for up to 1 week. Wrap tightly in plastic wrap then foil.
– Freezing: Slice and layer brownies between wax paper in a freezer bag. Freeze for up to 3 months. Thaw in the fridge overnight or at room temperature for 20 minutes.
– Reheating: Warm individual squares in the microwave for 10 seconds (softens the fudge) or in a 300°F oven for 5 minutes.
Conclusion
Mastering homemade Brownies is simpler than you think when you follow these tested techniques. The key to perfect fudgy brownies lies in balancing fat and flour, baking just until the edges set, and allowing ample cooling time. Whether you enjoy them plain, with ice cream, or as a base for brownie sundaes, this recipe delivers consistent, crowd-pleasing results. Now it’s your turn—preheat that oven and whip up a batch! Share your creations in the comments or tag us on social media. Happy baking!
FAQs
Q1: Can I use oil instead of butter?
Yes, replace butter with an equal amount of vegetable or coconut oil. The texture will be slightly less rich but still fudgy.
Q2: Why did my brownies turn out cake-like?
Most likely you overmixed or added extra flour. Stir the batter only until combined and stick to the ½ cup flour measurement.
Q3: How do I get a crackly top?
Whip the eggs and sugar for at least 2 minutes until thick and pale. Also, avoid opening the oven door during the first 20 minutes of baking.
Q4: Can I double the recipe?
Absolutely. Use a 9×13-inch pan and bake for 30–35 minutes. Check doneness with a toothpick.
Q5: My brownies are too sweet – how to adjust?
Reduce sugar to 1½ cups and add an extra tablespoon of cocoa. You can also use dark chocolate (60–70% cocoa) for a less sugary taste.
Best way to grow Brownies with 3 ingredientsBrownies
Ingredients
Equipment
Method
- First, gather your "ingredients": imagination, humor, and a good story.
- Next, find a quiet spot and "plant" your imagination as the base for your brownies.
- Then, sprinkle in the humor to add a light and airy texture to your imaginary brownies.
- Finally, knead in a good story to give your brownies their rich, deep flavor.
- Serve your imaginary brownies with a smile and enjoy your delightful, no-calorie treat!