The Ultimate Guide to Making the Perfect Tuna Salad at Home
Have you ever opened a can of tuna and wondered how to transform it into something truly memorable? Whether you’re a busy professional looking for a quick lunch or a home cook seeking a protein-packed meal, mastering the art of homemade tuna salad is a game-changer. Preparing this dish from scratch not only saves money but also allows you to control every ingredient, ensuring a fresher, healthier, and more flavorful result than any store-bought version. In this comprehensive guide, we’ll explore how to create a restaurant-quality Tuna Salad that will become a staple in your kitchen. From selecting the right tuna to achieving the perfect creamy texture, we’ll cover everything you need to know. And if you’re in the mood for a hearty meal, consider pairing it with a Tuna Sandwich for a satisfying crunch.
Ingredients & Kitchen Tools
To begin, gather the following ingredients and tools. Each item plays a crucial role in building flavor and texture.
Ingredients:
– Canned Tuna (2 cans, 5 oz each, packed in water or oil): Water-packed tuna is leaner, while oil-packed offers richer flavor. Drain thoroughly.
– Mayonnaise (1/3 cup): Use full-fat for creaminess; Greek yogurt works as a lighter substitute.
– Celery (2 stalks, finely diced): Adds crunch and freshness.
– Red Onion (1/4 cup, minced): Soak in cold water for 10 minutes if you prefer milder flavor.
– Fresh Lemon Juice (1 tablespoon): Brightens the salad and balances richness.
– Dijon Mustard (1 teaspoon): Lends tangy depth.
– Fresh Dill or Parsley (2 tablespoons, chopped): Herbs elevate the taste.
– Salt and Black Pepper (to taste): Season gradually.
– Optional Add-Ins: Hard-boiled egg (chopped), capers, pickles, or apple cubes for sweetness.
Kitchen Tools:
– Mixing bowls (medium and small)
– Fork or spatula for mixing
– Cutting board and chef’s knife
– Measuring spoons and cups
– Fine-mesh strainer (for draining tuna)
– Citrus juicer (optional, for fresh lemon juice)
Prep Time & Cooking Schedule
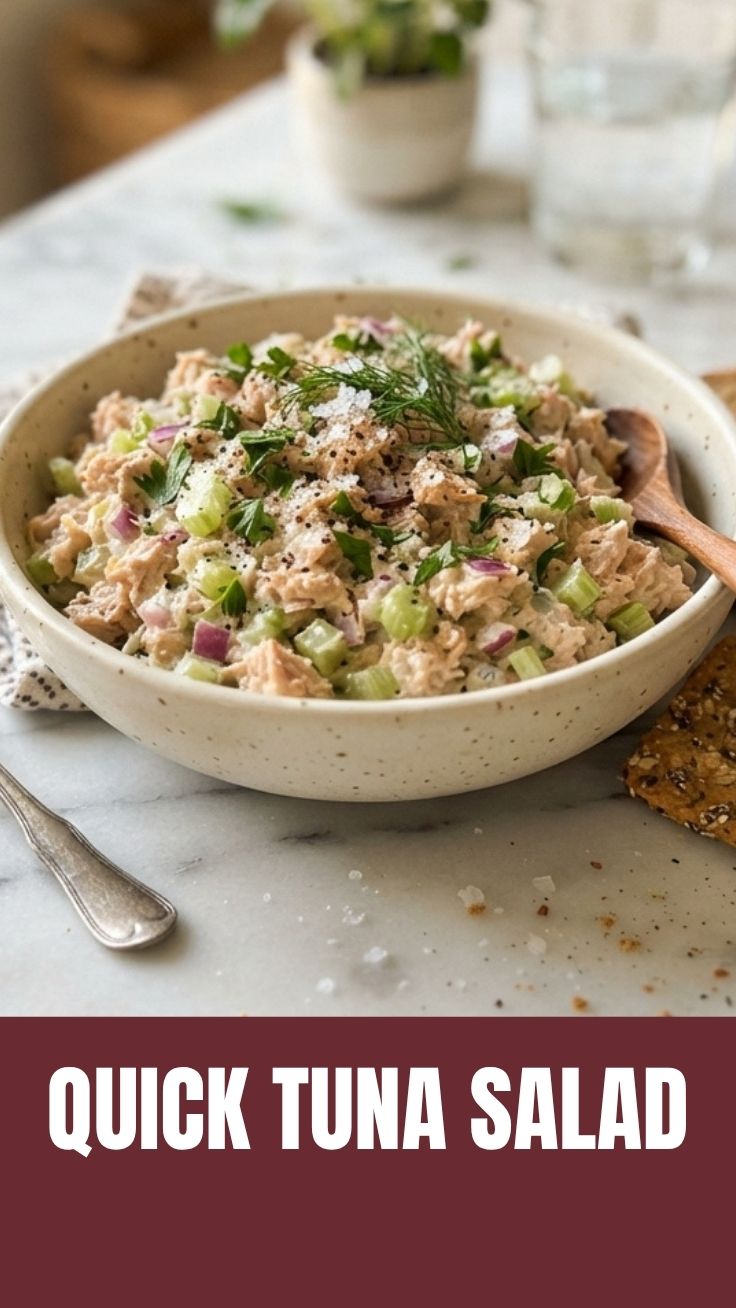
This recipe requires minimal hands-on time. Here’s a suggested schedule:
– Prep Time: 10 minutes (draining, chopping, mixing)
– Chill Time: 20–30 minutes (optional but recommended for flavor melding)
– Total Time: 30–40 minutes
Context: The brief chilling period allows the ingredients to marry, softening the onion’s bite and letting the herbs infuse the salad. If you’re in a rush, you can serve immediately, but patience rewards you with a more cohesive taste. Plan ahead for meal prep by doubling the batch—it keeps well in the fridge for 3 days.
Step-by-Step Instructions
Follow these clear steps for a flawless result every time.
1. Drain the Tuna: Open the cans and transfer the tuna to a fine-mesh strainer. Press gently with a fork to remove excess liquid. Flake the tuna into a medium mixing bowl. Pro tip: Over-draining ensures a firmer texture, preventing a soggy salad.
2. Prepare the Vegetables: Finely dice the celery and mince the red onion. For a milder onion flavor, soak the minced onion in cold water for 5–10 minutes, then drain. Add to the bowl with the tuna.
3. Combine Base Ingredients: In a small bowl, whisk together mayonnaise, lemon juice, Dijon mustard, salt, and pepper until smooth. Taste and adjust seasoning—this is your flavor foundation.
4. Mix Everything: Pour the dressing over the tuna mixture. Add chopped dill or parsley. Use a fork to gently fold until evenly combined. Avoid overmixing to maintain texture. Temperature tip: If using cold ingredients, the salad will be ready to eat sooner.
5. Chill and Serve: Cover the bowl with plastic wrap and refrigerate for 20–30 minutes. For a quick meal, serve immediately on toasted bread, crackers, or lettuce wraps. This versatile Tuna Salad pairs beautifully with a crisp Tuna Sandwich for added fiber.
Nutritional Benefits & Advantages
Tuna salad offers impressive nutritional value. Canned tuna is rich in lean protein, omega-3 fatty acids, and essential vitamins like B12 and D. When paired with crunchy vegetables, you add fiber, antioxidants, and vitamins A and C. Using mayo in moderation provides healthy fats that aid nutrient absorption. This dish supports muscle repair, brain function, and heart health. Dietary note: For lower calories, substitute half the mayo with plain Greek yogurt or avocado.
Tips Variations & Cooking Advice
Customize your tuna salad with these ideas:
– Flavor Variations: Add a teaspoon of curry powder for an Indian twist, or stir in chopped jalapeño and cilantro for a spicy kick.
– Ingredient Swaps: Replace dill with basil or tarragon. Use green onions instead of red for a milder taste.
– Dietary Adaptations: For a gluten-free version, serve on gluten-free bread or lettuce cups. Dairy-free? Use vegan mayo or mashed avocado.
– Portion Changes: Double the recipe for meal prep—it stays fresh for 3 days. For a lighter bite, reduce mayo and add more celery or cucumber.
Common Mistakes to Avoid
Avoid these pitfalls to ensure a consistently delicious salad:
– Overmixing: This can break down the tuna into a paste. Fold gently to keep flakes intact.
– Skipping the Chill: Serving warm tuna salad feels greasy; chilling firms the flavors.
– Using Too Much Mayo: Start with 1/3 cup and add more only if needed—excess masks the tuna’s natural taste.
– Underseasoning: Tuna can be bland; taste and adjust salt, pepper, and lemon juice before serving.
– Not Draining Properly: Residual liquid causes a watery salad and dilutes flavor. Squeeze or press the tuna carefully.
Storage & Meal Prep Tips
Store leftover tuna salad in an airtight container in the refrigerator for up to 3 days. Do not freeze, as the mayonnaise-based dressing will separate and become grainy upon thawing. For best texture, keep the salad cold and stir before serving. If making ahead, add fresh herbs just before eating to maintain vibrancy. Reheating note: This dish is served cold; avoid microwaving. For a warm meal, serve with toasted bread or heat gently in a skillet over low heat for 1–2 minutes.
Conclusion
In summary, homemade tuna salad is a quick, nutritious, and endlessly adaptable dish that elevates simple ingredients into a satisfying meal. By following these steps, you’ll achieve a creamy, flavorful result perfect for lunches, picnics, or light dinners. Embrace the balance of textures and tastes—whether you enjoy it on its own or as part of a Tuna Sandwich. Now, grab a can of tuna and try this recipe today. Share your creations online or explore more culinary ideas on our blog—your perfect bowl of Tuna Salad awaits.
FAQs
1. Can I use oil-packed tuna instead of water-packed?
Yes. Oil-packed tuna adds richness but requires extra draining. Pat dry with paper towels to avoid excess grease.
2. How long can I store tuna salad in the fridge?
It stays fresh for up to 3 days when sealed in an airtight container. After that, discard any leftovers.
3. What can I use instead of mayonnaise?
Greek yogurt, mashed avocado, or vegan mayo work well. Each alters the flavor and texture slightly.
4. Why is my tuna salad dry?
You may have used too little dressing or over-drained the tuna. Add a tablespoon of mayo or olive oil to moisten it.
5. Can I make this recipe ahead for a party?
Absolutely. Prepare it up to 1 day in advance, but add fresh herbs and a squeeze of lemon just before serving for brightness.
Quick Tuna Salad
Ingredients
Equipment
Method
- Drain the canned tuna thoroughly and transfer it to a medium-sized mixing bowl. Use a fork to flake the tuna apart.
- Add the mayonnaise, finely chopped celery, diced red onion, and Dijon mustard to the bowl with the flaked tuna.
- Mix all the ingredients together until they are well combined and the salad reaches your desired consistency.
- Season the tuna salad with salt and black pepper, adjusting the amounts to your personal preference. Taste and add more seasoning if needed.