Crave-Worthy Creations: The Ultimate No-Bake Cheesecake for Every Occasion
Have you ever found yourself yearning for a decadent, creamy Cheesecake that requires minimal effort but delivers maximum flavor? In a world where time is a precious commodity, crafting a breathtaking dessert from scratch can seem daunting. But what if I told you that you could create an absolutely stunning, velvety-smooth No-Bake Cheesecake in your own kitchen with hardly any fuss? Preparing this beloved Cheesecake at home isn’t just about saving money; it’s about customizing flavors, using fresh ingredients, and enjoying the satisfaction of serving a truly personalized treat. This guide will walk you through creating a show-stopping dessert that will impress everyone, from casual weeknight dinners to elegant gatherings.
Ingredients & Kitchen Tools
Gathering the right components is key to a flawless No-Bake Cheesecake.
- For the Crust:
* 1 ½ cups Graham cracker crumbs: About 10-12 full sheets, finely crushed. Provides a classic, buttery base.
* ¼ cup granulated sugar: Enhances sweetness in the crust.
* ½ cup unsalted butter, melted: Binds the crumbs together.
- For the Filling:
* 2 (8-ounce) packages cream cheese, softened: Full-fat is recommended for optimal creaminess. Ensure it’s at room temperature for smooth mixing.
* 1 (14-ounce) can sweetened condensed milk: Adds sweetness and body without extra sugar.
* ½ cup fresh lemon juice: Crucial for tanginess and helps set the filling.
* 1 teaspoon vanilla extract: Enhances overall flavor.
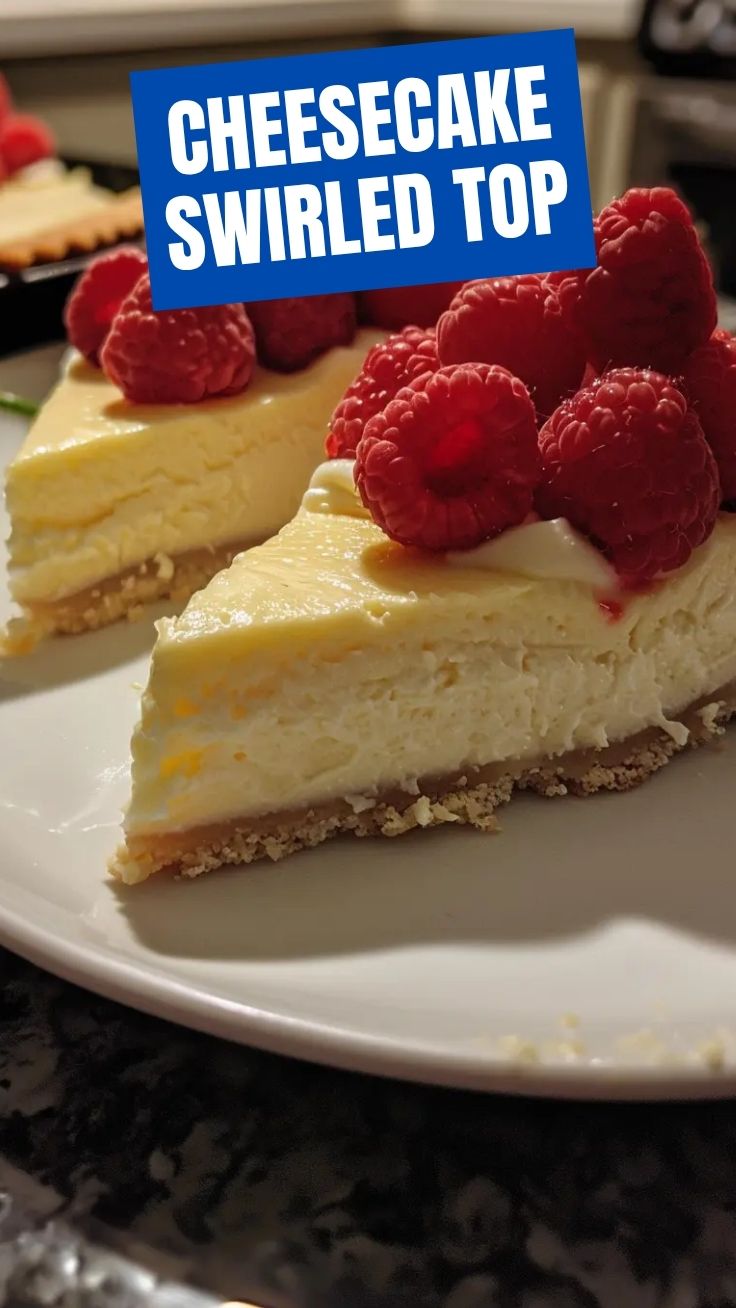
- Optional Toppings: Fresh berries, chocolate shavings, caramel sauce.
- Kitchen Tools:
* 9-inch springform pan: Essential for easy removal of the cheesecake.
* Mixing bowls: For crust and filling.
* Electric mixer (handheld or stand): For whipping the cream cheese smoothly.
* Rubber spatula: For scraping down bowls and spreading the filling.
* Measuring cups and spoons: For precise ingredient amounts.
Prep Time & Cooking Schedule
- Prep Time: 20 minutes
- Chill Time: Minimum 4 hours (ideally overnight)
- Total Time: 4 hours 20 minutes (plus overnight if preferred)
This No-Bake Cheesecake recipe requires no oven time, making it perfect for hot days or when your oven is busy. The majority of the time is dedicated to chilling, which is crucial for the dessert to set properly. Plan to start this recipe in the morning or the day before you intend to serve it to allow ample time for chilling.
Step-by-Step Instructions
Follow these steps for a perfectly smooth and delightful Cheesecake.
1. Prepare the Crust: In a medium bowl, combine the Graham cracker crumbs, granulated sugar, and melted butter. Mix until the crumbs are evenly moistened. Press the mixture firmly into the bottom of a 9-inch springform pan. Use the back of a spoon or your knuckles to create an even, compact layer. Place the crust in the freezer for at least 15 minutes while you prepare the filling. This helps it set.
2. Make the Filling: In a large mixing bowl, beat the softened cream cheese with an electric mixer on medium speed until it’s light and fluffy, about 2-3 minutes. Scrape down the sides of the bowl.
3. Combine Ingredients: Gradually add the sweetened condensed milk to the cream cheese, beating on low speed until just combined. Be careful not to overmix, as this can incorporate too much air.
4. Add Flavorings: Stir in the fresh lemon juice and vanilla extract. Beat on low speed for another 30 seconds until the mixture is smooth and creamy. The lemon juice is essential for flavor and helps stabilize the dessert, ensuring the Cheesecake firms up beautifully.
5. Assemble and Chill: Pour the cheesecake filling over the chilled crust in the springform pan. Use a rubber spatula to smooth the top. Cover loosely with plastic wrap and refrigerate for a minimum of 4 hours, or preferably overnight, until firm.
6. Garnish and Serve: Once thoroughly chilled and firm, carefully remove the sides of the springform pan. Garnish with your desired toppings just before serving.
Nutritional Benefits & Advantages
This No-Bake Cheesecake offers a delightful treat with some surprising advantages. Cream cheese provides a good source of calcium and vitamin A, while the lemon juice adds a boost of vitamin C. Sweetened condensed milk, while a primary sweetener, offers some protein and calcium. The primary advantage of a no-bake recipe is the preservation of certain heat-sensitive nutrients that might be diminished during baking. Plus, it’s a fantastic alternative for those avoiding eggs or who prefer lighter, less dense desserts.
Tips, Variations & Cooking Advice
- Flavor Variations:
* Chocolate: Add ⅓ cup cocoa powder to the filling or swirl in melted chocolate before chilling.
* Berry: Fold in ½ cup of pureed fresh berries (strawberries, raspberries) into the filling.
* Key Lime: Increase lemon juice to ¾ cup and add 1 teaspoon lime zest for a zesty twist.
- Crust Alternatives: Use crushed shortbread cookies, Oreo cookies, or even gluten-free crackers for dietary needs.
- Make Ahead: This dessert is an excellent make-ahead option. Prepare it a day or two in advance and keep it refrigerated.
- Toppings: Fresh fruit like raspberries, blueberries, or sliced strawberries are classic. A simple fruit compote or a drizzle of chocolate ganache also works wonders.
Common Mistakes to Avoid
- Not Softening Cream Cheese: If your cream cheese isn’t at room temperature, it will result in a lumpy filling. Always plan ahead!
- Over-mixing the Filling: While not as critical as with baked cheesecakes, over-mixing can incorporate too much air, leading to a less dense texture. Mix only until combined.
- Insufficient Chilling: This is the most common mistake. Rushing the chill time will result in a runny, unset cheesecake. Patience is key!
- Not Greasing the Pan: While springform pans are designed for easy release, a light spray with cooking oil can ensure a perfectly clean edge.
Storage & Meal Prep Tips
Store leftover No-Bake Cheesecake loosely covered with plastic wrap or in an airtight container in the refrigerator for up to 3-4 days. For longer storage, you can freeze individual slices. Place slices on a baking sheet to freeze solid, then wrap each slice tightly in plastic wrap and foil. It will keep in the freezer for up to 1 month. Thaw frozen slices in the refrigerator overnight before serving. This dessert is ideal for meal prep as it tastes even better after a full day of chilling, allowing the flavors to meld beautifully.
Conclusion
Creating a sensational No-Bake Cheesecake is within everyone’s reach, offering an irresistible combination of creamy texture and vibrant flavor without the hassle of baking. This recipe emphasizes simplicity while delivering a truly elegant and satisfying dessert. We encourage you to try this delightful recipe and experience the joy of making a beautiful Cheesecake that is sure to become a family favorite. Share your creations and let us know your favorite variations in the comments below!
FAQs
Q1: Can I use low-fat cream cheese?
A1: While you can, it’s not recommended for the best texture. Full-fat cream cheese provides the richest, creamiest result which is characteristic of a good No-Bake Cheesecake.
Q2: My crust is crumbly. What went wrong?
A2: This usually means there wasn’t enough melted butter or it wasn’t pressed firmly enough into the pan. Ensure your butter is completely melted and you compact the crumbs well.
Q3: How do I prevent lumps in the filling?
A3: The key is to use softened, room-temperature cream cheese. Beat it thoroughly on its own before adding other ingredients to ensure a perfectly smooth base.
Q4: Can I use bottled lemon juice instead of fresh?
A4: Fresh lemon juice is highly recommended for its bright, natural flavor and helps significantly with the setting process. Bottled juice can be used in a pinch but may not yield the same vibrant taste.
Q5: What if the cheesecake isn’t setting after 4 hours?
A5: Ensure your cream cheese was fully softened, and you used fresh lemon juice. Sometimes, a colder refrigerator helps, or simply extend the chill time overnight. It will eventually set!
Best way to grow the ultimate 7-layer cheesecakeCheesecake
Ingredients
Equipment
Method
- Combine graham cracker crumbs and melted butter, then press the mixture firmly into the bottom of a springform pan to form the crust.
- Beat softened cream cheese and sugar together until smooth and creamy; then, gradually beat in the eggs one at a time, followed by the vanilla extract.
- Pour the cheesecake filling over the crust, place the springform pan in a water bath, and bake at 325°F (160°C) for approximately 60-75 minutes until the edges are set.
- Once the cheesecake is cooled, spread a layer of chocolate ganache, followed by a layer of caramel sauce, and then whipped cream.
- Repeat the desired layers with additional toppings such as fresh berries and chopped nuts, creating a visually appealing and flavorful 7-layer design.