The Ultimate Guide to Perfect Homemade Ice Cream (Vanilla) – Creamy, Dreamy, and Totally Worth It
Have you ever scooped a spoonful of store-bought ice cream and wondered why it lacks that deep, authentic vanilla flavor and silky, melt-in-your-mouth texture? You are not alone. The truth is, nothing compares to the rich, creamy satisfaction of crafting your own frozen dessert from scratch. Mastering a classic Homemade Ice Cream (Vanilla) not only elevates your dessert game but also gives you complete control over ingredients, sweetness, and quality. In this comprehensive guide, you will discover how to create a luxurious vanilla base that rivals any premium brand. We will also explore other delicious Ice Cream Recipes and variations to keep your freezer stocked with creative treats. Whether you are a beginner or a seasoned cook, this Homemade Ice Cream (Vanilla) recipe will become your go‑to for gatherings, holidays, or simple weeknight indulgence.
—
Ingredients & Kitchen Tools
For the custard base (makes about 1 quart):
– 2 cups heavy cream (36–40% fat) – Provides richness and a smooth, stable emulsion.
– 1 cup whole milk – Adds lightness without diluting flavor.
– ¾ cup granulated sugar – Sweetens and lowers the freezing point for a scoopable texture.
– 1 vanilla bean (or 2 teaspoons pure vanilla extract) – For authentic, aromatic vanilla flavor. Scrape the seeds.
– 5 large egg yolks – Act as a natural emulsifier and thickener, creating a luscious mouthfeel.
– Pinch of sea salt – Balances sweetness and enhances vanilla notes.
Kitchen tools:
– Medium saucepan – For heating the dairy mixture.
– Whisk and rubber spatula – For blending and stirring.
– Instant-read thermometer – Crucial for tempering eggs (target 170°F / 77°C).
– Fine-mesh sieve – To remove any cooked egg bits for a silky finish.
– Ice cream maker (electric or manual) – Churns the base to incorporate air.
– Airtight freezer container – For storing the finished ice cream.
Optional substitutions:
– Replace heavy cream with coconut cream for a dairy‑free version.
– Use honey or maple syrup instead of sugar (adjust freezing time as they alter the freezing point).
– For a richer texture, add 1 tablespoon of vodka or bourbon (alcohol prevents large ice crystals).
—
Prep Time & Cooking Schedule
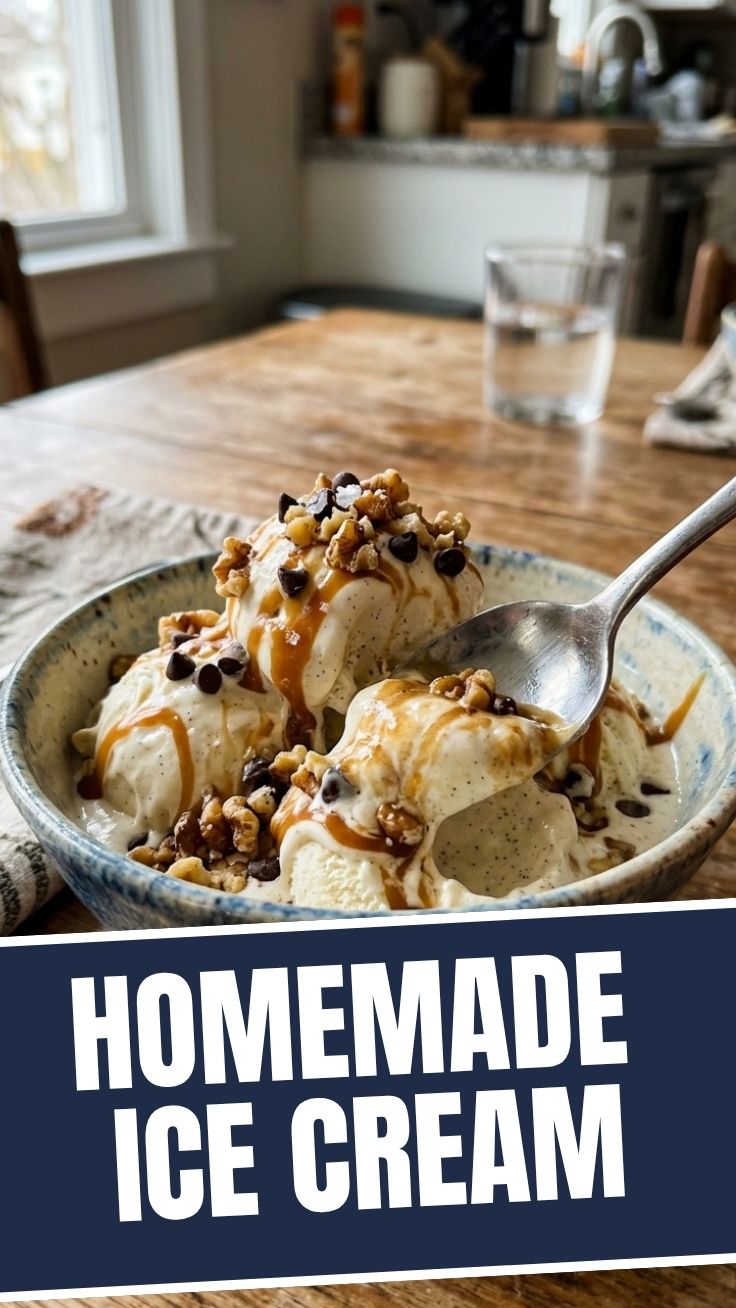
– Active prep time: 20 minutes
– Cooking (custard base): 10–12 minutes
– Chilling (refrigerate base): At least 4 hours (overnight is best)
– Churning: 20–30 minutes (depending on your ice cream maker)
– Freezing (hardening): 2–4 hours after churning
Planning tip: Start this recipe the day before you plan to serve it. The lengthy chill time allows flavors to meld and ensures a denser, creamier final texture. If you are short on time, a 2‑hour chill in the fridge (stirring occasionally) works, but overnight gives superior results.
—
Step-by-Step Instructions
1. Split the vanilla bean lengthwise and scrape the seeds into a medium saucepan. Add the pod, heavy cream, milk, and half of the sugar (about 6 tablespoons). Heat over medium‑low until steaming but not boiling (around 160°F / 71°C). Remove from heat, cover, and steep for 30 minutes to infuse the vanilla.
2. Whisk egg yolks and remaining sugar in a heatproof bowl until pale and slightly thickened, about 2 minutes. Slowly pour about one cup of the warm cream mixture into the yolks while whisking constantly – this tempers the eggs and prevents scrambling.
3. Return the tempered mixture to the saucepan. Cook over low heat, stirring continuously with a rubber spatula, until the custard thickens enough to coat the back of a spoon (about 170°F / 77°C). Do not let it boil or it will curdle.
4. Immediately strain the custard through a fine‑mesh sieve into a clean bowl. Press on the vanilla pod to extract any remaining seeds. Discard the pod. Stir in the vanilla extract (if using) and a pinch of salt.
5. Cool the base to room temperature, then cover and refrigerate for at least 4 hours, preferably overnight. This step is essential for developing that classic Homemade Ice Cream (Vanilla) creaminess and for optimal churn results.
6. Pour the chilled custard into your ice cream maker and churn according to the manufacturer’s instructions – usually 20–30 minutes until it reaches a soft‑serve consistency. At this stage, the texture should be thick and smooth.
7. Transfer to a freezer container, press a piece of parchment or plastic wrap directly onto the surface to prevent ice crystals, and freeze for 2–4 hours until firm. This final step locks in the airy structure you created during churning.
> Pro tip: If you do not own an ice cream maker, you can still make this Ice Cream Recipes style by placing the base in a shallow dish and freezing for 30 minutes, then vigorously whisking every 20 minutes for 2–3 hours until fluffy.
—
Nutritional Benefits & Advantages
A single half‑cup serving of Homemade Ice Cream (Vanilla) (made as directed) contains approximately:
– Calories: 280–320
– Fat: 22–26 g (mostly saturated from cream and egg yolks)
– Protein: 4–5 g
– Carbohydrates: 18–22 g (from sugar and milk sugars)
Health advantages:
– Real vanilla contains vanillin, a compound with antioxidant and anti‑inflammatory properties.
– Egg yolks provide choline (brain health) and vitamin D.
– No artificial stabilizers, preservatives, or high‑fructose corn syrup – you control every ingredient.
– Dairy‑rich base supplies calcium for bone health.
If you are watching sugar, you can reduce the granulated sugar to ½ cup and add a sugar‑free sweetener like erythritol (note: texture may become slightly harder). The homemade version also allows you to adjust fat content – replace some cream with whole milk for a lighter treat.
—
Tips, Variations & Cooking Advice
Flavor variations to try:
– Chocolate: Add ½ cup unsweetened cocoa powder to the cream mixture before steeping.
– Strawberry: Macerate 1 cup chopped strawberries with 2 tablespoons sugar, then fold into the base after churning.
– Coffee: Steep ½ cup coarsely ground coffee beans in the warm cream for 20 minutes, then strain.
– Mint chocolate chip: Infuse the cream with 1 cup fresh mint leaves, then stir in ½ cup mini chocolate chips during the last 5 minutes of churning.
Dietary adaptations:
– Dairy‑free: Replace heavy cream and milk with full‑fat coconut cream (one 13.5 oz can) plus ½ cup almond milk. Use 6 egg yolks for stability.
– Gluten‑free: This recipe is naturally gluten‑free – no modifications needed.
– Vegan option: Substitute egg yolks with 1 tablespoon cornstarch mixed with 2 tablespoons water, and use coconut cream as above.
Cooking advice:
– For an extra‑creamy texture, swap the whole milk for an additional ½ cup heavy cream and ½ cup buttermilk (buttermilk adds tang and tenderness).
– Chill your mixing bowl and ice cream maker’s freezer bowl overnight for faster, more consistent churning.
– If you prefer a less sweet dessert, reduce sugar to ⅔ cup and add 1 tablespoon of vodka – alcohol lowers the freezing point, giving a softer scoop without extra sugar.
—
Common Mistakes to Avoid
| Mistake | Solution |
|————-|————–|
| Ice crystals form – usually from too much water or insufficient fat. | Use full‑fat dairy, strain the base, and press plastic wrap directly on the surface during freezing. |
| Grainy texture – often caused by over‑cooking the custard or not dissolving sugar completely. | Heat slowly, stir constantly, and make sure sugar is fully dissolved before chilling. |
| Custard curdles – from overheating egg yolks. | Temper eggs slowly and never let the base exceed 175°F (80°C). |
| Too hard to scoop – too little sugar or fat, or over‑freezing. | Add 1 tablespoon of corn syrup or vodka, or let the container sit at room temperature for 5–10 minutes before scooping. |
| Bland vanilla flavor – using extract instead of a real bean. | Always combine a vanilla bean (scraped) with a teaspoon of extract for depth. |
—
Storage & Meal Prep Tips
– Refrigeration: The custard base can be refrigerated in an airtight container for up to 3 days before churning.
– Freezing: Once churned and hardened, store in a well‑sealed container with a layer of plastic wrap touching the surface. Homemade Ice Cream (Vanilla) will stay fresh for up to 2 weeks – after that, ice crystals may begin to form.
– Re‑creaming: If the ice cream becomes too hard, let it sit at room temperature for 10–15 minutes, then stir vigorously with a fork or re‑churn it in the machine for 5 minutes.
– Meal prep tip: Make a double batch of the custard base and freeze it in two separate containers. Churn one for immediate serving and store the other for later – just thaw overnight in the fridge before churning.
To keep texture perfect:
– Avoid storing ice cream in the freezer door (temperature fluctuates).
– Use a flat, wide container to minimize surface area exposed to air.
– For longer storage (up to 3 months), add ½ teaspoon of unflavored gelatin to the warm custard – it helps stabilize the structure.
—
Conclusion
Making Homemade Ice Cream (Vanilla) at home transforms a simple dessert into a memorable experience. From the first moment you scrape a vanilla bean to the final creamy scoop, every step rewards you with superior flavor, texture, and purity. You now have a rock‑solid base recipe that can be endlessly adapted – whether you prefer classic vanilla, rich chocolate, or fruity swirls. And because you control the sweetness and ingredients, it’s naturally more wholesome than anything from a carton. I encourage you to try this recipe this weekend and experiment with your own twists. Explore more Ice Cream Recipes on our site to keep your freezer full of creative, delicious treats. When you taste that first spoonful, you’ll agree: nothing beats homemade.
—
FAQs
1. Can I make this without an ice cream maker?
Yes. Pour the chilled custard into a shallow baking dish, freeze for 30 minutes, then whisk vigorously every 20 minutes until fluffy (about 2–3 hours). The texture will be slightly denser but still delicious.
2. Why is my ice cream icy instead of creamy?
Ice crystals usually form because of too much water (from low‑fat dairy or not straining the base) or insufficient churning. Use full‑fat ingredients, always strain the custard, and churn until it reaches soft‑serve consistency before freezing.
3. Can I use vanilla extract instead of a vanilla bean?
Absolutely – use 2 teaspoons of pure vanilla extract. However, for the deepest flavor, combine extract with a scraped vanilla bean (the bean adds tiny specks and a more complex aroma).
4. How do I fix ice cream that is too hard to scoop?
Let the container sit at room temperature for 5–10 minutes, then dip your scoop in warm water before scooping. For long‑term prevention, add 1 tablespoon of vodka or corn syrup to the base before churning.
5. Is this recipe safe for people with egg allergies?
No, because egg yolks are critical for emulsification. For a safe alternative, try the vegan variation using cornstarch (listed in the Tips section) or a store‑bought egg‑replacer powder. Always check with a healthcare provider.
Proven way to grow 7 Homemade Ice Cream (Vanilla)
Ingredients
Equipment
Method
- In a large bowl, whisk together the heavy cream, whole milk, granulated sugar, vanilla extract, and a pinch of salt until the sugar is fully dissolved.
- Cover the bowl and refrigerate the mixture for at least 2 hours, or preferably overnight, to ensure it is thoroughly chilled.
- Pour the chilled ice cream mixture into the frozen bowl of your ice cream maker.
- Churn according to the manufacturer's instructions, which typically takes about 20-25 minutes, until the ice cream is thick and resembles soft-serve consistency.
- Transfer the freshly churned ice cream to an airtight container.
- Freeze for at least 4 hours, or until firm, before serving. For best results, allow to sit at room temperature for 5-10 minutes before scooping.