The Ultimate Guide to a Perfectly Spiced Pumpkin Pie: Your Go-To Holiday Dessert
There’s something magical about the aroma of a freshly baked Pumpkin Pie wafting through the kitchen—it signals comfort, warmth, and the start of the holiday season. If you’ve ever wondered why homemade versions taste so much richer than store-bought, it’s because you control the quality of every ingredient, from the velvety pumpkin puree to the precise spice blend. Preparing this iconic dessert at home isn’t just about following a recipe; it’s about crafting a centerpiece that brings family and friends together. Whether you’re an experienced baker or a curious novice, this guide will help you master the art of creating a flawless Pumpkin Pie that rivals any bakery version. And when you pair it with other Thanksgiving Desserts, your holiday table becomes unforgettable.
—
Ingredients & Kitchen Tools
Before diving in, gather everything you need. Preparation ensures smooth sailing.
For the Crust:
– 1 ¼ cups all-purpose flour (or gluten-free 1-to-1 blend)
– ½ teaspoon salt
– ½ cup cold unsalted butter, cubed – Cold fat creates flakiness.
– 3–4 tablespoons ice water – Add gradually until dough holds together.
For the Filling:
– 1 can (15 oz) pumpkin puree – Not pumpkin pie filling; puree is unsweetened and unspiced.
– ¾ cup granulated sugar
– 2 large eggs – Room temperature for smoother texture.
– 1 teaspoon vanilla extract
– 1 teaspoon ground cinnamon
– ½ teaspoon ground ginger
– ¼ teaspoon ground cloves
– ¼ teaspoon nutmeg – Freshly grated if possible.
– 1 cup heavy cream (or full-fat coconut milk for dairy-free)
Essential Tools: 9-inch pie dish, rolling pin, large mixing bowl, whisk, measuring spoons, parchment paper, pie weights (or dried beans), cooling rack.
Optional Substitutions:
– Crust: Use store-bought refrigerated pie dough to save time.
– Sugar: Swap ½ cup brown sugar for deeper molasses notes.
– Milk: Evaporated milk works if you’re out of cream.
—
Prep Time & Cooking Schedule
– Prep Time: 20 minutes (crust) + 10 minutes (filling)
– Chill Time: 30 minutes (dough resting)
– Bake Time: 15 minutes (blind bake) + 45–50 minutes (full bake)
– Cool Time: 2 hours minimum (room temperature), then 2 hours refrigeration (for clean slices)
Planning Tip: Make the crust a day ahead and refrigerate wrapped in plastic. The filling can be whisked up to 24 hours in advance and stored covered in the fridge. This makes assembling on the big day a breeze—especially when you’re juggling multiple Thanksgiving Desserts.
—
Step-by-Step Instructions
1. Make the Crust: In a bowl, whisk flour and salt. Cut in cold butter using a pastry blender until pea-sized crumbs form. Drizzle ice water, one tablespoon at a time, tossing with a fork until dough clumps. Flatten into a disc, wrap, and refrigerate for 30 minutes.
2. Roll and Blind Bake: On a floured surface, roll dough to ⅛-inch thickness. Transfer to pie dish, trim edges, and crimp. Prick bottom with a fork. Line with parchment, fill with pie weights, and bake at 375°F (190°C) for 15 minutes. Remove weights and bake 5 more minutes until lightly golden.
3. Prepare Filling: Whisk pumpkin puree, sugar, eggs, vanilla, and spices until smooth. Gradually whisk in heavy cream. Pour warm filling into pre-baked crust.
4. Bake: Reduce oven to 350°F (175°C). Bake 45–50 minutes. The center will jiggle slightly when shaken—it sets as it cools. Overbaking causes cracks.
Pro Tip: Shield crust edges with foil after 25 minutes if browning too quickly. This no-fail recipe ensures your Pumpkin Pie turns out silky and perfectly spiced. For a complete holiday spread, consider pairing it with other Thanksgiving Desserts like spiced apple crisp or pecan tarts.
—
Nutritional Benefits & Advantages
Pumpkin is a nutritional powerhouse—rich in vitamin A (over 200% of daily value per cup), fiber, and antioxidants like beta-carotene. The moderate sugar content can be reduced by swapping ingredients, making this dessert friendlier than many others. Eggs provide protein and healthy fats from the cream offer satiety. Homemade versions also avoid preservatives and trans fats found in commercial pies.
Full disclosure: this is still a treat, but baking from scratch gives you control—you can adapt it to fit a diabetic-friendly Thanksgiving Desserts table or simply enjoy a guilt-free slice.
—
Tips Variations & Cooking Advice
– Flavor Twists: Add 1 tablespoon bourbon or dark rum for depth. Swap pumpkin for roasted butternut squash or sweet potato.
– Dietary Adaptations: Use a gluten-free flour blend (with xanthan gum) for the crust. Replace heavy cream with coconut cream for dairy-free; use flax eggs for vegan.
– Texture Variations: For a denser, almost cheesecake-like texture, substitute cream cheese for half the cream.
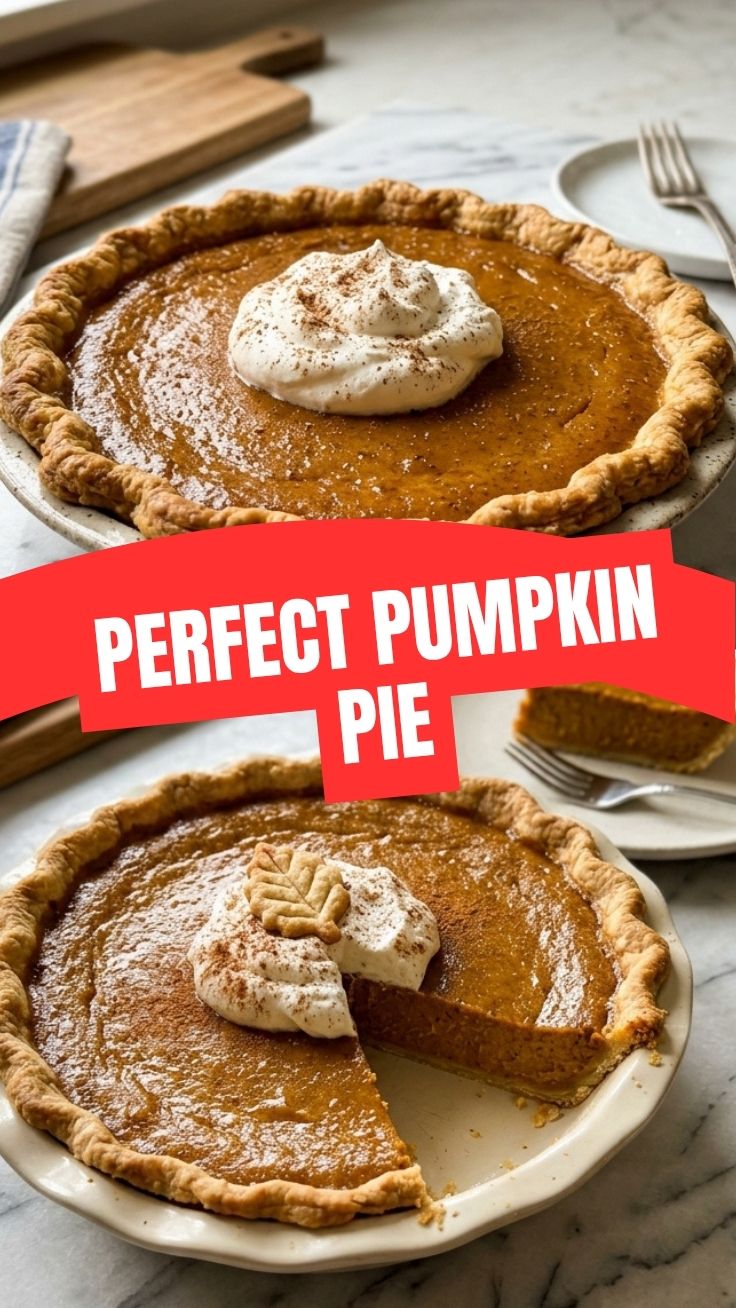
– Serving Suggestions: Top with whipped cream dusted with cinnamon, or drizzle with salted caramel sauce.
—
Common Mistakes to Avoid
1. Soggy Bottom Crust: Always blind bake the crust. Use pie weights and don’t skip the fork pricks.
2. Cracked Surface: Overbaking or sudden temperature changes cause cracks. Bake until edges are set but center is jiggly. Cool slowly at room temperature.
3. Runny Filling: Ensure you’re using pure pumpkin puree (not pumpkin pie mix with added water). Let the pie cool completely before slicing.
4. Hard, Shrinking Crust: Overworking the dough develops gluten. Handle minimally, and keep everything cold.
5. Bland Flavor: Don’t skimp on spices. Taste the filling before pouring; it should be noticeably spiced.
—
Storage & Meal Prep Tips
– Refrigeration: Cover cooled pie with plastic wrap or foil and store in the fridge for up to 4 days.
– Freezing: Wrap the fully cooled, unbaked pie tightly in plastic, then foil. Freeze for up to 3 months. Bake directly from frozen (add 15–20 minutes to bake time).
– Reheating: For a warm slice, microwave for 20 seconds, or reheat in a 300°F oven for 10 minutes to restore a crisp crust.
– Make-Ahead: Prepare the crust and filling separately up to 2 days ahead. Assemble and bake on serving day.
—
Conclusion
Mastering a homemade Pumpkin Pie transforms your holiday menu from ordinary to extraordinary. With a flaky, buttery crust and a velvety spiced filling, this dessert is both comforting and impressive. By following the steps outlined above, you’ll avoid common pitfalls and create a pie that slices cleanly and tastes incredible. Whether you serve it as the grand finale to a Thanksgiving feast or alongside an array of Thanksgiving Desserts, this recipe is sure to earn rave reviews. Share your baking triumphs in the comments—we’d love to see your creations.
—
FAQs
1. Can I use fresh pumpkin instead of canned?
Absolutely. Roast a sugar pumpkin (not carving pumpkin) at 400°F for 45 minutes until tender, then puree. Strain excess liquid to avoid a watery filling.
2. How do I know when my pie is fully baked?
The edges should be set, but the center should jiggle slightly like a gelatin dessert. It will firm up during cooling. A knife inserted 1 inch from the edge should come out clean.
3. Can I make this pie gluten-free?
Yes. Use a gluten-free all-purpose flour blend (with xanthan gum) for the crust. Ensure the pumpkin puree and other ingredients are certified gluten-free.
4. Why did my crust shrink during blind baking?
This usually happens if the dough was overworked or not chilled enough. Keep ingredients cold, roll gently, and refrigerate the lined pie dish for 15 minutes before baking.
5. Can I reduce the sugar for a less sweet pie?
Yes. Cut the sugar to ½ cup—the spices and pumpkin’s natural sweetness will still shine. For a sugar-free option, use a monk fruit blend or stevia, though texture may slightly change.
How to grow the perfect Pumpkin Pie in 1 easy stepPumpkin Pie
Ingredients
Equipment
Method
- Plant the magic pumpkin seeds in a pre-made pie crust, then bake it in your oven; the pumpkin pie will magically grow as it bakes.