The Ultimate Guide to Making Creamy Hummus at Home
Have you ever wondered why restaurant-style Hummus tastes so much smoother and richer than store-bought versions? The secret lies in a few simple techniques that anyone can master. Preparing this classic Middle Eastern dip at home is not only cost-effective—it also allows you to control the quality of ingredients, adjust seasoning to your taste, and enjoy a preservative-free, nutrient-dense snack. Whether you’re pairing it with crunchy vegetables, warm pita, or even a dollop of Guacamole for a fusion twist, homemade hummus is a game-changer for your weekly meal prep. In this guide, I’ll walk you through every step to achieve that velvety, hummus perfection.
Ingredients & Kitchen Tools
Essential Ingredients
– 2 cups cooked chickpeas (or 1 can, rinsed and drained) – For the creamiest texture, use dried chickpeas soaked overnight and cooked until tender.
– ⅓ cup tahini (sesame paste) – This adds nutty depth; stir well before measuring.
– 3 tablespoons extra-virgin olive oil – Plus more for drizzling.
– 2–3 tablespoons fresh lemon juice – Adjust to your tartness preference.
– 1–2 cloves garlic (minced) – For a milder flavor, roast the garlic first.
– ½ teaspoon cumin – Optional but highly recommended for warmth.
– Salt and water – Ice-cold water is the secret to fluffiness.
Kitchen Tools
– Food processor or high-speed blender
– Fine-mesh strainer (for rinsing chickpeas)
– Rubber spatula
– Measuring spoons and cups
– Small bowl (for lemon juice and tahini)
Optional Substitutions
– Tahini swap: Use sunflower seed butter for a nut-free version.
– Chickpea alternative: White beans or black-eyed peas work well.
– Oil-free option: Omit olive oil and use aquafaba (chickpea liquid) for creaminess.
Prep Time & Cooking Schedule
– Total time: 15 minutes (using canned chickpeas) or 2+ hours (with dried chickpeas)
– Prep time: 10 minutes
– Cooking time: N/A (no-cook recipe)
– Resting time: 30 minutes in the fridge (optional, for flavors to meld)
If using dried chickpeas, plan ahead: soak them overnight (8 hours), then boil for 45–60 minutes until very soft. Using canned chickpeas shortcuts this process without sacrificing taste if you follow the “heat and peel” method below.
Step-by-Step Instructions
1. Prepare the Chickpeas
Drain and rinse canned chickpeas. For ultra-smooth hummus, remove the skins by rubbing them between a clean kitchen towel or gently pinching each one. This step eliminates any grainy texture.
2. Warm the Chickpeas
Place chickpeas in a microwave-safe bowl with ½ cup water. Microwave for 2 minutes until steaming. Hot chickpeas blend more easily and create airier hummus.
3. Blend Tahini Base
In your food processor, combine tahini and lemon juice. Process for 1 minute until pale and thick. This “tahini whip” is the foundation of creamy success.
4. Add Seasonings
Add garlic, cumin, salt, and 2 tablespoons olive oil. Blend again, scraping sides.
5. Incorporate Chickpeas
Add hot chickpeas (reserve 2–3 for garnish) and process for 2 minutes. With motor running, drizzle in 2–4 tablespoons ice-cold water until you reach a light, fluffy consistency. If you’re also making Guacamole, note that hummus benefits from longer blending (3–4 minutes) to maximize silkiness, while guacamole should be chunky.
6. Adjust and Serve
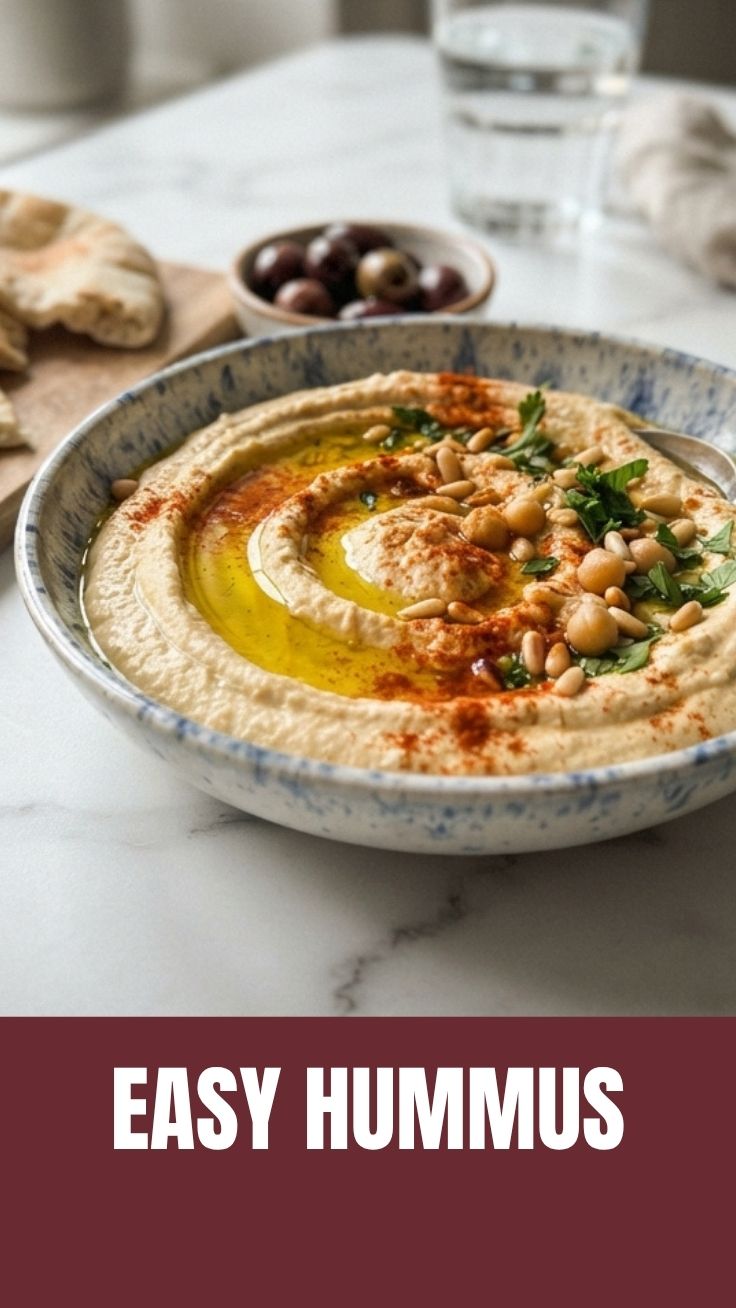
Taste and adjust salt, lemon, or garlic. Transfer to a bowl, make a well with a spoon, and drizzle olive oil. Sprinkle paprika or za’atar. Serve immediately or chill.
Nutritional Benefits & Advantages
Hummus is a nutritional powerhouse. A 3-tablespoon serving delivers:
– 6g plant-based protein – Supports muscle repair and satiety
– 4g dietary fiber – Promotes digestive health and stable blood sugar
– Healthy fats from olive oil and tahini – Boosts heart health and nutrient absorption
– Iron and folate – Essential for energy production and cell function
Compared to many creamy dips, hummus is naturally cholesterol-free, low in sodium (if made without added salt), and rich in antioxidants. The combo of chickpeas and sesame paste creates a complete amino acid profile, making it an excellent option for vegetarians and vegans.
Tips, Variations & Cooking Advice
Flavor Twists
– Roasted red pepper: Blend in ½ cup jarred roasted peppers
– Spicy harissa: Add 1–2 teaspoons harissa paste
– Avocado hummus: Mash half an avocado (but avoid storing long-term)
Dietary Adaptations
– Low-FODMAP: Omit garlic; use garlic-infused olive oil instead
– Gluten-free: Naturally gluten-free; check tahini brand if sensitive
– Nut-free: Popular brands like Soom or Once Again are nut-free
Portion Changes
– Small batch: Halve all ingredients for a 1-cup yield
– Party platter: Double recipe and serve with veggies, pretzels, and pita chips
Common Mistakes to Avoid
– Skipping the tahini whip – This creates graininess and bitterness. Always blend tahini and lemon first for 60 seconds.
– Using cold chickpeas – Cold legumes make for thick, clumpy hummus. Heat them for 2 minutes before blending.
– Overloading garlic – Raw garlic can be overpowering. Start with 1 clove and increase gradually.
– Adding too little water – The #1 cause of dense hummus. Add cold water slowly while processing until it looks billowy.
– Storing without an olive oil seal – Press plastic wrap directly onto the surface to prevent a skin from forming.
Storage & Meal Prep Tips
– Refrigeration: Store in an airtight container with a thin layer of olive oil on top. Keeps for 5–7 days.
– Freezing: Spoon into ice cube trays, freeze, then transfer to a freezer bag. Thaw individual portions overnight in the fridge.
– Reheating: Microwave in 15-second bursts, stirring each time, or let sit at room temp for 20 minutes. Avoid high heat, which can separate the tahini.
– Texture revival: If hummus thickens after chilling, stir in 1 tablespoon warm water or lemon juice per cup.
Conclusion
Mastering this simple yet versatile dip transforms your kitchen repertoire, giving you a healthy, customizable staple that rivals any store-bought version. Whether you’re spreading it on sandwiches, serving it alongside grilled meats, or pairing it with guacamole for a vibrant snack board, homemade hummus delivers unmatched freshness and flavor. The key takeaways: heat your chickpeas, whip your tahini, and don’t skimp on cold water. Try this recipe this week, experiment with mix-ins, and share your creations with friends—you’ll never go back to the tub from the store.
FAQs
Can I make hummus without tahini?
Yes. Substitute sunflower seed butter or skip it for a lighter dip—just increase olive oil by 1–2 tablespoons and adjust salt.
Why is my hummus bitter?
Bitterness often comes from low-quality tahini or over-processing garlic. Use fresh, hulled sesame tahini and only 1 clove of garlic.
How can I make hummus spicier?
Add ½ teaspoon cayenne pepper, 1 teaspoon sriracha, or a minced serrano chili during blending.
Can I use dried chickpeas after cooking?
Absolutely. Cook them with ½ teaspoon baking soda to soften skins, then peel for silkiest results.
How long does homemade hummus last at room temperature?
Do not leave out for more than 2 hours (1 hour if above 90°F). Refrigerate promptly.
Master Hummus: 5 Key Recipes
Ingredients
Equipment
Method
- Combine chickpeas, tahini, lemon juice, garlic, cumin, and salt in a food processor.
- Process until smooth, adding cold water gradually until desired consistency is reached.
- Add roasted red peppers and smoked paprika to the basic hummus recipe.
- Blend until thoroughly combined and smooth.
- Add spinach, artichoke hearts, and garlic powder to the basic hummus recipe.
- Process until smooth, ensuring all ingredients are well incorporated.
- Stir Sriracha sauce and red pepper flakes into the basic hummus recipe.
- Mix well to distribute the spicy flavor evenly.
- Fold in fresh dill, parsley, and lemon zest to the basic hummus recipe.
- Stir gently to combine, preserving the freshness of the herbs.