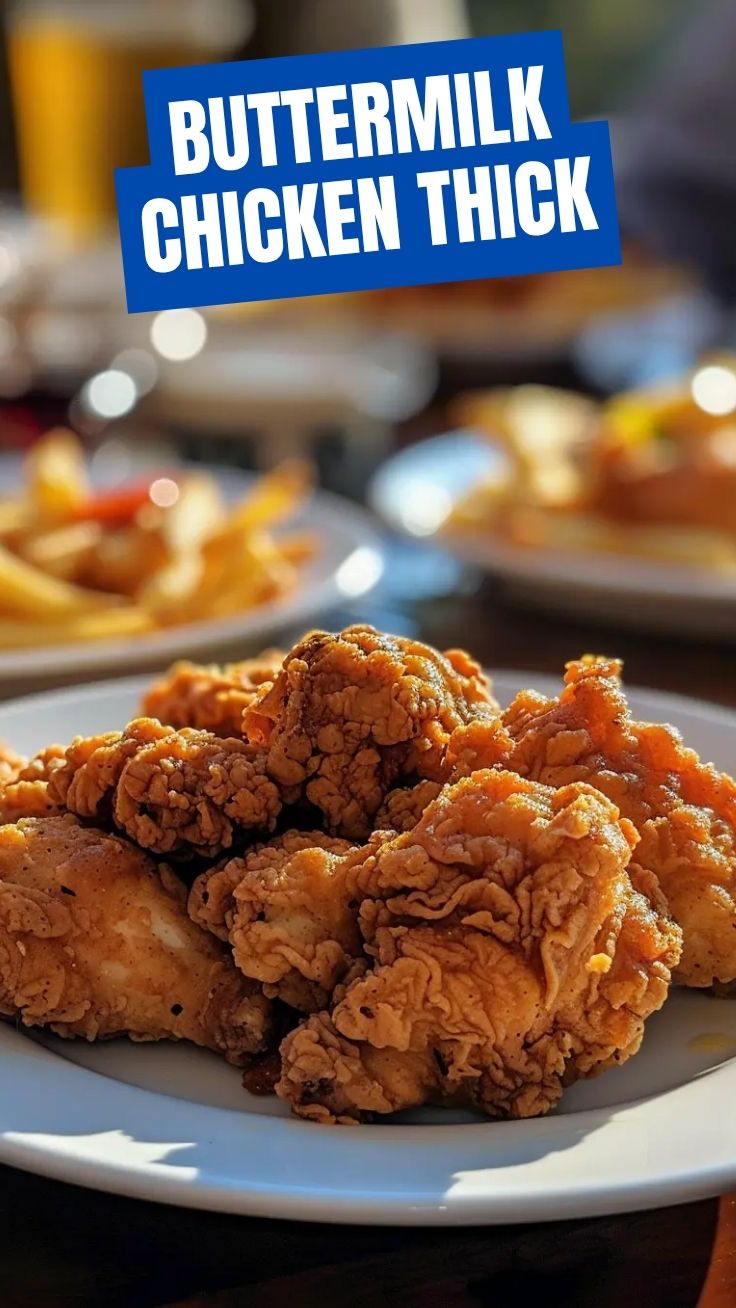
Master the Art of Crispy Buttermilk Fried Chicken: Your Ultimate Guide
Ever wondered if you could recreate that legendary crispy, juicy fried chicken experience right in your own kitchen? Absolutely! Mastering the art of homemade Buttermilk Fried Chicken is not just about making a meal; it’s about crafting an unforgettable culinary experience that rivals any restaurant. This comprehensive guide will walk you through every step, ensuring your journey to perfect, golden-brown chicken is enjoyable and rewarding. Forget soggy crusts and bland meat – we’re diving deep into the secrets of creating incredibly flavorful and tender Southern fried chicken that will have everyone asking for your recipe. Get ready to impress your family and friends with a dish that embodies comfort food at its finest.
Ingredients & Kitchen Tools
To embark on this culinary adventure, gather your ingredients and tools:
Chicken: 8 pieces (2 breasts, 2 thighs, 2 drumsticks, 2 wings), bone-in, skin-on. Choosing bone-in pieces adds more flavor and helps the chicken stay moist.*
Buttermilk: 4 cups. The primary tenderizer, creating that signature tang and ensuring juicy results.*
All-Purpose Flour: 3 cups. The base for our crispy coating.*
Cornstarch: 1/2 cup. Adds extra crispness and helps prevent sogginess.*
Paprika: 1 tbsp. For color and a subtly sweet, peppery flavor.*
Garlic Powder: 1 tbsp. An essential aromatic for depth of flavor.*
Onion Powder: 1 tbsp. Complements the garlic and enhances the savory notes.*
Cayenne Pepper: 1 tsp (or more for heat). Provides a gentle kick; adjust to your spice preference.*
Salt: 2 tbsp. Crucial for seasoning the chicken and the coating.*
Black Pepper: 1 tbsp. Freshly ground is always best for maximum flavor.*
Hot Sauce (optional): 2 tbsp. Can be added to the buttermilk for an extra layer of flavor and slight heat.*
Vegetable Oil or Peanut Oil: 6-8 cups (for frying). Choose oils with a high smoke point for best frying results.*
- Large Bowl(s): For brining and dredging.
- Whisk: To combine dry ingredients.
- Tongs: For handling chicken safely in hot oil.
Deep-Fry Thermometer: Essential for maintaining precise oil temperature.*
- Dutch Oven or Large Heavy-Bottomed Pot: For even heat distribution during frying.
- Wire Rack with Paper Towels: For draining excess oil and maintaining crispness.
- Instant-Read Meat Thermometer: To ensure chicken is cooked through.
Prep Time & Cooking Schedule
- Prep Time: 20-30 minutes
- Marinating Time: Minimum 4 hours, ideally overnight (12-24 hours)
- Cook Time: 20-25 minutes per batch
- Resting Time: 10 minutes
The key to incredibly tender and flavorful chicken lies in the marinating time. Plan to start this dish a day in advance to allow the buttermilk to work its magic.
Step-by-Step Instructions
1. Prepare the Chicken and Buttermilk Marinade: Pat the chicken pieces dry with paper towels. In a large bowl, combine the buttermilk and optional hot sauce. Add the chicken, ensuring all pieces are fully submerged. Cover and refrigerate for at least 4 hours, or preferably overnight. This step is crucial for tenderizing and infusing immense flavor into your Buttermilk Fried Chicken.
2. Make the Seasoned Flour: In another large bowl, whisk together the all-purpose flour, cornstarch, paprika, garlic powder, onion powder, cayenne pepper, salt, and black pepper.
3. Dredge the Chicken: Remove chicken from the buttermilk, allowing excess to drip off (do not rinse). Dredge each piece thoroughly in the seasoned flour mixture, pressing firmly to ensure an even and thick coating. Shake off any excess flour. For an extra crispy crust, you can double dip: dip the floured chicken back into the remaining buttermilk briefly, then back into the flour.
4. Heat the Oil: In a Dutch oven or heavy-bottomed pot, pour vegetable or peanut oil to a depth of about 2-3 inches. Heat the oil over medium-high heat until it reaches 325-350°F (160-175°C). Use a deep-fry thermometer to monitor the temperature accurately.
5. Fry the Chicken: Carefully lower 2-3 pieces of chicken into the hot oil, ensuring not to overcrowd the pot. Overcrowding will drop the oil temperature too much, resulting in greasy chicken. Fry for about 6-8 minutes per side, turning occasionally, until golden brown and cooked through. Large pieces like breasts and thighs may take longer. Maintain the oil temperature between 300-325°F (150-160°C). The internal temperature of the chicken should reach 165°F (74°C). This careful frying process is what gives Southern fried chicken its signature texture.
6. Drain and Rest: Once cooked, transfer the chicken to a wire rack set over paper towels to drain excess oil. Let it rest for at least 10 minutes before serving. This allows the juices to redistribute, ensuring moist and tender chicken.
Nutritional Benefits & Advantages
Beyond its undeniable deliciousness, homemade fried chicken can be a good source of protein, essential for muscle building and repair. When prepared at home, you have control over the quality of ingredients, reducing unnecessary additives found in commercially prepared versions. While frying is not the leanest cooking method, chicken breast is a lean protein, and the buttermilk marinade can actually tenderize the meat without adding significant fat.
Tips, Variations & Cooking Advice
- Spice Level: Adjust the cayenne pepper to your liking, or add a pinch of smoked paprika for a deeper flavor.
- Herbal Infusion: Add dried herbs like thyme, oregano, or sage to your flour mixture for an aromatic twist.
- Gluten-Free: Substitute the all-purpose flour with a 1:1 gluten-free flour blend. You might need to adjust the liquid slightly.
- Dairy-Free: Use a dairy-free buttermilk substitute (e.g., plant-based milk with a tablespoon of lemon juice or vinegar) for marinating.
- Brining vs. Marinating: While buttermilk acts as a marinade and tenderizer, a quick saltwater brine (1/4 cup salt per quart of water) before the buttermilk bath can add even more moisture.
Common Mistakes to Avoid
- Overcrowding the Pot: This lowers the oil temperature, leading to greasy, soggy chicken. Fry in batches.
- Not Monitoring Oil Temperature: Too hot, and the outside burns while the inside is raw. Too cold, and the chicken absorbs too much oil. A thermometer is your best friend.
- Skipping the Rest Time: This crucial step allows the juices to settle, preventing dry chicken.
- Handling Raw Chicken Improperly: Always wash hands, utensils, and surfaces that come into contact with raw chicken to prevent cross-contamination.
Storage & Meal Prep Tips
Leftover fried chicken can be stored in an airtight container in the refrigerator for up to 3-4 days. For best results, reheat in an oven or air fryer at 350°F (175°C) for 10-15 minutes until heated through and crispy. Avoid microwaving, as it can make the crust soggy. For longer storage, freeze individual pieces on a baking sheet until solid, then transfer to a freezer-safe bag for up to 2-3 months. Reheat from frozen in the oven.
Conclusion
There you have it – your definitive guide to creating truly exceptional Buttermilk Fried Chicken at home. From the critical buttermilk soak to the precise oil temperature, every step plays a vital role in achieving that perfect crispy crust and juicy interior synonymous with authentic Southern fried chicken. Don’t be afraid to experiment with seasonings and techniques, make this recipe your own, and savor the incredible flavors. We encourage you to try this recipe, share your delicious results in the comments below, and explore our other mouth-watering chicken recipes!
FAQs
Q1: Can I use boneless, skinless chicken for this recipe?
A1: While bone-in, skin-on pieces are recommended for optimal flavor and moisture, you can use boneless, skinless chicken. Adjust frying time, as it will cook much faster to avoid drying out.
Q2: What’s the best way to get a really crispy crust?
A2: The cornstarch in the flour mixture is key. Double dredging (flour-buttermilk-flour) also significantly enhances crispness. Ensure your oil is at the correct temperature and avoid overcrowding the pot.
Q3: How do I know when the chicken is cooked through?
A3: The most accurate way is to use an instant-read meat thermometer. Insert it into the thickest part of the chicken (avoiding the bone); it should read 165°F (74°C). The juices should also run clear.
Q4: Can I reuse the frying oil?
A4: Yes, after it cools, strain the oil through a fine mesh sieve or cheesecloth to remove any food particles. Store it in an airtight container in a cool, dark place. Peanut oil can often be reused 3-4 times.
Q5: My fried chicken is soggy. What went wrong?
A5: Soggy chicken is usually due to insufficient oil temperature (chicken absorbs too much oil), overcrowding the pot (lowers oil temp), or not draining the chicken on a wire rack after frying. Never place it directly on paper towels to cool, as steam gets trapped.
Buttermilk Fried Chicken
Ingredients
Equipment
Method
- In a large bowl, combine chicken with buttermilk, hot sauce (if using), salt, pepper, garlic powder, onion powder, and paprika. Cover and refrigerate for at least 4 hours, preferably overnight.
- In a separate shallow dish, whisk together flour, cornstarch, baking powder, salt, pepper, and cayenne pepper (if using). Set up a dredging station with the marinated chicken, the flour mixture, and a wire rack.
- Remove chicken from buttermilk, allowing excess to drip off. Dredge each piece thoroughly in the flour mixture, pressing to ensure it's fully coated. Let the coated chicken rest on a wire rack for 10-15 minutes to allow the coating to adhere.
- Heat vegetable oil in a large Dutch oven or deep pot to 350°F (175°C). Carefully place chicken pieces into the hot oil, ensuring not to overcrowd the pot. Fry for about 6-8 minutes per side, or until golden brown and cooked through, reaching an internal temperature of 165°F (74°C).
- Remove fried chicken from the oil and place it on a wire rack set over paper towels to drain excess oil. Let it rest for a few minutes before serving hot.