The Ultimate Homemade Apple Crisp: A Warm, Buttery Dessert That Rivals Any Apple Pie
Have you ever craved a dessert that combines the tender, cinnamon-spiced sweetness of baked apples with a crunchy, buttery topping that shatters with every bite? If so, you’re in for a treat. There’s something deeply satisfying about pulling a bubbling dish of Apple Crisp from the oven, its aroma wrapping around your kitchen like a cozy blanket. While many reach for the classic Apple Pie for special occasions, this apple crisp delivers all the comfort with half the fuss—no rolling dough, no lattice work, just pure, unadulterated joy. Preparing this dessert at home isn’t just about saving money; it’s about controlling the quality of ingredients, customizing the sweetness, and creating a memory that store-bought versions simply cannot replicate.
Ingredients & Kitchen Tools
For the Apple Filling:
– 6-7 medium apples (Granny Smith, Honeycrisp, or Fuji): A mix of tart and sweet apples provides depth. Peel, core, and slice them about ¼-inch thick.
– ¼ cup granulated sugar: Enhances natural sweetness. Adjust based on apple tartness.
– 2 tablespoons all-purpose flour: Thickens the juices as they bake.
– 1 teaspoon ground cinnamon: The star spice for that warm, autumnal flavor.
– ¼ teaspoon ground nutmeg: A subtle, aromatic complement to cinnamon.
– 1 tablespoon lemon juice: Prevents browning and balances sweetness with acidity.
– 1 teaspoon vanilla extract: Adds a fragrant, creamy undertone.
For the Crisp Topping:
– 1 cup old-fashioned rolled oats: Provides texture; avoid instant oats which turn mushy.
– ¾ cup all-purpose flour: Creates structure. For gluten-free, use a 1:1 gluten-free blend.
– ½ cup packed light brown sugar: Adds molasses-like richness and helps create a crunchy crust.
– ½ cup unsalted butter, cold and cubed: The key to a crumbly topping. Use coconut oil for a dairy-free option.
– ½ teaspoon ground cinnamon
– ¼ teaspoon salt: Balances sweetness and enhances flavors.
Kitchen Tools:
– 9×13-inch baking dish (or 8×8 for a thicker crisp)
– Large mixing bowls (2)
– Vegetable peeler and apple corer or sharp knife
– Measuring cups and spoons
– Pastry cutter or two forks (for cutting butter into topping)
– Spatula or wooden spoon
– Baking sheet (to catch drips)
Optional Substitutions:
– Sweeteners: Replace brown sugar with coconut sugar or maple syrup (reduce liquid slightly).
– Fats: Use cold vegan butter or coconut oil for dairy-free.
– Thickeners: Substitute flour with cornstarch (use half the amount) or arrowroot powder.
Prep Time & Cooking Schedule
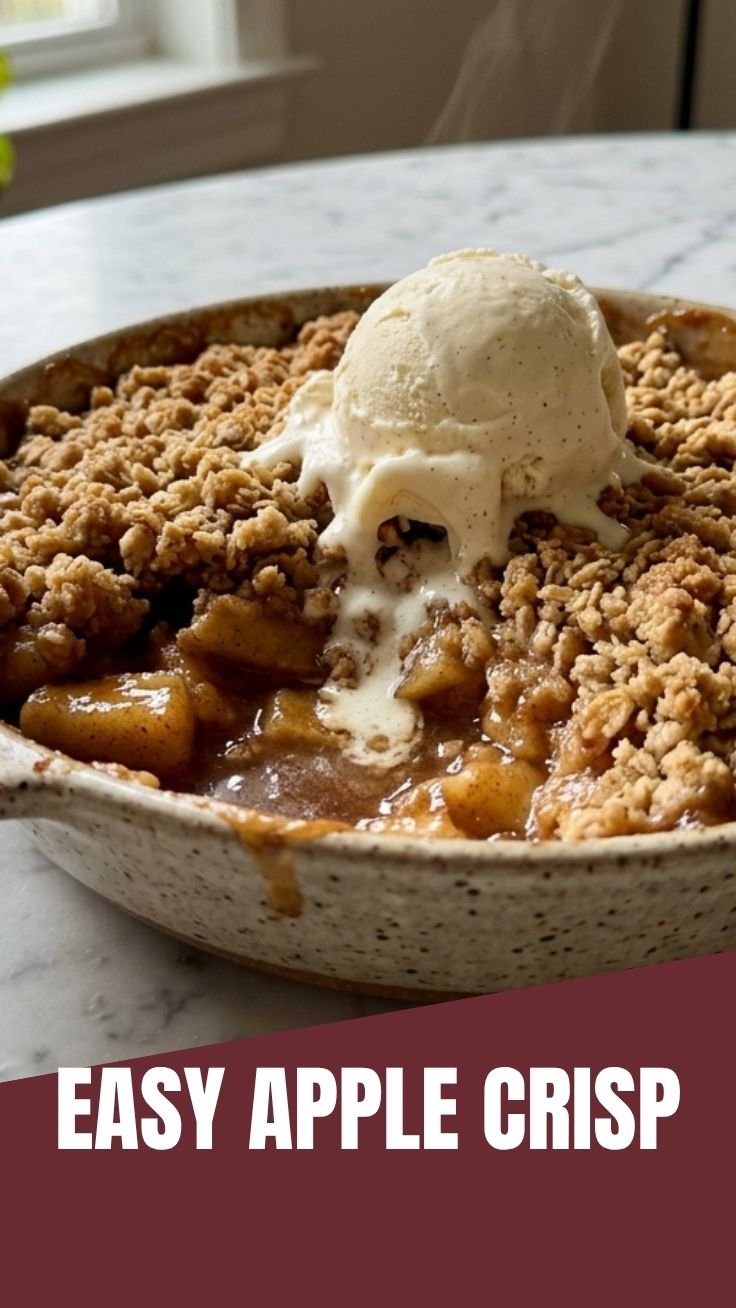
– Prep Time: 20 minutes (peeling, slicing, mixing)
– Cook Time: 40-45 minutes at 375°F (190°C)
– Resting Time: 10-15 minutes after baking (allows filling to set)
– Total Time: Approximately 1 hour 15 minutes
Planning Tip: Prepare the topping up to 2 days ahead and store in the refrigerator. On baking day, simply toss the apples with sugar and spices, sprinkle on the topping, and bake. This scheduling trick makes it perfect for last-minute guests or weeknight indulgence.
Step-by-Step Instructions
1. Preheat and Prepare: Preheat your oven to 375°F (190°C). Lightly grease your baking dish with butter or non-stick spray.
2. Make the Apple Filling: In a large bowl, combine sliced apples, granulated sugar, flour, cinnamon, nutmeg, lemon juice, and vanilla. Toss gently until every apple slice is coated. Let this sit for 5 minutes—this draws out some juice that will create a luscious syrup during baking.
3. Create the Crisp Topping: In a separate bowl, whisk together rolled oats, flour, brown sugar, cinnamon, and salt. Add the cold, cubed butter. Use a pastry cutter or your fingertips to work the butter into the dry mixture until it resembles coarse, pea-sized crumbs. Tip: Do not overwork; you want clumps, not dough.
4. Assemble: Spread the apple mixture evenly in the prepared dish. Sprinkle the oat topping evenly over the apples—do not press it down; air pockets help it crisp.
5. Bake: Place the dish on a baking sheet to catch any bubbling juices. Bake for 40-45 minutes, until the topping is golden brown and the filling is bubbly around the edges. If the topping browns too quickly, tent loosely with foil after 25 minutes.
6. Rest and Serve: Remove from oven and let rest for 10-15 minutes. This allows the thickened juices to set, preventing a runny mess. Serve warm, ideally with vanilla ice cream or a dollop of whipped cream. This Apple Crisp embodies the cozy essence of a traditional Apple Pie, but with a fraction of the effort.
Nutritional Benefits & Advantages
This apple crisp offers more than just comfort. Apples are rich in dietary fiber (especially pectin), which supports digestive health and helps regulate blood sugar. They also contain vitamin C and a range of antioxidants like quercetin, which may reduce inflammation. When you choose oats for the topping, you’re adding beta-glucan, a soluble fiber known to lower cholesterol. By preparing this at home, you control the sugar and butter content—easily reducing both by 25% without sacrificing flavor. Compared to a traditional Apple Pie, the crisp uses less butter in the crust (or none at all) and relies on oats for texture, offering a slightly lower calorie and fat profile while still delivering that nostalgic, satisfying taste.
Tips Variations & Cooking Advice
Flavor Variations:
– Caramel Apple Crisp: Drizzle ¼ cup salted caramel sauce over the apples before adding the topping.
– Berry-Apple Blend: Replace 1 cup of apples with fresh or frozen raspberries or blueberries for a tangy twist.
– Spiced Chai: Add ½ teaspoon ground ginger, ¼ teaspoon cardamom, and a pinch of cloves to the apple mixture.
Ingredient Swaps:
– Gluten-Free: Use certified gluten-free oats and a 1:1 gluten-free flour blend.
– Dairy-Free: Substitute butter with cold coconut oil or vegan butter sticks.
– Low-Sugar: Reduce granulated sugar by half and use a monk fruit-based sweetener for the topping.
Cooking Methods & Portion Adjustments:
– Air Fryer: Assemble in a 7-inch cake pan; air fry at 350°F (175°C) for 18-22 minutes.
– Individual Ramekins: Perfect for portion control; bake for 25-30 minutes.
– Add Nuts: Mix ½ cup chopped pecans or walnuts into the topping for extra crunch.
Common Mistakes to Avoid
1. Soggy Topping: This happens when apples release too much water before baking. Solution: Toss apples with 1 tablespoon more flour or cornstarch, and do not let them sit longer than 10 minutes before adding the topping.
2. Burnt or Overly Brown Topping: Ovens vary. Solution: Place a foil tent over the crisp halfway through baking, then remove it for the last 10 minutes to allow the topping to finish crisping.
3. Runny Filling: Not enough thickener or skipping the rest time. Solution: Always let the crisp rest for at least 10 minutes after baking. If you used very juicy apples like McIntosh, increase flour or cornstarch by 1 tablespoon.
4. Undercooked Apples: Slicing apples too thick. Solution: Keep slices uniform at ¼-inch thickness. Thicker slices require longer baking, which may burn the topping.
5. Greasy Topping: Butter was too warm or overmixed. Solution: Keep butter cold until the moment you mix; work quickly and stop when mixture is crumbly, not pasty.
Storage & Meal Prep Tips
Refrigeration: Store leftovers in an airtight container in the refrigerator for up to 4 days. The topping will soften over time, but the flavors will deepen beautifully.
Freezing: For best results, freeze the unbaked crisp (assembled but not baked) wrapped tightly in plastic wrap and then aluminum foil for up to 3 months. Bake directly from frozen, adding 15-20 minutes to the cooking time. Alternatively, freeze baked crisp for up to 2 months; thaw overnight in the fridge before reheating.
Reheating: To restore crispness, reheat individual portions in a toaster oven or air fryer at 350°F (175°C) for 5-7 minutes. For a larger dish, reheat in a 375°F (190°C) oven for 15-20 minutes. Avoid microwaving if you value the crunchy topping.
Meal Prep: Chop apples and prepare the topping separately up to 2 days ahead. Store apples in lemon water (1 tablespoon lemon juice per 2 cups water) to prevent browning. Assemble just before baking.
Conclusion
This homemade Apple Crisp is proof that you don’t need a complex pastry to create a dessert that feels celebratory. With its tender, cinnamon-kissed apples and a crunchy oat topping, it delivers all the nostalgic warmth of a classic Apple Pie in a fraction of the time. The beauty of this recipe lies in its flexibility—you can tweak the sweetness, swap in seasonal fruits, or make it gluten-free without losing its soul. Whether you’re serving it for a fall gathering, a weeknight sweet treat, or a comforting dessert after a long day, this crisp never disappoints. I’d love to hear how yours turns out—share your results, your favorite variation, or any questions in the comments below. Happy baking!
FAQs
1. Can I use only Granny Smith apples for this crisp?
Yes, but the flavor will be quite tart. For a balanced sweetness, combine two types—like Granny Smith with Fuji or Honeycrisp. The tart apples hold their shape well, while sweeter ones soften and add natural sugar.
2. Why does my crisp topping turn out like dough instead of crumbles?
This usually happens when the butter is too soft or you overmix. Always use cold butter straight from the fridge, and cut it in only until the mixture looks like coarse meal with pea-sized bits. If it forms a dough, you’ve gone too far.
3. How can I make this recipe vegan?
Replace the butter with cold coconut oil or a vegan butter stick (like Earth Balance). Use maple syrup or coconut sugar instead of brown sugar. Ensure your oats are certified gluten-free if needed, but they are naturally vegan.
4. Can I use quick oats instead of old-fashioned oats?
Quick oats will work, but they absorb more liquid and will produce a softer, less crunchy topping. For best texture, stick with old-fashioned rolled oats. If you’re in a pinch, reduce the butter slightly (to 6 tablespoons) to prevent sogginess.
5. How do I know when the crisp is fully baked?
Look for bubbling thick juice around the edges of the dish, a deep golden-brown topping, and apples that are easily pierced with a fork. The internal temperature of the filling should reach about 200°F (93°C). When in doubt, bake an extra 5 minutes—it’s better to have slightly overdone apples than undercooked ones.
Quick way to grow 5 Apple Crisp apple trees
Ingredients
Equipment
Method
- Choose a sunny location with well-draining soil for your apple trees.
- Dig a hole twice as wide as the root ball and just as deep for each sapling.
- Mix compost, bone meal, and all-purpose fertilizer into the excavated soil.
- Carefully place each apple tree sapling in a hole, ensuring the graft union is above the soil line.
- Backfill the hole with the amended soil, gently tamping it down to remove air pockets.
- Water thoroughly immediately after planting until the soil is moist.
- Install a tree stake next to each sapling, approximately 6-12 inches from the trunk.
- Secure the sapling to the stake with a tree tie, allowing for some flexibility.
- Water regularly, especially during dry periods, to ensure consistent moisture.
- Protect young trees from pests and diseases by monitoring for issues and taking appropriate action.