The Ultimate Guide to Making the Perfect Healthy Chia Pudding at Home
Have you ever wondered why some people rave about chia pudding as a breakfast game-changer while others end up with a grainy, slimy mess? The truth is, mastering this simple dish requires understanding the science behind these tiny superfood seeds. Preparing a healthy chia pudding from scratch not only saves you money compared to store-bought versions loaded with preservatives, but it also allows you to control sweetness and texture completely. Whether you are looking for a make-ahead meal prep solution or a guilt-free dessert alternative, this recipe delivers consistent results every time. In this comprehensive guide, we will explore everything from ingredient selection to troubleshooting, ensuring your homemade creation rivals any professional kitchen offering.
> Pro Tip: For an autumnal twist, try our featured Chia Pudding variation that incorporates warming spices and seasonal flavors.
Ingredients & Kitchen Tools
Essential Ingredients
– Chia seeds (3 tablespoons per serving) – Black or white varieties work equally well; black seeds offer slightly more fiber
– Liquid base (1 cup) – Unsweetened almond milk, coconut milk, or oat milk each impart distinct flavor profiles
– Sweetener (1-2 tablespoons) – Maple syrup, honey, or agave nectar dissolve more readily than granulated options
– Vanilla extract (½ teaspoon) – Pure extract provides depth without artificial aftertaste
– Pinch of sea salt – Enhances overall flavor perception and balances sweetness
Optional Boosters
– Protein powder (1 scoop) – Vanilla or unflavored varieties blend seamlessly
– Cinnamon or cocoa powder (1 teaspoon) – For flavor customization
– Fresh fruit topping – Berries, sliced banana, or mango chunks add texture contrast
Required Kitchen Tools
– Glass jar or bowl with tight-fitting lid – Mason jars work perfectly for single servings
– Whisk or fork – Essential for breaking up clumps during initial mixing
– Measuring spoons – Precision matters for achieving correct seed-to-liquid ratio
– Refrigerator – Minimum 4 hours setting time required
Prep Time & Cooking Schedule
– Active preparation time: 5 minutes
– Minimum resting time: 4 hours (overnight preferred)
– Maximum resting time: 5 days (stored in refrigerator)
– Total time commitment: 4 hours 5 minutes
Plan this recipe the evening before for effortless mornings. Unlike overnight oats that require specific grain-to-liquid ratios, chia pudding offers more flexibility with resting time. The seeds begin absorbing liquid within 30 minutes but require at least 3-4 hours to achieve that signature gel-like consistency. For best results, stir the mixture at the 30-minute mark to redistribute any seeds that may have settled at the bottom.
Step-by-Step Instructions
1. Combine Base Ingredients
In your chosen container, add 3 tablespoons of chia seeds, 1 cup of liquid, sweetener to taste, and vanilla extract. The key to achieving a smooth, clump-free texture lies in immediate thorough whisking. Many beginners skip this step, resulting in seed clusters that never properly hydrate. Whisk vigorously for approximately 30 seconds until no visible clumps remain.
2. First Rest and Re-stir
Allow the mixture to rest at room temperature for 15-20 minutes. During this window, the seeds begin absorbing liquid and expanding. After this initial rest, whisk again vigorously. This second mixing prevents the formation of large seed aggregates that create an unpleasant grainy mouthfeel. If you notice foam forming on top, simply stir gently to incorporate.
3. Flavors and Add-ins Integration
At this stage, incorporate any powdered additions like protein powder, cocoa, or cinnamon. Fold these ingredients in gently using a spatula to avoid creating air bubbles. For liquid additions like lemon juice or rose water, add them now to ensure even distribution throughout the setting process. When making variations like our featured Chia Pudding Recipes, ensure dry powders are sifted to prevent lumps.
4. Refrigerate and Set
Cover the container tightly and place in the refrigerator for at least 4 hours, though overnight yields the best results. During this period, the soluble fiber in chia seeds forms a gelatinous matrix that holds the pudding together. Temperature control matters here: do not place near the refrigerator door where temperature fluctuations occur. Instead, position toward the back where temps remain stable between 35-40°F.
5. Texture Check and Adjustment
After the minimum setting time, check consistency by tilting the container. A properly set healthy chia pudding should hold its shape when spooned but still feel creamy, not stiff. If too thin, add an extra tablespoon of seeds and refrigerate for another hour. If overly thick, stir in 1-2 tablespoons of additional liquid until reaching desired consistency.
6. Final Assembly and Serving
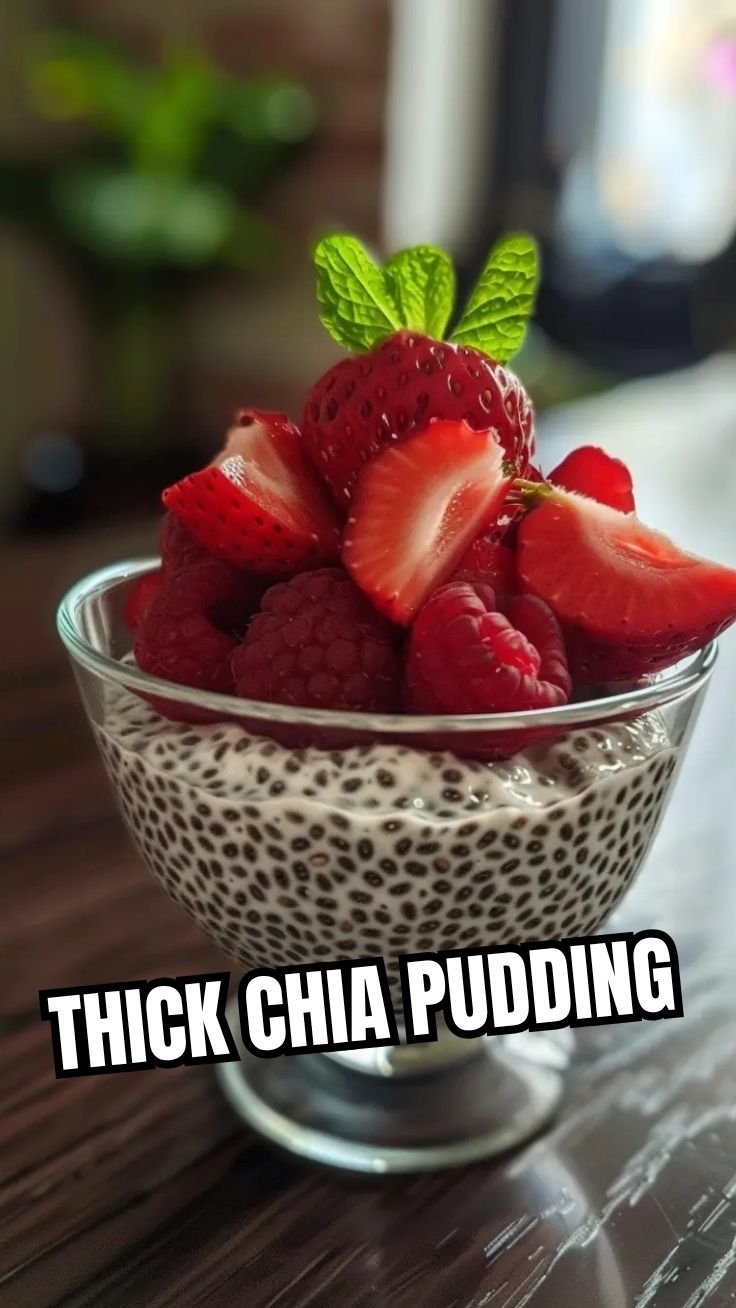
Spoon the set pudding into serving bowls and add toppings just before eating. Fresh berries, toasted coconut flakes, chopped nuts, or a drizzle of nut butter all work beautifully. For a show-stopping presentation, layer the pudding with yogurt and fruit in a clear glass. Serve chilled for the best flavor and texture.
Nutritional Benefits & Advantages
This easy chia recipe delivers exceptional nutritional value in every serving. A single portion contains approximately:
– 11 grams of fiber – Nearly half your daily requirement, supporting digestive health
– 4 grams of protein – From complete plant-based sources containing all essential amino acids
– 5 grams of omega-3 fatty acids – Supporting brain function and reducing inflammation
– 18% of daily calcium needs – Without dairy, making it bone-friendly for plant-based eaters
– Zero cholesterol and low saturated fat – Heart-healthy profile suitable for cardiovascular concerns
The gel-forming soluble fiber in chia seeds helps stabilize blood sugar levels, making this an excellent breakfast option for those managing diabetes or insulin resistance. Additionally, the high water-absorption capacity (chia seeds can absorb up to 12 times their weight in liquid) promotes prolonged satiety, reducing mid-morning snacking urges.
Tips, Variations & Cooking Advice
Flavor Transformations
– Tropical Paradise: Use coconut milk base with mango puree and lime zest
– Matcha Green: Whisk ceremonial-grade matcha powder into warm water before adding seeds
– Chocolate Hazelnut: Incorporate cocoa powder and a drop of hazelnut extract
Dietary Adaptations
– Dairy-free: Naturally achieved by using plant-based milk alternatives
– Gluten-free: Ensure certified gluten-free chia seeds and toppings
– Low-carb: Replace maple syrup with monk fruit sweetener or stevia
– High-protein: Add collagen peptides or pea protein powder
Texture Modifications
– Creamier pudding: Blend the finished product in a high-speed blender for 20 seconds
– Thinner consistency: Reduce seeds by 1 tablespoon per cup of liquid
– Chunkier texture: Fold in chopped nuts or seeds after setting
Alternative Methods
– Blender method: Combine all ingredients in a blender for 30 seconds, then refrigerate
– Hot preparation: Use warm milk to speed up absorption for same-day serving
– Baked version: Combine with egg and bake at 350°F for 15 minutes for a custard-like dessert
Common Mistakes to Avoid
The Grainy Texture Problem
Mistake: Skipping the initial whisking or forgetting the second stir.
Solution: Whisk immediately after combining and again at 15 minutes. This ensures each seed is individually hydrated rather than forming clumps.
Using Too Much Liquid
Mistake: Assuming more liquid equals creamier pudding without adjusting seed quantity.
Solution: Maintain a 3:1 liquid-to-seed ratio (3 tablespoons seeds per 1 cup liquid) for standard consistency. Adjust by 1 tablespoon increments only.
Over-sweetening Prematurely
Mistake: Adding sweetener before tasting after setting.
Solution: The seeds mute sweetness during absorption. Start with half the intended sweetener and adjust after setting.
Temperature Shock
Mistake: Moving pudding between fridge and counter repeatedly during setting.
Solution: Keep at constant cold temperature for entire setting period to maintain even gel formation.
Storage & Meal Prep Tips
Refrigeration Guidelines
Store prepared pudding in airtight glass containers for up to 5 days. The mixture continues thickening slightly over time, so consider adding 1-2 tablespoons of liquid before serving if stored beyond day three. Keep toppings separate to prevent sogginess – add fresh fruit, nuts, and seeds only at serving time.
Freezing Instructions
While freezing is possible, the texture changes upon thawing due to ice crystal formation disrupting the gel matrix. If freezing, portion into silicone molds and thaw overnight in refrigerator. Expect a slightly icier texture – better suited for smoothie bowls than standalone pudding.
Reheating Methods
This dish is best served cold, but if desired warm, heat gently in a saucepan over low heat with an extra splash of milk. Microwave heating often creates hot spots that break down the gel structure, producing a thinner consistency. Stir frequently if using this method.
Batch Prep Strategy
Prepare 4-5 individual portions on Sunday evening for weekday breakfasts. Layer in mason jars with fruit and granola for grab-and-go convenience. Label each jar with date to track freshness. This approach saves 15-20 minutes each morning while ensuring consistent nutrition.
Conclusion
Mastering the art of healthy chia pudding unlocks endless possibilities for nutritious, customizable meals that fit seamlessly into busy lifestyles. By understanding the science behind seed hydration and applying the techniques outlined here, you can consistently create restaurant-quality results at home. Whether you prefer classic vanilla, indulge in our featured Chia Pudding variation, or experiment with chocolate versions from our Chia Pudding Recipes collection, the foundation remains the same. We encourage you to start simple, adjust sweetness and texture to your preference, and share your creations with us. Have you tried this easy chia recipe yet? Drop your questions or favorite flavor combinations in the comments below!
FAQs
Can I use black chia seeds instead of white?
Yes, black and white chia seeds are nutritionally equivalent and interchangeable in recipes. Black seeds may create slightly darker pudding, while white seeds produce a more visually appealing pale color.
Why did my chia pudding turn out watery?
This typically results from insufficient seed quantity or not allowing enough setting time. Try adding 1 extra tablespoon of seeds per cup of liquid and refrigerating for at least 6 hours. Also, ensure you’re measuring correctly – chia seeds should be measured dry, not pre-soaked.
Can I make chia pudding without sweetener?
Absolutely. The seeds themselves have a mild, nutty flavor. Unsweetened versions work well as a savory base topped with avocado, herbs, and spices, or paired with naturally sweet fruits like ripe bananas or dates.
How do I fix salty chia pudding?
If you accidentally over-salted, add a small amount of lemon juice or extra sweetener to balance flavors. Alternatively, stir in additional unsweetened milk and seeds (maintaining ratios) to dilute the saltiness.
Can I use chia seeds past their expiration date?
Chia seeds have a long shelf life if stored properly in a cool, dark place. However, expired seeds may have reduced gel-forming ability. Test by soaking 1 tablespoon in 3 tablespoons of water for 15 minutes – if it doesn’t form a gel, replace them.
Quick way to grow your Chia Pudding in 5 minutes
Ingredients
Equipment
Method
- Combine chia seeds, milk, and sweetener (if using) in a small bowl or jar.
- Stir well to ensure there are no clumps of chia seeds.
- Let it sit for 5 minutes, stirring occasionally, until the pudding thickens.
- Serve immediately or refrigerate for later enjoyment.