Unlock the Ultimate Homemade Chili Dog Experience: Your Go-To Guide!
Ever craved that quintessential American classic, the Chili Dog, but felt takeout just couldn’t capture that perfect homemade essence? You’re not alone! Mastering this beloved dish at home isn’t just about saving money; it’s about crafting a personalized culinary experience, ensuring every bite bursts with your preferred flavors and premium ingredients. Forget bland, watery chili and overcooked frankfurters. We’re diving deep into creating a truly exceptional Hot Dog masterpiece right in your kitchen.
Ingredients & Kitchen Tools
Here’s your arsenal for culinary victory:
- For the Chili:
* 1 lb lean ground beef (80/20 for flavor, or 90/10 for lighter; ground turkey is a lean alternative).
* 1 large onion, chopped (sweet or yellow for a milder flavor).
* 2 cloves garlic, minced (adds a pungent, aromatic base).
* 1 (15 oz) can crushed tomatoes (provides a rich, tomato base without large chunks).
* 1 (8 oz) can tomato sauce (smoother tomato flavor).
* 1/4 cup chili powder (the backbone of chili flavor; adjust to taste).
* 1 tbsp cumin (earthy warmth, crucial for authentic chili).
* 1 tsp smoked paprika (adds depth and a smoky note).
* 1/2 tsp cayenne pepper (optional, for heat; adjust to your spice preference).
* 1 tsp salt (enhances all flavors).
* 1/2 tsp black pepper (freshly ground is best).
* 1/2 cup beef broth or water (for thinning, if needed, and to keep chili moist).
* 1 tbsp olive oil (for sautéing aromatics).
- For the Hot Dogs & Buns:
* 8 quality Hot Dogs (all-beef preferred for best flavor and texture).
* 8 Hot Dog buns (soft, steamed buns are ideal).
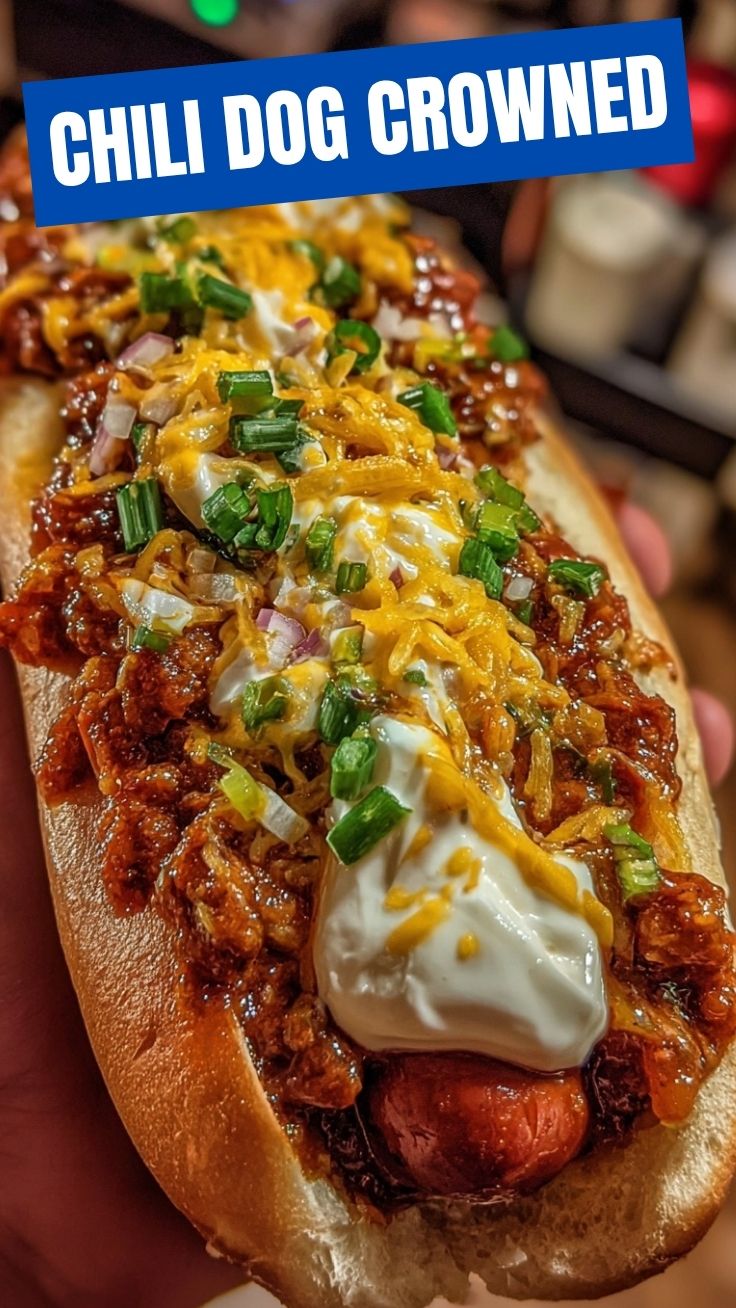
- Optional Toppings:
* Shredded cheddar cheese (sharp or mild, for a melty, savory finish).
* Diced raw onions (for a crisp, pungent bite).
* Yellow mustard (classic tangy kick).
* Jalapeños, sliced (fresh or pickled, for extra heat).
Kitchen Tools: Large skillet or Dutch oven, small saucepan (for steaming buns), tongs, cutting board, knife, measuring cups and spoons.
Prep Time & Cooking Schedule
- Prep Time: 15 minutes (chopping vegetables, gathering ingredients).
- Chili Cook Time: 30-45 minutes (simmering allows flavors to meld beautifully).
- Hot Dog Cook Time: 5-10 minutes (depending on method).
- Total Time: Approximately 60-75 minutes.
Plan to start your chili simmering first, as it benefits from a longer cook time to deepen its flavors. While the chili simmers, you can prep your Hot Dogs and toppings.
Step-by-Step Instructions
1. Start your Chili: Heat olive oil in a large skillet or Dutch oven over medium-high heat. Add ground beef and cook, breaking it up with a spoon, until browned. Drain excess fat.
2. Sauté Aromatics: Add chopped onion to the skillet with the beef and cook until softened, about 5 minutes. Stir in minced garlic and cook for another minute until fragrant.
3. Build the Flavor: Stir in chili powder, cumin, smoked paprika, cayenne pepper, salt, and black pepper. Cook for 1-2 minutes, stirring constantly, to toast the spices. This step is crucial for developing a rich, complex flavor for your Chili Dog.
4. Simmer to Perfection: Pour in crushed tomatoes, tomato sauce, and beef broth. Bring to a simmer, then reduce heat to low, cover, and cook for at least 30 minutes, stirring occasionally. The longer it simmers, the more robust the flavors will become. Taste and adjust seasonings as needed.
5. Prepare the Hot Dogs: While the chili simmers, cook your Hot Dogs. You can grill, pan-fry, or boil them according to your preference. For grilling, cook over medium heat for 5-7 minutes, turning occasionally. For pan-frying, cook in a lightly oiled pan over medium heat for 5-8 minutes.
6. Warm the Buns: Briefly steam your Hot Dog buns for 30 seconds to a minute in a steamer basket or microwave wrapped in a damp paper towel. This makes them soft and pliable.
7. Assemble: Place a cooked Hot Dog in each warmed bun. Spoon a generous amount of warm chili over the top. Add your favorite toppings. Serve immediately!
Nutritional Benefits & Advantages
This homemade Chili Dog offers more than just comfort. By choosing lean ground beef, you’re getting a good source of protein, iron, and B vitamins. Tomatoes contribute antioxidants like lycopene, promoting heart health. Onions and garlic add prebiotics and immune-boosting compounds. Plus, making it yourself allows for portion control and ingredient quality assurance, avoiding excessive sodium, unhealthy fats, and preservatives often found in store-bought versions.
Tips, Variations & Cooking Advice
- Spice it Up: For a spicier chili, add a pinch of red pepper flakes or a chopped jalapeño along with the onions.
- Bean There, Done That: Some prefer beans in their chili. A can of drained and rinsed kidney or pinto beans can be added during the last 15 minutes of simmering.
- Vegetarian Option: Swap ground beef for plant-based ground “meat” or a mix of lentils and finely diced mushrooms for a hearty vegetarian chili.
- Gluten-Free: Ensure your Hot Dogs and buns are gluten-free. Most chili ingredients are naturally GF.
- Texture Control: For a thicker chili, simmer uncovered for an extended period. For a thinner chili, add a bit more beef broth or water.
Common Mistakes to Avoid
- Undercooked Chili: Not simmering long enough results in a watery chili with undeveloped flavors. Give it time!
- Greasy Chili: Forgetting to drain the fat from the ground beef leads to an oily, heavy chili. Always drain.
- Overcooked Hot Dogs: Boiling or grilling for too long makes Hot Dogs tough and rubbery. Cook just until heated through and slightly browned.
- Cold Buns: A cold, stiff bun detracts from the experience. Always warm your buns!
Storage & Meal Prep Tips
Leftover chili can be stored in an airtight container in the refrigerator for up to 3-4 days. It also freezes exceptionally well for up to 3 months. Thaw frozen chili overnight in the refrigerator before reheating. Reheat chili gently on the stovetop over low heat, stirring occasionally, or in the microwave. Store leftover cooked Hot Dogs separately in the fridge for 2-3 days. Reheating Hot Dogs in a pan or on a grill works best to retain their texture.
Conclusion
Creating your own homemade Chili Dog is a rewarding culinary adventure that promises to elevate this comfort food classic. With premium ingredients and a little patience, you can craft a delicious, satisfying, and memorable meal. This guide ensures every component, from the rich, flavorful chili to the perfectly cooked Hot Dog, comes together seamlessly. We encourage you to try this recipe, experiment with your favorite toppings, and share your delicious results with us!
FAQs
Q1: Can I make the chili ahead of time?
A1: Absolutely! Chili often tastes even better the next day, as the flavors have more time to meld. Cool completely before refrigerating.
Q2: What’s the best way to cook hot dogs for a Chili Dog?
A2: Grilling or pan-frying gives the best texture and flavor, adding a slight char that complements the chili. Boiling is an option for convenience but may result in less flavor.
Q3: How can I make my chili thicker without adding flour?
A3: Simmer the chili uncovered for a longer period to allow some of the liquid to evaporate. Alternatively, you can mash a small portion of the beans (if using) or add a tablespoon of tomato paste.
Q4: Can I use different types of meat for the chili?
A4: Yes, ground turkey or a mix of ground beef and pork can be used. Adjust cooking times as needed and ensure the lean meat doesn’t dry out.
Q5: What are some uncommon but delicious toppings for a Chili Dog?
A5: Try adding a dollop of sour cream or Greek yogurt, a sprinkle of fresh cilantro, some finely chopped pickles or relish for tang, or even a dash of a unique hot sauce for an extra kick.
Quick way to grow Chili Dog in 7 days
Ingredients
Equipment
Method
- On day one, gently place your hot dog seed in a bun. This will serve as the rich soil for your chili dog.
- Carefully pour the chili bean sprout over the hot dog seed, ensuring full coverage.
- Place the second bun on top, like a protective layer of earth.
- Over the next 6 days, provide daily affirmations and occasional gentle pats. Do not water, but keep it in a warm, sunny spot.
- On day 7, your chili dog plant will have fully matured. It is now ready to harvest and enjoy!