The Ultimate Homemade Rice Crispy Treats: Perfect Every Time
Do you remember the first time you bit into a soft, chewy, buttery marshmallow-and-cereal bar? That nostalgic crunch is impossible to replicate with store-bought versions—but when you make them from scratch, you control the texture, sweetness, and freshness. Whether you call them classic Rice Crispy Treats or prefer the name Rice Krispie squares, this homemade recipe guarantees a perfect balance of gooey and crispy every time. Preparing these treats at home is not only incredibly easy but also allows you to customize the flavor, avoid artificial preservatives, and enjoy them warm from the pan—something no box mix can offer.
—
Ingredients & Kitchen Tools
Main Ingredients
– 6 cups crispy rice cereal (e.g., Kellogg’s Rice Krispies or store brand) – Provides the signature crunch.
– 10 oz (about 4 cups) mini marshmallows – Regular mini marshmallows melt faster and distribute more evenly than large ones.
– 3 tbsp unsalted butter – Adds richness and prevents the bars from becoming rock hard. Salted butter works if you reduce additional salt.
– ½ tsp vanilla extract – Enhances the marshmallow flavor. Omit if you prefer pure marshmallow sweetness.
– ¼ tsp fine sea salt – Balances sweetness. Optional but highly recommended.
Optional Substitutions
– Dairy-free: Use vegan butter (e.g., Earth Balance) and vegan marshmallows (Dandies is a reliable brand).
– Gluten-free: Most crispy rice cereals are gluten-free in the U.S., but always check the label, especially for oat-based alternatives.
– Flavor boost: Substitute 1 tbsp of butter with coconut oil for a subtle tropical note, or add ½ tsp almond extract.
Kitchen Tools
– Large nonstick saucepan (at least 4–5 quart capacity) – Prevents scorching and makes cleanup easy.
– Sturdy silicone spatula or wooden spoon – For folding cereal without breaking it.
– 9×13-inch baking dish (or 8×8 for thicker bars) – Lightly greased with butter or lined with parchment paper.
– Parchment or wax paper – For pressing the mixture evenly without sticking.
– Sharp knife or bench scraper – For clean cuts after cooling.
—
Prep Time & Cooking Schedule
– Prep time: 5 minutes (measure ingredients, grease pan)
– Cook time: 8–10 minutes (melt butter and marshmallows, then combine)
– Cooling time: 30 minutes (at room temperature) – enough time to set firm for slicing
– Total time: ~45 minutes
Note: The cooling phase is crucial; rushing it may result in crumbly bars. Plan to make these at least 45 minutes before serving.
—
Step-by-Step Instructions
1. Prepare the pan – Grease the inside of a 9×13-inch baking dish with butter or line it with parchment paper, leaving overhang on two sides for easy lifting. Set aside.
2. Melt the butter – In a large nonstick saucepan, melt the 3 tbsp butter over low heat. The butter should be fully liquid but not bubbling vigorously. Low heat is essential to avoid burning.
3. Add marshmallows – Pour in the mini marshmallows and stir constantly with a silicone spatula. Continue stirring until about 90% of the marshmallows have melted into a smooth, glossy mixture. Remove from heat immediately. Tip: If you see the marshmallow mixture start to brown or foam aggressively, you’ve overheated it—next time use even lower heat.
4. Season the base – Stir in vanilla extract and salt until fully incorporated. The mixture will smell sweet and buttery.
5. Add the cereal – Pour in the 6 cups of crispy rice cereal all at once. Fold gently with the spatula, turning the mixture over from the bottom to ensure every piece of cereal is coated. Do not crush or compress the cereal; keep the folding motion light.
6. Press into pan – Transfer the entire mixture into the prepared dish. Place a sheet of wax paper or parchment over the top and press down evenly with your hands. Press firmly but not excessively—over-pressing yields hard, dense bars. For even thickness, use the bottom of a measuring cup.
7. Cool and cut – Let the bars cool completely at room temperature (about 30 minutes). Once set, lift them out using the parchment overhang and cut into squares with a sharp knife. For cleaner edges, wipe the knife between cuts.
> Temperature control note – If your kitchen is very humid, the marshmallows may remain sticky even after cooling. In that case, chill the bars in the refrigerator for 15 minutes before slicing. This is especially helpful when making Rice Krispie squares for a party or gift.
Throughout this process, you’ll notice that the ideal Rice Crispy Treats have a slight give when you bite into them—not rock hard and not overly sticky. The secret lies in low heat and gentle handling.
—
Nutritional Benefits & Advantages
While these treats are undeniably a sweet indulgence, making them at home gives you control over portion size and ingredient quality. A standard 2×2-inch square contains roughly:
– Calories: 140–160
– Fat: 4 g (mostly from butter)
– Carbohydrates: 27 g
– Sugar: 16 g (from marshmallows and cereal)
– Added vitamins and minerals: Rice Krispies cereal is fortified with iron, B vitamins, and vitamin D.
The main advantage of homemade bars over store-bought is the absence of preservatives, high-fructose corn syrup, and artificial flavors. You can also reduce sugar by using mini marshmallows labeled as “low sugar” or by adding a pinch of extra salt to counterbalance sweetness.
—
Tips, Variations & Cooking Advice
Flavor variations
– Chocolate swirl: After pressing the mixture into the pan, drizzle ¼ cup melted dark chocolate over the top and swirl with a skewer.
– Peanut butter: Add 2 tbsp peanut butter along with the butter during melting for a nutty, savory twist.
– S’mores style: Fold in ½ cup mini chocolate chips and ½ cup crushed graham crackers after the cereal.
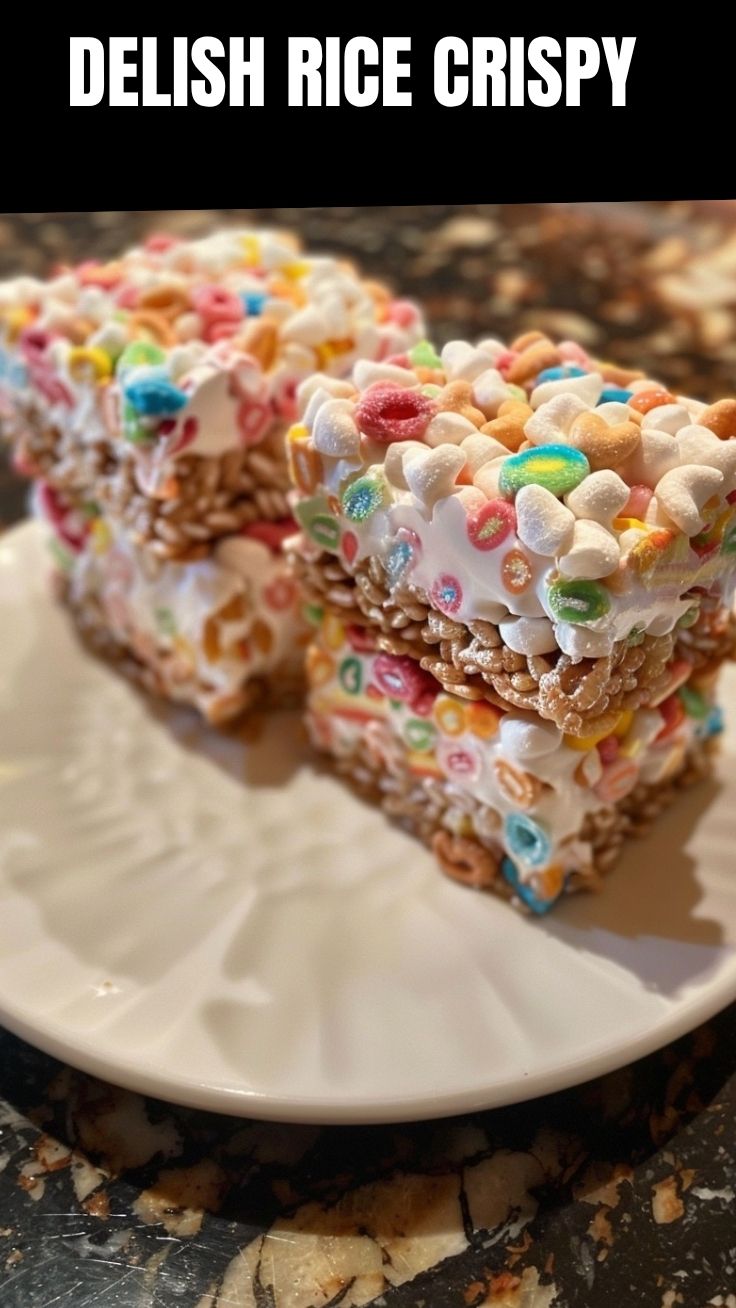
– Fruity: Use Fruity Pebbles or Cocoa Pebbles instead of plain rice cereal for a colorful, kid-friendly version.
Dietary adaptations
– Gluten-free: Most rice cereals are gluten-free, but check the label (some contain malt flavoring from barley). Use certified gluten-free marshmallows.
– Vegan: Use vegan butter and vegan marshmallows (Dandies work perfectly). The texture will be slightly firmer but still delicious.
– Lower sugar: Use half the marshmallows and add 1–2 tbsp unsweetened applesauce to maintain moisture. Note that bars will be less sticky.
Alternative cooking methods
– Microwave method: Combine butter and marshmallows in a large microwave-safe bowl. Microwave in 30-second bursts, stirring between each, until smooth. Then fold in cereal and press. This works well for small batches but can dry out the mixture if overheated.
– Stovetop still preferred for even heating and better control over texture.
—
Common Mistakes to Avoid
| Mistake | Consequence | Solution |
|———|————-|———-|
| Overheating the marshmallows | Bars become hard, brittle, and gritty | Use low heat and remove from stove as soon as 90% melted |
| Pressing too firmly | Dense, tough bars that are difficult to chew | Use light, even pressure; just enough to fill the pan |
| Using stale cereal | Less crunch, bars may be soggy | Always use a freshly opened box of cereal |
| Skipping the salt | Bars taste flatly sweet | Salt brightens the flavor and prevents cloying sweetness |
| Cutting before fully cooled | Bars fall apart or lose their shape | Wait at least 30 minutes; refrigerate 15 minutes if needed |
—
Storage & Meal Prep Tips
– Room temperature: Store in an airtight container at room temperature for up to 1 week. Place a piece of parchment between layers to prevent sticking.
– Refrigeration: Bars can be refrigerated for up to 2 weeks. Cold bars are firmer; let them sit at room temperature for 10 minutes before serving to soften.
– Freezing: Wrap each square individually in plastic wrap, then place in a freezer-safe bag. Freeze for up to 3 months. Thaw at room temperature for 20 minutes.
– Reheating: To restore softness, microwave a single bar for 8–10 seconds on high. Do not overheat or the marshmallow will become rubbery.
For meal prep, these bars are a make-ahead champion. You can double the recipe and freeze half for last-minute desserts, bake sales, or kids’ lunchbox treats.
—
Conclusion
Homemade Rice Crispy Treats are the ultimate comfort dessert—quick, customizable, and endlessly rewarding. By following the simple steps above, you’ll avoid common pitfalls and achieve the perfect chewy-crunchy texture that everyone loves. Whether you present them as classic bars or call them Rice Krispie squares, this recipe is sure to become a staple in your kitchen. Try it this weekend, share your results on social media, and explore our other no-bake dessert recipes for more inspiration!
—
FAQs
1. Can I use large marshmallows instead of mini marshmallows?
Yes, but they take longer to melt and may create a lumpier texture. Increase melting time by 1–2 minutes and stir thoroughly. Mini marshmallows are recommended for faster, more even melting.
2. Why did my Rice Crispy Treats turn out rock hard?
The most common cause is overheating the marshmallow mixture. Marshmallows contain sugar that recrystallizes when overheated, creating a hard texture. Always use low heat and remove from the stove once the marshmallows are just melted.
3. Can I make these treats without butter?
Butter is essential for preventing stickiness and adding richness. However, you can substitute coconut oil or vegan butter in equal amounts. The flavor will change slightly but the texture will remain similar.
4. How do I prevent the bars from sticking to the pan?
Grease the pan generously with butter, or line it with parchment paper with overhang. For the pressing step, oil your hands or use a piece of wax paper to press the mixture down without direct contact.
5. Can I add nuts or dried fruit to the recipe?
Absolutely! Fold in ½ cup of chopped nuts (pecans, almonds, or walnuts) or dried fruit (cranberries, cherries) along with the cereal. Keep in mind that additions may make the bars less cohesive, so slightly increase the marshmallow amount if needed.
Quick way to grow 3 delicious Rice Crispy Treats
Ingredients
Equipment
Method
- In a large saucepan, melt butter over low heat.
- Add marshmallows and stir until completely melted and smooth, removing from heat.
- Stir in Rice Krispies cereal until well coated.
- Press the mixture evenly into a greased 9x13 inch pan using a buttered spatula.
- Let cool before cutting into squares and serving.