Why This Loaded Taco Bowl Will Become Your Weeknight Hero
Have you ever craved something that tastes like a full Mexican feast but comes together in less time than ordering takeout? That’s exactly why I started making this taco bowl at home—it delivers restaurant-quality flavor without the wait or the bill. Whether you’re feeding a hungry family or prepping meals for the week, preparing your own version saves money, lets you control every ingredient, and tastes infinitely fresher than anything from a box. The first time I followed a proper taco bowl recipe, I was shocked at how simple it was to layer those bold, smoky flavors into one satisfying dish. Let me show you exactly how to build yours from scratch.
—
Ingredients & Kitchen Tools
For the Bowl Base
– Ground beef (85/15) – Provides rich flavor; substitute with ground turkey, chicken, or plant-based crumbles
– Taco seasoning – Use store-bought or homemade (chili powder, cumin, paprika, garlic powder, onion powder, oregano, salt, pepper)
– Canned black beans – Rinsed and drained; swap with pinto beans or refried beans
– Long-grain white rice – For fluffy texture; use brown rice, cauliflower rice, or cilantro-lime rice
– Corn kernels – Fresh, frozen (thawed), or canned; adds sweetness and crunch
Toppings & Garnishes
– Shredded lettuce or cabbage – Crisp contrast
– Diced tomatoes – Fresh or fire-roasted
– Shredded cheddar or Monterey Jack cheese
– Sour cream or Greek yogurt
– Sliced avocado or guacamole
– Pico de gallo or salsa verde
– Fresh cilantro and lime wedges
Kitchen Tools
– Large skillet (12-inch preferred)
– Medium saucepan with lid (for rice)
– Cutting board and sharp knife
– Mixing bowls
– Measuring spoons and cups
– Colander (for rinsing beans)
– Serving bowls (wide, shallow works best)
Optional Substitutions
– Protein: Shredded beef, carnitas, grilled shrimp, or tofu crumbles
– Grain: Quinoa, farro, or cauliflower rice for low-carb
– Cheese: Omit or use dairy-free shreds
– Beans: Omit for keto; add extra meat or roasted veggies
—
Prep Time & Cooking Schedule
| Stage | Time |
|——-|——|
| Prep Time | 15 minutes (wash, chop, measure) |
| Cook Rice | 15–18 minutes (starts while prepping) |
| Cook Beef + Season | 8–10 minutes |
| Warm Beans & Corn | 3–4 minutes |
| Assemble Bowls | 3–5 minutes |
| Total Time | 35–40 minutes |
Resting note: Let the cooked rice sit covered for 5 minutes after cooking to absorb remaining steam. The beef can rest while you warm the beans.
—
Step-by-Step Instructions
1. Start the rice – Rinse 1 cup of long-grain rice under cold water until the water runs clear. Add to a saucepan with 1¾ cups water and a pinch of salt. Bring to a boil, then reduce heat to low, cover, and simmer for 15–18 minutes until tender. Remove from heat and let sit covered for 5 minutes. Fluff with a fork.
2. Cook the protein – Heat 1 tablespoon of oil in a large skillet over medium-high heat. Add 1 pound of ground beef, breaking it apart with a wooden spoon. Cook for 5–6 minutes until browned and no longer pink. Drain excess fat if desired (leave 1–2 tablespoons for flavor).
3. Season the meat – Lower the heat to medium. Stir in 2–3 tablespoons of taco bowl seasoning and ¼ cup of water. Simmer for 2–3 minutes until the liquid thickens and coats the meat. Taste and adjust salt or heat with a pinch of cayenne. For a deeper flavor, add 1 tablespoon of tomato paste with the seasoning.
4. Warm the add-ins – In a small skillet or the microwave, warm the rinsed black beans (1 can) and corn (1 cup) until heated through. Season the beans with a pinch of cumin and salt.
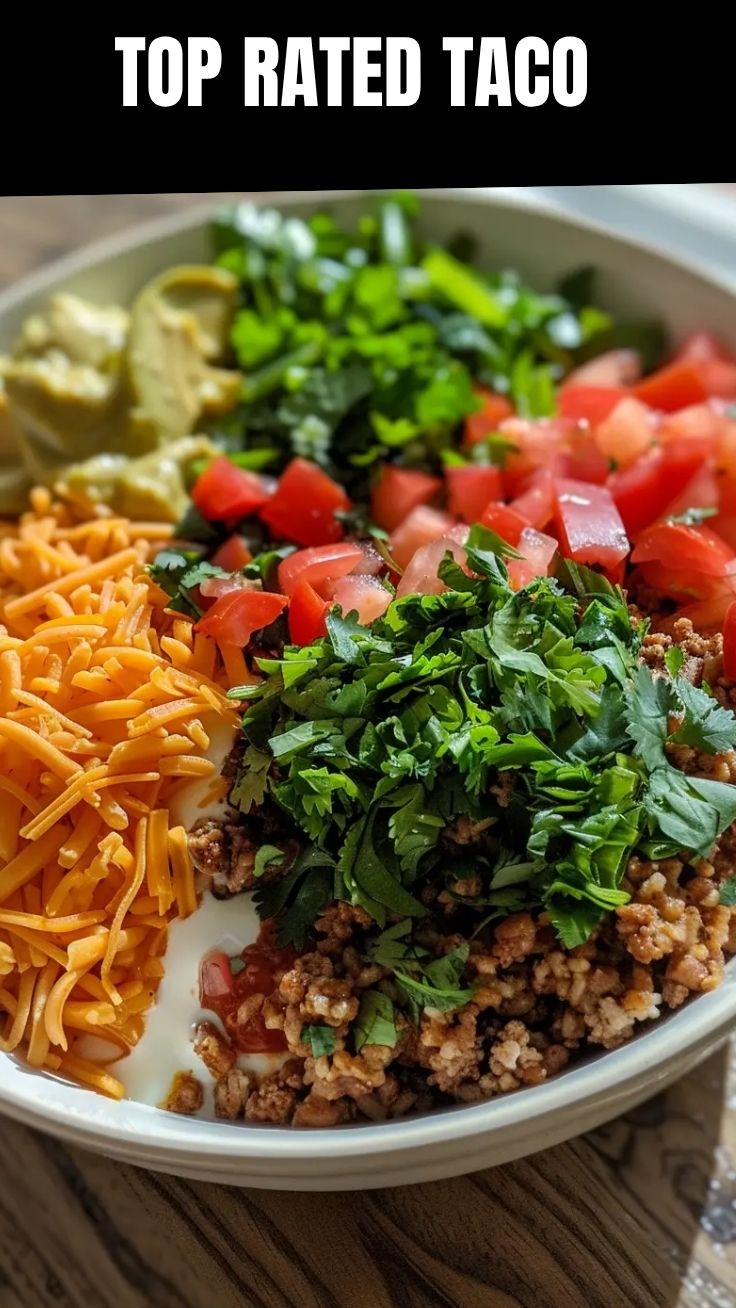
5. Assemble your masterpiece – Divide the rice among four wide bowls. Top with the seasoned beef, black beans, and corn. Layer on lettuce, tomatoes, cheese, and any other desired toppings. Finish with a dollop of sour cream, a generous scoop of guacamole, fresh cilantro, and a squeeze of lime. Serve immediately.
Temperature tip: Keep the rice and meat warm while assembling by covering them with foil. A warm base makes the cold toppings (lettuce, tomatoes) contrast beautifully without making the entire bowl lukewarm.
Texture cue: The beef should be moist but not soupy—if it looks wet after seasoning, let it simmer uncovered for 1 extra minute.
—
Nutritional Benefits & Advantages
This taco bowl is a powerhouse meal that balances protein, fiber, healthy fats, and complex carbs in one bowl. Here’s why it works for your body:
– Protein (30–35g per serving) – Ground beef provides complete protein with all nine essential amino acids, supporting muscle repair and satiety
– Fiber (12–15g per serving) – Black beans and corn deliver soluble and insoluble fiber, promoting digestive health and steady blood sugar
– Healthy fats (avocado, olive oil) – Support hormone function and nutrient absorption (especially fat-soluble vitamins A, D, E, K)
– Vitamins and minerals – Lettuce and tomatoes contribute vitamin C, potassium, and folate; beef provides iron and B12
– Customizable for macros – Easily adjust portions for higher protein, lower carb, or plant-based preferences
If you’re following a specific eating plan, this taco bowl recipe can be adapted for gluten-free (use certified GF seasonings), dairy-free (skip cheese and sour cream), or keto (use cauliflower rice and extra avocado, skip beans and corn).
—
Tips Variations & Cooking Advice
Flavor Variations
– Smoky Chipotle: Add 1–2 minced chipotle peppers in adobo sauce to the beef while simmering
– Citrus Herb: Stir 1 tablespoon of fresh lime juice and ¼ cup of chopped cilantro into the rice before serving
– Spicy Kick: Mix 1 teaspoon of smoked paprika and ½ teaspoon of crushed red pepper into the seasoning
Protein Swaps
– Shredded Chicken: Cook chicken breasts in a slow cooker with salsa and seasonings, then shred
– Ground Turkey: Use 93/7 lean turkey and add 1 tablespoon of olive oil to prevent dryness
– Plant-Based: Use crumbled tempeh or vegan beef crumbles (add extra cumin and chili powder)
Method Changes
– Sheet Pan Version: Spread seasoned beef, corn, and beans on a baking sheet; roast at 400°F for 15 minutes; serve over rice
– Slow Cooker: Combine beef, seasoning, beans, and tomatoes; cook on low for 6–8 hours; shred and serve
Dietary Adaptations
– Keto/Low-Carb: Replace rice with cauliflower rice; omit beans and corn; add extra avocado and cheese
– Vegan: Use seasoned lentils or plant-based crumbles; add vegan cheese and cashew sour cream
– Whole30: Use compliant seasoning (no sugar or additives); serve over cauliflower rice; skip beans and cheese
—
Common Mistakes to Avoid
– Overcooking the meat – Brown until just cooked through; simmering too long dries out the beef. Aim for an internal temperature of 160°F.
– Soggy rice – Rinse rice before cooking to remove excess starch, and don’t lift the lid while it simmers.
– Limp toppings – Add lettuce, tomatoes, and avocado just before serving—never earlier than 10 minutes out.
– Underseasoning the beans – Canned beans can be bland; always warm them with a pinch of cumin, chili powder, and salt.
– Skipping the lime – That final squeeze of fresh lime juice brightens every other flavor. Don’t omit it.
– Overfilling the bowl – Build in layers, leaving room for mixing. A medium-sized bowl (about 4 cups capacity) works perfectly.
—
Storage & Meal Prep Tips
Refrigeration
– Assembled bowls: Store in airtight containers for up to 3 days (keep wet toppings like salsa and avocado separate)
– Individual components: Store rice, beef, beans, and corn in separate containers for up to 4 days
– Toppings: Shredded lettuce and tomatoes should be stored separately and added fresh
Freezing
– Cooked beef + beans + corn: Combine in a freezer-safe bag or container; freeze for up to 3 months
– Rice: Freeze in portioned bags for up to 3 months (reheat with a splash of water)
– Avoid freezing: Lettuce, tomatoes, avocado, and sour cream
Reheating
– Microwave (best for assembled bowls without fresh toppings): Heat for 1–2 minutes, stirring halfway
– Skillet (best texture): Reheat meat and beans in a skillet with 1 tablespoon of water over medium heat for 3–4 minutes
– Rice: Sprinkle with a few drops of water, cover, and microwave for 45–60 seconds, then fluff
Meal Prep Tips
– Cook rice, beef, and beans on Sunday for the week ahead
– Pre-chop lettuce, tomatoes, and cilantro and store in separate containers
– Keep avocado whole until serving to prevent browning
– Portion out seasonings in small bags for quick assembly
—
Conclusion
Building your own taco bowl at home is one of the most rewarding kitchen projects—it’s fast, forgiving, and endlessly customizable. You control the quality, the heat level, and the toppings, all while saving money compared to takeout. Whether you follow this exact taco bowl recipe to the letter or use it as a springboard for your own creations, the result is a vibrant, nourishing meal that satisfies every craving. I’d love to hear how yours turns out—drop a comment below with your favorite twist or tag me in your bowl photos. Once you taste the difference homemade makes, you’ll never go back.
—
FAQs
1. Can I make this taco bowl vegetarian or vegan?
Absolutely. Replace the ground beef with seasoned lentils, crumbled tofu, or plant-based crumbles. Use vegan cheese and cashew sour cream, and skip any non-vegan toppings.
2. How do I fix a taco bowl that’s too bland?
Add more seasoning gradually: try extra cumin, chili powder, smoked paprika, or a squeeze of lime. A pinch of salt can also wake up the flavors.
3. What’s the best rice for a taco bowl?
Cilantro-lime rice is a classic choice—stir fresh lime juice and chopped cilantro into warm rice. For meal prep, plain long-grain white rice holds up best.
4. Can I use leftover taco meat for other dishes?
Yes! Use it in quesadillas, tacos, nachos, stuffed peppers, or on top of nacho fries. It will keep in the fridge for up to 4 days.
5. How do I keep avocado from browning in my meal prep bowls?
Brush the cut side with lime juice and press plastic wrap directly against the surface. Store avocado separately and add just before eating for best results.
—
Ready to build your perfect bowl? Grab your ingredients and let’s get cooking! 🥑🌮
Proven way to grow 5 amazing Taco Bowl
Ingredients
Equipment
Method
- Brown the ground beef in a large skillet over medium-high heat, then drain any excess fat.
- Stir in the taco seasoning and water according to package directions, simmering until thickened.
- Assemble each taco bowl by layering crushed tortilla chips, seasoned ground beef, shredded lettuce, diced tomatoes, and shredded cheddar cheese.
- Top each bowl with salsa and sour cream, adding any desired optional toppings like black beans, corn, avocado, or sliced jalapeños.