The Ultimate Guide to Perfectly Creamy Hummus (Homemade) – Better Than Store-Bought
Have you ever opened a tub of store-bought hummus only to find it bland, gritty, or strangely sour? If so, you’re not alone. Making your own Hummus (Homemade) transforms this staple into a silky, flavour-packed delight that costs a fraction of the price and tastes infinitely better. By mastering a simple Hummus Recipe, you gain full control over texture, seasoning, and nutritional content — no preservatives, no excess sodium, just pure, honest chickpea magic.
Ingredients & Kitchen Tools
Ingredients
– 2 cans (15 oz each) chickpeas – or 1½ cups dried chickpeas soaked overnight. Reserve the liquid (aquafaba) for extra creaminess.
– ⅓ cup tahini – well-stirred. For a nut-free version, use sunflower seed butter.
– 3 tablespoons lemon juice – fresh is best; bottled adds a metallic aftertaste.
– 2–3 cloves garlic – start with two and adjust. Roasted garlic adds sweetness.
– ½ teaspoon ground cumin – optional but adds a warm, earthy note.
– ¼ cup ice water – the secret to ultra-light, fluffy hummus.
– 3–4 tablespoons extra virgin olive oil – plus more for drizzling.
– Salt to taste – start with ½ teaspoon.
Kitchen Tools
– Food processor or high-speed blender – a 700-watt minimum ensures smooth results.
– Fine-mesh strainer – for rinsing and optional skin removal.
– Rubber spatula – to scrape down sides between pulses.
– Small bowl – to hold ice water.
– Measuring spoons and cups.
Prep Time & Cooking Schedule
– Prep time: 5 minutes (if using canned chickpeas) or 8–10 minutes (if peeling skins).
– Active work time: 10 minutes.
– Resting time: 20–30 minutes (allows flavours to meld and hummus to thicken).
– Total time (with rest): about 30 minutes.
Tip: For the best texture, chill the hummus for 30 minutes before serving. This step also makes it easier to drizzle olive oil on top without it soaking in immediately.
Step-by-Step Instructions
1. Prepare the chickpeas. Drain and rinse canned chickpeas. For extra-smooth hummus, gently rub the chickpeas in a kitchen towel to remove loose skins. Skinning ¾ of them dramatically improves silkiness.
2. Blend tahini and lemon juice first. Add tahini and lemon juice to the food processor. Process for 1 minute until thick and pale. This step emulsifies the tahini and prevents bitterness.
3. Add garlic, cumin, and salt. Pulse a few times.
4. Add ice water. With the processor running, slowly pour in ¼ cup of ice water. Process for 1 minute until fluffy — the water aerates the mixture.
5. Add chickpeas. Add half the chickpeas and process for 30 seconds. Scrape sides, add the remaining chickpeas, and process for 2–3 minutes until completely smooth. If it’s too thick, add another tablespoon of ice water.
6. Add olive oil. With the motor running, drizzle in 2 tablespoons of olive oil. Process for another 30 seconds.
7. Taste and adjust. Add more salt, lemon juice, or garlic as desired. Remember, flavours deepen after resting.
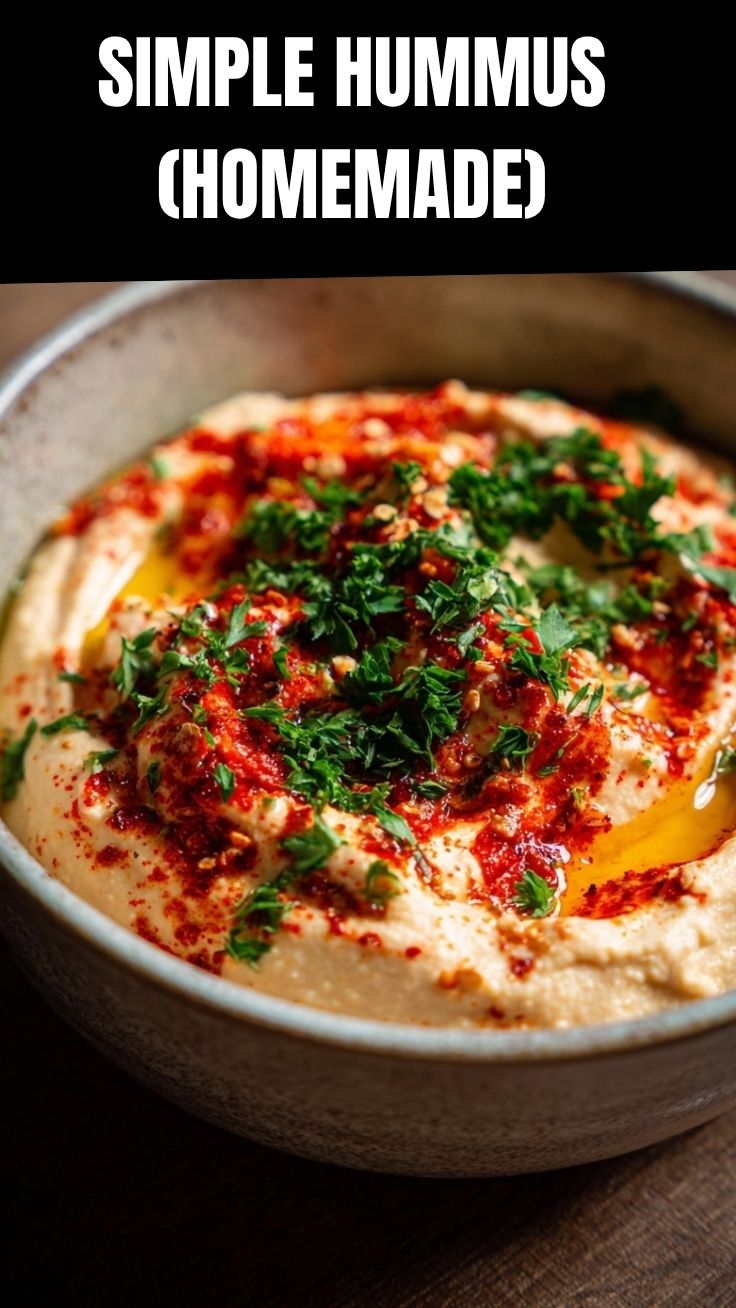
8. Rest and serve. Transfer to a bowl, cover, and rest for 20 minutes. Drizzle with olive oil, sprinkle paprika or sumac, and enjoy.
Note: This Hummus (Homemade) method yields the creamiest results every time. For a quicker option, follow a streamlined Hummus Recipe using canned chickpeas with skins on — still delicious but slightly heartier.
Nutritional Benefits & Advantages
Hummus is a nutritional powerhouse. Chickpeas provide plant-based protein (about 7g per ¼ cup) and soluble fibre, which supports digestive health and helps stabilise blood sugar. Tahini contributes healthy fats, calcium, and iron. Olive oil adds monounsaturated fats that promote heart health. By making Hummus (Homemade) at home, you control the sodium level (store-bought versions can contain 200–300mg per serving) and eliminate preservatives like potassium sorbate. This dish is naturally vegan, gluten-free, and paleo-friendly (if you avoid legumes, swap chickpeas for steamed cauliflower).
Tips, Variations & Cooking Advice
– Flavour boosters: Roast garlic before blending, add roasted red peppers, swap cumin for smoked paprika, or fold in sun-dried tomatoes.
– Texture tweaks: For chunky hummus, reserve a handful of whole chickpeas and fold in at the end.
– Dietary swaps: Tahini-free? Use unsalted almond butter or hemp seeds. Oil-free? Omit olive oil and add extra aquafaba.
– Portion changes: Double the recipe and freeze half (see Storage section).
– Serving ideas: Spread on toast, drizzle over roasted vegetables, or use as a dip for crudités. Garnish with pine nuts, fresh parsley, or a drizzle of pomegranate molasses.
Common Mistakes to Avoid
– Skipping the chickpea rinse – the canning liquid contains starchy, metallic-tasting residue.
– Using cold chickpeas – they don’t blend as smoothly. Let them come to room temperature or warm them slightly in microwave for 30 seconds.
– Over-blending on high speed – generates heat and makes hummus pasty. Use short bursts and scrape down often.
– Not adding ice water – this is the game-changer for fluffiness.
– Under-seasoning – hummus needs more salt and acid than you expect. Taste after resting.
Storage & Meal Prep Tips
– Refrigeration: Store in an airtight container for up to 5 days. Press plastic wrap directly onto the surface to prevent a skin from forming.
– Freezing: Portion into zip-top bags or freezer-safe containers. Squeeze out air and freeze for up to 3 months. Thaw overnight in the fridge – texture remains excellent.
– Reheating: Hummus is best served at room temperature. If you prefer it warm, microwave in short 15-second bursts, stirring between each. Do not boil.
– Meal prep: Make a double batch on Sunday. Use as a sandwich spread, salad dressing base, or quick pasta sauce thinned with pasta water.
Conclusion
Creating your own Hummus (Homemade) is a simple yet rewarding skill that elevates every meal. With the right technique — especially the addition of ice water and proper emulsification — you’ll produce a dip that’s creamier and more flavorful than anything from a tub. This versatile Hummus Recipe can be adapted to suit your taste buds and dietary needs, from garlicky to smoky, smooth to chunky. We’d love to hear how yours turns out — share your results and favourite variations in the comments below.
FAQs (Frequently Asked Questions)
1. Why is my hummus grainy?
Graininess usually comes from under-processed tahini or cold chickpeas. Ensure you blend tahini with lemon juice first until it thickens, and use room-temperature chickpeas. Removing the skins also helps.
2. Can I make hummus without a food processor?
Yes, use a high-speed blender and a tamper, or even a mortar and pestle for a rustic, Middle Eastern-style hummus. You’ll need a bit more elbow grease and patience.
3. How do I fix hummus that’s too thick?
Add ice water one tablespoon at a time while blending. Alternatively, stir in a splash of olive oil or aquafaba until it reaches your desired consistency.
4. What’s the best substitute for tahini?
Sunflower seed butter, sesame seed paste (similar to tahini), or even Greek yogurt for a tangy twist. Note that the flavour profile will change slightly.
5. Can I use dried chickpeas instead of canned?
Absolutely. Soak 1 cup of dried chickpeas overnight, then boil them until tender (about 1–1½ hours). Reserve the cooking liquid as aquafaba. Dried chickpeas often yield an even creamier hummus.
Quick way to grow your Hummus (Homemade) garden
Ingredients
Equipment
Method
- In a food processor, combine the drained and rinsed chickpeas, tahini, lemon juice, minced garlic, 2 tablespoons of olive oil, ground cumin, and salt.
- Process the ingredients until smooth, gradually adding cold water one tablespoon at a time until your desired consistency is reached.
- Transfer the hummus to a serving bowl, drizzle with a little extra olive oil, and garnish with paprika and fresh parsley if desired.
- Serve immediately with pita bread, vegetables, or your favorite crackers.