The Ultimate Guide to Perfectly Rich Chocolate Cake with Silky Frosting
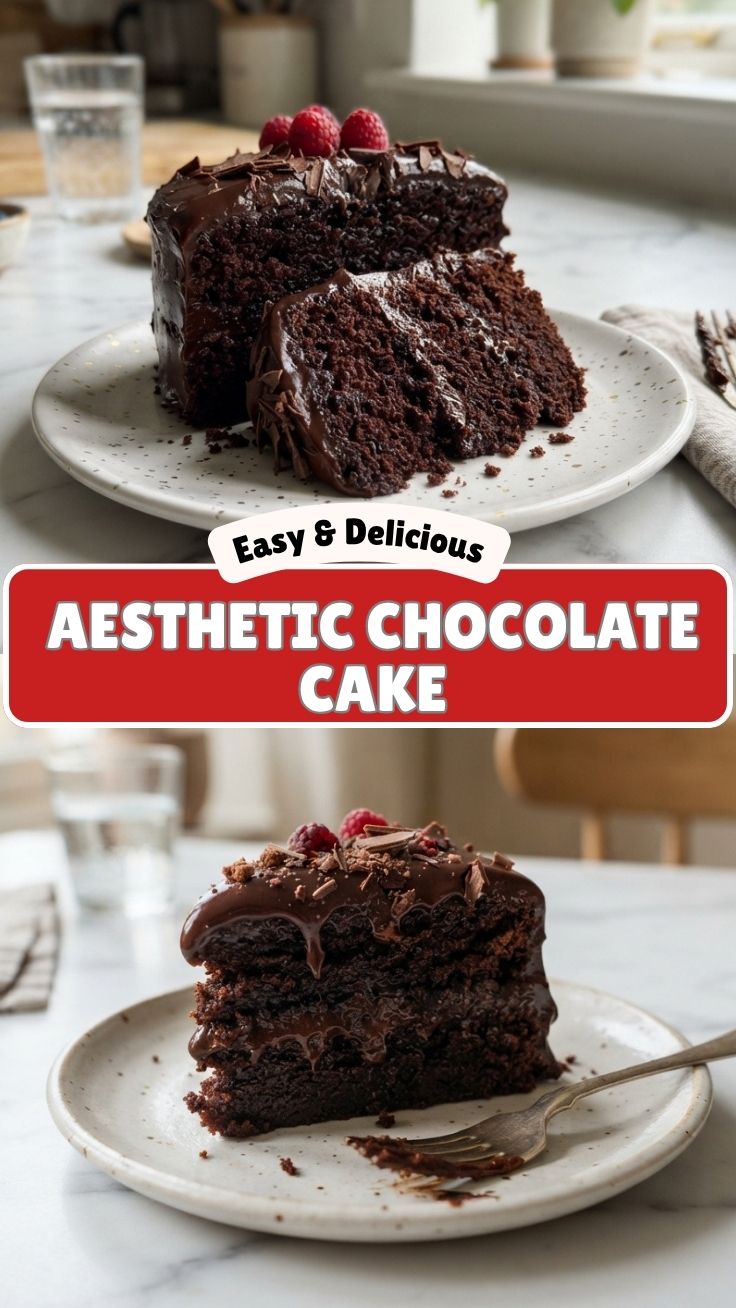
Have you ever craved a slice of decadent, melt-in-your-mouth chocolate cake that rivals your favorite bakery but wished you could make it at home without the fuss? You’re not alone. Mastering a homemade chocolate cake is not only rewarding but also allows you to control every ingredient, from the cocoa quality to the sweetness level. Whether it’s a birthday celebration or a simple weekend treat, learning to create a moist, tender crumb paired with a luscious frosting elevates your baking game to new heights. In this comprehensive guide, we’ll walk you through every step, ensuring your Chocolate Cake comes out perfect every time, while the Frosting provides that dreamy finishing touch.
Ingredients & Kitchen Tools
For the Chocolate Cake:
– 1 ¾ cups all-purpose flour – Provides structure; sift for a lighter crumb.
– ¾ cup unsweetened cocoa powder – Use Dutch-process for deeper flavor; natural works too.
– 2 cups granulated sugar – Creates tenderness and sweetness; can reduce to 1 ¾ cups.
– 2 large eggs – At room temperature for better emulsification.
– 1 cup buttermilk – Adds moisture and reacts with baking soda; substitute with milk + 1 tbsp vinegar.
– ½ cup vegetable oil – Keeps cake moist; can replace with melted butter for richness.
– 2 teaspoons vanilla extract – Enhances chocolate notes.
– 1 ½ teaspoons baking soda – Leavening agent; ensure freshness.
– 1 teaspoon baking powder – Extra lift for a fluffy texture.
– 1 teaspoon salt – Balances sweetness.
– ½ cup hot coffee – Intensifies chocolate flavor; can use hot water.
For the Frosting:
– 1 cup unsalted butter (softened) – Base for creamy texture.
– 3 ½ cups powdered sugar – Adjust for desired sweetness.
– ½ cup unsweetened cocoa powder – For chocolate version.
– ½ teaspoon salt – Cuts sweetness.
– 2 teaspoons vanilla extract – Adds warmth.
– ¼ cup heavy cream – Adjust for spreadability; use milk in a pinch.
Kitchen Tools:
– Two 9-inch round cake pans – Ensure they’re greased and floured.
– Electric mixer (stand or hand) – For smooth batter and frosting.
– Rubber spatula – For folding and scraping.
– Cooling rack – Prevents soggy bottoms.
– Offset spatula – For even frosting application.
Prep Time & Cooking Schedule
| Task | Time Required |
|——|————–|
| Prep Ingredients | 15 minutes |
| Bake Cake | 30–35 minutes |
| Cool Cakes | 1 hour |
| Make Frosting | 10 minutes |
| Assemble & Decorate | 20 minutes |
| Total Time | Approx. 2 hours 15 minutes |
Planning Tip: Bake the cake layers a day ahead. Wrap them tightly in plastic wrap once completely cool, then refrigerate. Frost just before serving for maximum freshness.
Step-by-Step Instructions
1. Preheat and Prep: Set oven to 350°F (175°C). Grease two 9-inch round pans, line bottoms with parchment, then dust with cocoa powder (not flour) to avoid white streaks.
2. Mix Dry Ingredients: In a large bowl, whisk flour, cocoa powder, sugar, baking soda, baking powder, and salt. This ensures even distribution of leavening agents.
3. Combine Wet Ingredients: In another bowl, whisk eggs, buttermilk, oil, and vanilla until smooth. Gradually add hot coffee while whisking—it will slightly cook the eggs but creates a velvety texture.
4. Make the Batter: Pour wet mixture into dry ingredients. Stir until just combined—do not overmix or the gluten will develop, making the cake tough. A few small lumps are fine.
5. Bake: Divide batter evenly between pans. Bake 30–35 minutes; test with a toothpick at 30 minutes—when inserted, it should come out with a few moist crumbs. Cool in pans for 10 minutes, then transfer to a wire rack to cool completely before frosting. At this stage, your Chocolate Cake will have a tender, airy crumb.
6. Make the Frosting: Beat softened butter until creamy (about 2 minutes). Gradually add powdered sugar and cocoa powder, then salt, vanilla, and heavy cream. Beat on medium-high for 3–4 minutes until light, fluffy, and spreadable. This Frosting should be smooth but hold its shape.
7. Assemble: Place one cake layer on a serving plate. Spread about 1 cup of frosting evenly. Top with second layer, then apply a thin crumb coat (a thin layer of frosting to seal in crumbs). Refrigerate 15 minutes, then apply final thick layer. Decorate as desired.
Pro Tip: For a crumb-free finish, chill the frosted cake for 30 minutes before slicing with a warm, dry knife.
Nutritional Benefits & Advantages
This homemade chocolate cake with rich frosting offers more than just indulgence. Dark cocoa powder is packed with flavonoids, which are antioxidants known to support heart health by improving blood flow and reducing inflammation. Using canola or avocado oil instead of butter reduces saturated fat, while buttermilk adds probiotics and calcium. By controlling sugar levels, you can reduce overall sweetness without sacrificing flavor. Plus, baking at home means zero preservatives or artificial additives—a cleaner treat for your family.
Tips Variations & Cooking Advice
– Flavor Variations: Add 1 teaspoon espresso powder to the batter for deeper chocolate notes. Try orange zest or peppermint extract in the frosting for a twist.
– Dietary Adaptations: For gluten-free, substitute 1:1 gluten-free flour blend (with xanthan gum). For dairy-free, use almond milk + 1 tsp vinegar (for buttermilk), vegan butter, and coconut cream in frosting.
– Alternative Methods: Make cupcakes (bake 18–22 minutes) or a sheet cake (bake 25–30 minutes). For a layer cake, use three 8-inch pans for taller slices.
– Portion Changes: Halve the recipe for a small 6-inch cake or double for a tiered celebration cake.
Common Mistakes to Avoid
– Overmixing Batter: Results in a dense, rubbery cake. Mix until just combined.
– Skipping Coffee: Hot liquid is essential for dissolving cocoa and activating baking soda. Don’t omit it.
– Frosting Too Warm: If buttercream is too soft, add extra powdered sugar or chill it 10 minutes before applying.
– Uneven Layers: Use a kitchen scale to weigh batter per pan for consistent thickness.
– Cutting Cake Too Early: Always cool completely (1 hour minimum) or frosting will melt and cake may crumble.
Storage & Meal Prep Tips
– Refrigeration: Store frosted cake in an airtight container in the fridge for up to 5 days. Bring to room temperature (30 minutes) before serving for best flavor.
– Freezing: Wrap unfrosted cake layers tightly in plastic wrap, then foil. Freeze up to 3 months. Thaw in fridge overnight before frosting.
– Frosting Storage: Leftover frosting keeps in the fridge for 2 weeks. Rewhip before using.
– Reheating: Warm individual slices in microwave for 10–15 seconds for a “fresh from the oven” experience.
Conclusion
Mastering a classic chocolate cake paired with velvety frosting is a skill every home baker should have. From perfectly tender layers to a smooth, decadent topping, this recipe delivers consistent results you can be proud of. Whether you’re celebrating a special occasion or simply satisfying a sweet craving, this homemade version beats anything store-bought—and you’ll know exactly what went into it. We encourage you to try this recipe, share your baking triumph on social media, or experiment with the variations above. Happy baking!
FAQs
1. Can I use this recipe for a gluten-free chocolate cake?
Yes! Substitute all-purpose flour with a 1:1 gluten-free baking blend containing xanthan gum. Reduce baking time by 2–3 minutes and check doneness early.
2. Why did my cake sink in the middle?
This often happens if the oven door is opened too early (before 30 minutes) or if the batter is overmixed. Ensure proper leavening agent freshness and avoid opening the oven during the first 25 minutes of baking.
3. Can I make the frosting less sweet?
Absolutely. Reduce powdered sugar to 3 cups and add an extra 2 tablespoons of heavy cream. You can also use dark cocoa powder for a less sweet, more intense flavor.
4. How do I fix runny buttercream frosting?
Whip in an additional ¼ cup of powdered sugar, or refrigerate the frosting for 15 minutes, then re-whip until stiff peaks form. Ensure your butter was not too soft when starting.
5. Can I substitute coconut oil for butter in the cake?
Yes, but use refined coconut oil for neutral flavor. Melt it and let it cool slightly before mixing. The texture may be slightly denser but still moist.
Proven way to grow a rich Chocolate Cake in 7 days. Chocolate Cake
Ingredients
Equipment
Method
- Days 1-3: Gather your ingredients and equipment, ensuring you have everything needed for a successful bake.
- Day 4: In a large bowl, combine flour, sugar, cocoa powder, baking soda, baking powder, and salt. Whisk until well blended.
- Day 5: In a separate bowl, whisk together buttermilk, milk, vegetable oil, eggs, and vanilla extract. Gradually add the wet ingredients to the dry ingredients, mixing until just combined.
- Day 6: Pour boiling water into the batter and mix until smooth. Divide the batter evenly into two greased and floured 9-inch round cake pans. Bake at 350°F (175°C) for 30-35 minutes, or until a toothpick inserted into the center comes out clean. Let cakes cool in pans for 10 minutes, then transfer to a wire rack to cool completely.
- Day 7: Once the cakes are completely cool, frost as desired and serve. Enjoy your rich chocolate cake!