The Perfect Rice Pilaf: A Step-by-Step Guide with Fluffy Basmati
Have you ever wondered why restaurant-style rice pilaf tastes so much better than the mushy, clumpy version you make at home? The secret isn’t a complicated technique—it’s the right grain and a few simple steps. Learning to prepare this golden, aromatic side dish from scratch transforms any meal, from weeknight dinners to holiday feasts. When you master Rice Pilaf using long-grain Basmati, you unlock a world of texture and flavor that boxed mixes simply can’t touch. In this guide, I’ll walk you through every detail, from ingredient selection to troubleshooting, so you can create a consistently perfect pilaf every time.
—
Ingredients & Kitchen Tools
Ingredients (serves 4–6)
– 1½ cups Basmati rice – Long-grain, aged Basmati gives the fluffiest result; rinse until water runs clear.
– 2 tablespoons butter or ghee – Adds richness; use olive oil for a dairy-free version.
– 1 small onion, finely diced – About ½ cup; shallots work too.
– 2 cloves garlic, minced – Optional but adds depth.
– 2½ cups chicken or vegetable broth – Low-sodium preferred; water can be substituted but reduces flavor.
– ½ teaspoon salt – Adjust to taste.
– ¼ teaspoon black pepper – Freshly ground.
– Optional aromatics: 1 cinnamon stick, 3 cardamom pods, 1 bay leaf – Infuse subtle warmth.
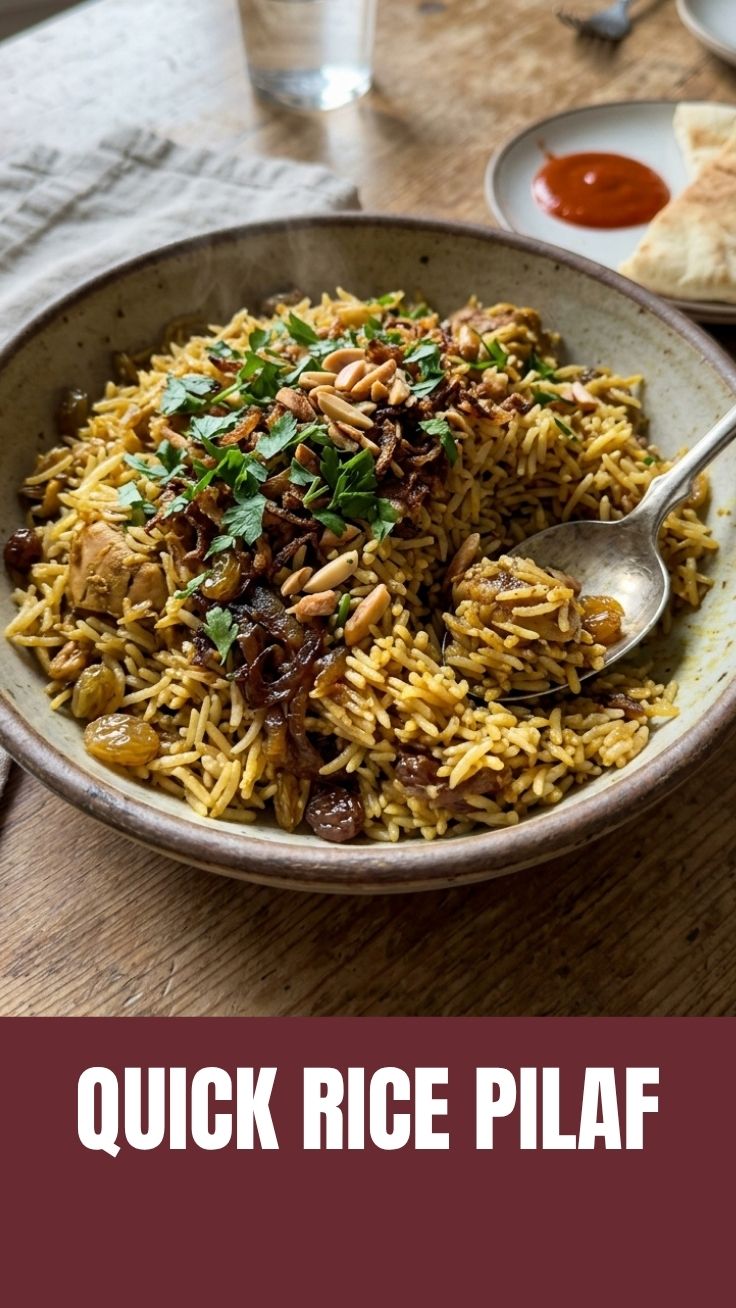
– Garnish: 2 tablespoons fresh parsley or cilantro, chopped, plus ¼ cup toasted slivered almonds or pine nuts.
Kitchen Tools
– Fine-mesh strainer or bowl for rinsing rice
– Medium saucepan with tight-fitting lid (2–3 quart)
– Wooden spoon or silicone spatula
– Kitchen scale (optional, for precise rice measurement)
– Clean kitchen towel (for resting step)
—
Prep Time & Cooking Schedule
| Task | Time |
|——|——|
| Rinse and soak Basmati | 20 minutes (soak optional but recommended) |
| Sauté aromatics | 5 minutes |
| Toast rice | 3–4 minutes |
| Simmer (covered) | 15–18 minutes |
| Rest (off heat, covered) | 10 minutes (critical for fluffiness) |
| Total active time | ~25 minutes |
| Total time | ~45 minutes |
Soaking Basmati for 20 minutes before cooking reduces surface starch and ensures each grain stays separate. You can skip it if short on time, but the texture improves noticeably.
—
Step-by-Step Instructions
1. Rinse and soak (optional): Place 1½ cups Basmati rice in a fine-mesh strainer. Rinse under cold running water for 1–2 minutes, swirling with your hand, until the water runs almost clear. If time allows, transfer to a bowl, cover with water, and soak for 20 minutes. Drain thoroughly.
2. Sauté aromatics: Melt 2 tablespoons butter (or ghee) in a medium saucepan over medium heat. Add the diced onion and cook, stirring occasionally, until softened and golden (about 4 minutes). Add minced garlic and cook 30 seconds more.
3. Toast the rice: Add the drained Rice Pilaf rice to the pan. Stir constantly for 2–3 minutes until the grains turn slightly translucent and you smell a nutty aroma. This step seals the outer starch and prevents clumping.
4. Add liquid and season: Pour in 2½ cups broth (or water). Add salt, pepper, and any whole spices (cinnamon, cardamom, bay leaf). Stir once, bring to a boil, then reduce heat to low, cover with a tight-fitting lid, and simmer for 15–18 minutes. Do not lift the lid during cooking—steam is essential.
5. Rest and fluff: Remove the pan from heat. Let it sit, still covered, for 10 minutes. This allows steam to redistribute and grains to firm up. After resting, uncover, discard whole spices if used, and fluff gently with a fork. Gently fold in toasted nuts and fresh herbs.
Pro tip for texture: If the bottom burns slightly (common with electric stoves), place a clean kitchen towel under the lid during resting to absorb excess moisture.
—
Nutritional Benefits & Advantages
Basmati rice is a whole-grain option (when unpolished) that provides complex carbohydrates for steady energy. This pilaf, made with butter and broth, offers:
– Low sodium when using homemade or low-sodium broth.
– Healthy fats from ghee and nuts (almonds add vitamin E).
– Digestive ease thanks to the toasting process, which slightly pre-gelatinizes starches.
– Versatility: Easily add vegetables (peas, diced carrots) for extra fiber and vitamins.
Compared to boxed mixes, homemade Rice Pilaf contains no preservatives, artificial flavors, or excess salt—and you control the fat content.
—
Tips, Variations & Cooking Advice
– Flavor swaps: Replace butter with coconut oil for a tropical twist. Add ½ teaspoon turmeric or saffron threads steeped in 2 tablespoons hot water for color.
– Alternative grains: Try brown Basmati (increase liquid to 3 cups and cook 35–40 minutes) or quinoa (same method, 12–15 minutes).
– Dietary adaptations: Use olive oil instead of butter for dairy-free; ensure broth is gluten-free (most are, but check labels).
– Make it a meal: Stir in 1 cup cooked shredded chicken, chickpeas, or sautéed mushrooms after resting.
– Portion changes: Scale up or down using a 1:1.6 rice-to-liquid ratio (e.g., 1 cup rice to 1.6 cups liquid).
—
Common Mistakes to Avoid
– Skipping the rinse: Unrinsed rice contains excess starch that turns pilaf into paste. Always rinse until water runs clear.
– Lifting the lid early: Each time you lift, steam escapes, extending cooking time and risking uneven texture. Resist the urge.
– Using too much liquid: Pilaf should be fluffy, not wet. For Basmati, 1½ cups rice needs 2½ cups liquid (not 3). Adjust only if using brown rice.
– Over-stirring after cooking: Fork fluffing is gentle; aggressive stirring breaks grains.
– Ignoring resting time: The 10-minute rest is non-negotiable for separating grains.
—
Storage & Meal Prep Tips
– Refrigeration: Cool pilaf completely, then transfer to an airtight container. Refrigerate for up to 4 days.
– Freezing: Portion into freezer-safe bags or containers. Freeze for up to 3 months. Thaw overnight in the fridge.
– Reheating: Sprinkle with a teaspoon of water per cup, cover, and microwave in 30-second bursts, fluffing between. Alternatively, reheat in a skillet over medium-low heat with a splash of broth.
– Texture restoration: If pilaf becomes dry after refrigerating, add a teaspoon of water or butter per serving and steam briefly in a covered pan.
—
Conclusion
Mastering this simple stovetop method will change the way you think about side dishes. The combination of toasted Basmati and aromatic broth creates a Rice Pilaf that is light, separate, and deeply flavorful—far superior to anything from a box. Whether you serve it alongside grilled chicken, roasted vegetables, or a hearty stew, this recipe delivers consistent results with minimal effort. Try it tonight, then experiment with your own spice blends and additions. Share your creation and tag a friend who needs to upgrade their rice game—you’ll be amazed how often you reach for this recipe.
—
FAQs
1. Can I use a different type of rice for pilaf?
Yes, but adjust liquid and cooking time. For jasmine rice, use 1:1.5 ratio and cook 12–15 minutes. For brown rice, use 1:2 ratio and cook 35–40 minutes. Long-grain white rice (non-Basmati) works but will be less fluffy.
2. Why is my pilaf sticky even after rinsing?
You may have used too much liquid or cooked too long. Also, make sure you fluffed immediately after resting—waiting too long can cause clumping. Another cause: not draining soaked rice completely before toasting.
3. Can I make pilaf without onion or garlic?
Absolutely. Sauté the rice in butter alone, or replace onion with finely chopped celery or leek (white part). The toasting step still provides great flavor.
4. How do I fix salty pilaf?
Add a peeled raw potato chunk to the warm cooked pilaf, cover, and let sit 10 minutes—the potato absorbs excess salt. Remove before serving. Alternatively, stir in unsalted cooked rice or extra plain broth.
5. Can I double this recipe?
Yes, but use a larger pot and don’t increase the lid size—a 4-quart pot works. Cooking time may increase by 2–3 minutes. The rice-to-liquid ratio stays the same (1:1.6).
Proven way to grow perfect Rice Pilaf in 25 minutes. Rice Pilaf
Ingredients
Equipment
Method
- Melt the butter in a medium saucepan over medium heat.
- Add the rice and cook, stirring constantly, until lightly golden, about 3-5 minutes.
- Pour in the chicken broth, salt, and pepper; bring to a boil, then reduce heat to low, cover, and simmer for 15 minutes.
- Remove from heat and let stand, covered, for 5 minutes before fluffing with a fork and serving.