The Ultimate Guide to Perfect Vanilla Cupcakes: A Foolproof Recipe for Home Bakers
Have you ever bitten into a dry, crumbly cupcake and wondered why bakery versions always taste so much better? The secret isn’t magic—it’s precision, technique, and understanding how ingredients interact. Today, I’m sharing a professionally tested Vanilla Cupcakes recipe that delivers bakery-quality results every time. When you master the art of making these classic treats at home, you not only save money but also control the quality of every ingredient. The key lies in balancing moisture, fat, and leavening agents to create that signature tender crumb. Once you learn how to make perfect Vanilla Cupcakes from scratch, you’ll never reach for a boxed mix again.
Ingredients & Kitchen Tools
Core Ingredients
– 2½ cups all-purpose flour – Sifted for lightness; cake flour works for finer crumb
– 1½ cups granulated sugar – Avoid brown sugar unless you want denser results
– 1 cup unsalted butter (room temperature) – Salted butter alters flavor; reduce added salt if substituting
– 4 large eggs (room temperature) – Cold eggs shock butter into curdling; let them sit 30 minutes
– 1 cup whole milk – Buttermilk adds tangy tenderness; mix 1 tbsp lemon juice + milk as substitute
– 2 tsp baking powder – Check expiration; expired powder causes flat cupcakes
– 1 tsp baking soda – Activates with acidic ingredients for lift
– ½ tsp salt – Balances sweetness; use fine sea salt for even distribution
– 2 tbsp pure vanilla extract – Imitation vanilla lacks depth; use paste for flecks
Optional Substitutions
– Gluten-free: Replace flour with 1:1 gluten-free blend plus ½ tsp xanthan gum
– Dairy-free: Use plant-based butter + oat milk; reduce sugar slightly
Essential Tools
– Standard 12-cup muffin tin
– Paper liners (parchment preferred for easy removal)
– Electric mixer (stand or hand-held)
– Rubber spatula
– Digital kitchen scale (accuracy matters)
– Wire cooling rack
– Piping bag with star tip (for vanilla frosting)
Prep Time & Cooking Schedule
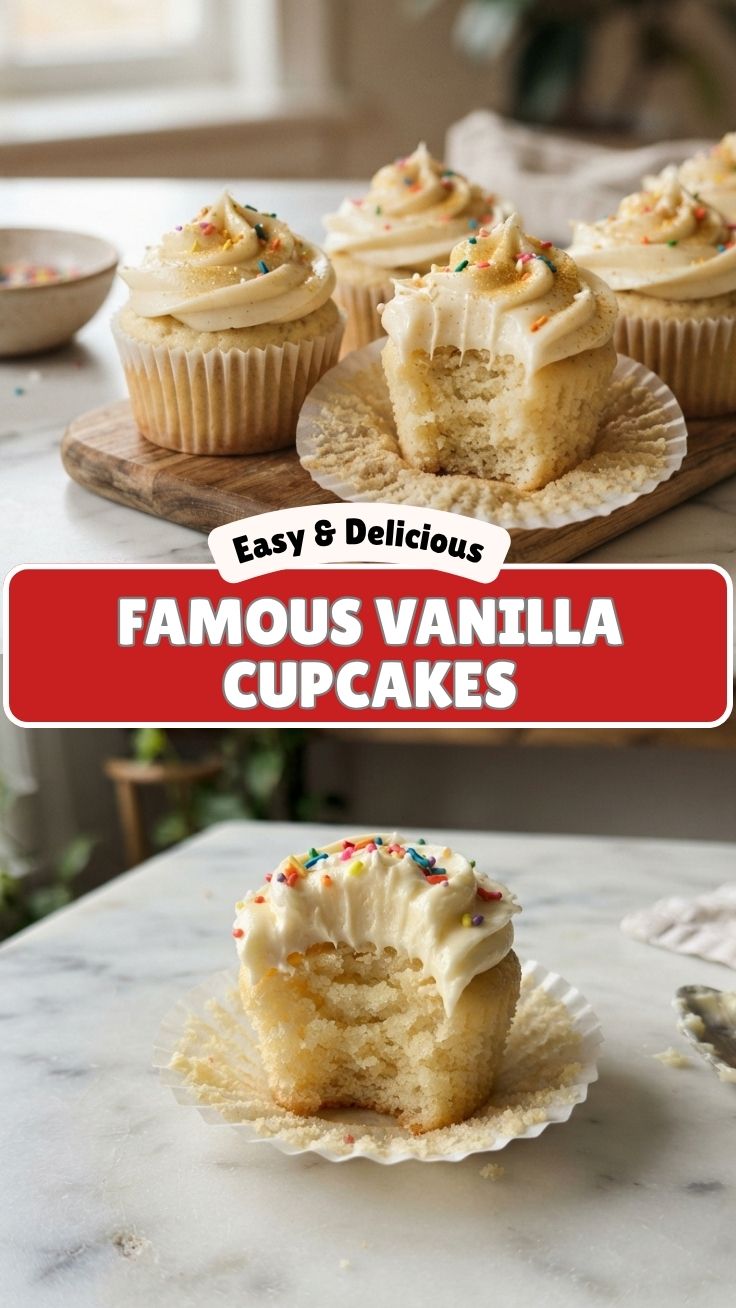
Preparation Time: 20 minutes active work + 15 minutes ingredient tempering
Bake Time: 18–22 minutes at 350°F (175°C)
Cooling Time: 30 minutes minimum (1 hour ideal for frosting)
Total Time: Approximately 1 hour 20 minutes
Planning Tip: Bake cupcakes the day before and frost the next morning for stress-free entertaining. The texture actually improves after 12–24 hours as moisture redistributes.
Step-by-Step Instructions
1. Preheat and Prepare – Set oven to 350°F (175°C). Line muffin tin with 12–14 paper liners depending on batter distribution. Temperature tip: Oven inconsistencies kill lift—use an oven thermometer.
2. Cream Butter and Sugar – Beat softened butter with sugar on medium-high speed for 4–5 minutes until pale and fluffy. Scrape bowl halfway – unmixed butter creates dense spots. This aeration is critical for light Vanilla Cupcakes.
3. Add Eggs One at a Time – Crack each egg into a small bowl first. Mix on medium speed after each addition until just combined. Overmixing now deflates air you just created.
4. Combine Dry Ingredients – Whisk flour, baking powder, baking soda, and salt in separate bowl. This ensures even leavening distribution.
5. Alternate Adding Dry and Wet – Add ⅓ flour mixture, then half the milk, mixing on low speed after each addition. End with remaining flour. Stop immediately when streaks disappear—gluten development makes tough cakes.
6. Add Vanilla Last – Fold in vanilla extract with spatula. This preserves volatile aromatic compounds that baking heat would destroy if added earlier.
7. Fill and Bake – Use ice cream scoop to fill liners ⅔ full (about 3 tablespoons). Bake 18 minutes, rotate pan, bake 2–4 more minutes. Doneness test: Toothpick inserted center comes out clean with moist crumbs. For perfectly applied vanilla frosting, ensure cupcakes are completely cool.
Nutritional Benefits & Advantages
Each cupcake (without frosting) contains approximately 210 calories, 9g fat, and 3g protein. Key advantages: Homemade versions contain 40% less sugar than store-bought alternatives. The butter provides vitamin A for eye health, while whole milk contributes calcium and vitamin D. Using pure vanilla extract adds trace antioxidants like vanillin, which has anti-inflammatory properties. Dietary note: You control sodium levels—homemade batches average 180mg versus 300mg+ in packaged mixes.
Tips Variations & Cooking Advice
Flavor Variations
– Citrus Burst: Add 2 tbsp lemon zest + replace milk with lemon juice + buttermilk combo
– Chocolate Swirl: Fold in ¼ cup melted bittersweet chocolate before filling liners
– Spice Route: Add 1 tsp cinnamon + ½ tsp nutmeg + pinch cloves to dry ingredients
Cooking Advice
– High altitude (above 5,000ft): Reduce sugar by 1 tbsp, increase flour by 2 tbsp, add 1 extra tbsp milk
– Piping perfect frosting: Chill frosting 10 minutes before piping for cleaner swirls
– Moisture boost: Brush baked cupcakes with simple syrup (equal parts sugar + water boiled) before frosting
Common Mistakes to Avoid
Mistake #1: Overmixing batter – Results in tough, rubbery texture with peaked tops. Solution: Stop mixing the moment dry ingredients disappear.
Mistake #2: Opening oven too early – Temperature drops cause structural collapse. Solution: Wait until 15-minute mark to check.
Mistake #3: Under-filling liners – Produces flat, mushroom-shaped tops. Solution: Fill exactly ⅔ full for domed surfaces.
Mistake #4: Frosting warm cupcakes – Buttercream melts into greasy mess. Solution: Wait until completely cool (touch test: room temperature to the touch).
Mistake #5: Skipping ingredient temperature – Cold eggs curdle creamed butter. Solution: Set all ingredients out 1 hour before starting.
Storage & Meal Prep Tips
Short-term storage: Keep unfrosted cupcakes in airtight container at room temperature for up to 3 days. Frosted versions: Refrigerate 2 hours to set frosting, then store in container with loose lid (prevents condensation).
Freezing guidelines:
– Unfrosted: Wrap individually in plastic wrap then foil; freeze 3 months
– Frosted: Flash freeze on tray 1 hour, then wrap; freeze 2 months
– Thawing: Unwrap and bring to room temperature (about 1 hour) – unwrapping prevents moisture from ruining frost
Reheating tip: Microwave unfrosted cupcakes 8 seconds for fresh-from-oven taste (never reheat frosting).
Conclusion
Creating magnificent Vanilla Cupcakes at home transforms you from a casual baker into a confident pastry enthusiast. The journey from measured ingredients to golden, tender cupcakes rewards patience with something store-bought versions can never replicate: the pride of handmade perfection. Remember that mastering this foundation unlocks endless creativity—once you’ve nailed the base, feel free to experiment with extracts, fillings, and decorating techniques. I encourage you to try this recipe this weekend, share your results using #PerfectVanillaCupcakes, and explore how vanilla frosting elevates these beauties to showstopper status. The kitchen is your laboratory—now go bake something beautiful.
FAQs
Q: Why did my cupcakes sink in the middle?
A: Usually indicates underbaking or opening oven door early. Ensure oven temperature is accurate (use thermometer) and wait until 15-minute mark before checking.
Q: Can I use self-rising flour instead of all-purpose plus baking powder?
A: Yes—substitute 1:1 but omit baking powder and baking soda. Note self-rising flour contains salt, so reduce added salt by half.
Q: How do I make dairy-free vanilla cupcakes without losing texture?
A: Replace butter with coconut oil (solid form, not melted) and use almond milk + 1 tbsp apple cider vinegar. Add 1 extra egg for structure.
Q: My frosting turned out too runny—what went wrong?
A: Probable causes: butter too soft (should be 65°F), overmixing incorporates excess air, or added too much liquid. Fix: Refrigerate 10 minutes, then rewhip.
Q: Can I prepare batter ahead of time?
A: Yes—fill lined muffin tin, cover with plastic wrap, refrigerate up to 24 hours. Bake directly from cold, adding 2–3 minutes to bake time.
Internal Links: Check our [Chocolate Frosting Guide]() and [Cupcake Decorating 101]() for pairing inspiration.