Savory Shredded Brussels Sprouts: A Crispy, Healthy Side Dish You’ll Love
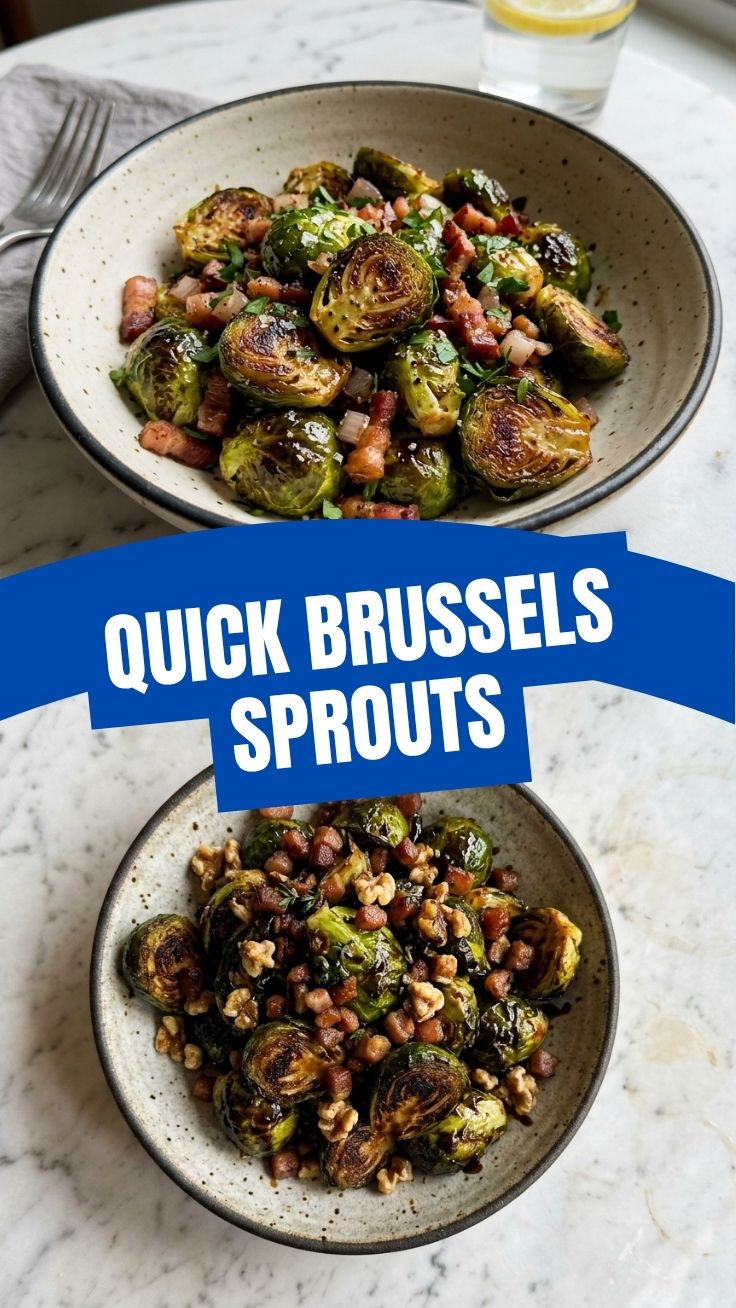
Have you ever thought Brussels sprouts were bland or bitter? Prepare to change your mind. This recipe transforms humble Brussels Sprouts into a golden, crispy, and deeply savory dish that will convert even the most skeptical eater. By shredding them thinly and pan-frying to perfection, you unlock a nutty, caramelized flavor while packing in essential nutrients. Learning to make these at home saves money, reduces waste, and gives you control over ingredients. Plus, it’s a fantastic way to incorporate more healthy vegetables into your weekly meal rotation without sacrificing taste.
—
Ingredients & Kitchen Tools (H2)
Ingredients
– 1 lb Brussels Sprouts – Fresh, firm, and bright green. Avoid yellowing or soft spots.
– 3 tbsp olive oil – Avocado oil works too for a higher smoke point.
– 3 cloves garlic, minced – Fresh garlic adds pungent depth; jarred works in a pinch.
– ½ tsp salt – Kosher salt binds flavor evenly.
– ¼ tsp black pepper – Freshly cracked for best aroma.
– 1 tbsp lemon juice – Optional, for brightness after cooking.
– 2 tbsp grated Parmesan – Optional, adds salty umami (omit for dairy-free).
Kitchen Tools
– Chef’s knife – Sharp blade essential for thin shredding.
– Cutting board – Large enough to hold sprouts.
– Large skillet or cast-iron pan – Ensures even heat and browning.
– Wooden spoon or spatula – For stirring without scratching non-stick.
– Paper towels – To dry sprouts after washing.
– Mixing bowl – Toss ingredients before cooking.
Optional Substitutions
– Gluten-free – Naturally GF; no swaps needed.
– Vegan – Omit Parmesan or use nutritional yeast.
– Low-FODMAP – Skip garlic; use garlic-infused oil instead.
– Nuts – Add toasted slivered almonds or pecans for crunch.
—
Prep Time & Cooking Schedule (H2)
– Prep Time: 10 minutes
– Cook Time: 12–15 minutes
– Resting Time: 2 minutes (optional, allows flavors to settle)
– Total Time: 22–25 minutes
Planning Tip: Wash and dry sprouts ahead of time. Shred them just before cooking to prevent oxidation (browning). This recipe moves fast, so have all ingredients ready by the stove.
—
Step-by-Step Instructions (H2)
1. Prepare the Sprouts
Trim off the tough stem ends and remove any outer yellow leaves. Rinse under cold water, then pat extremely dry with paper towels – moisture kills crispness.
2. Shred the Sprouts
Using a sharp chef’s knife, slice each sprout crosswise into thin ribbons (about ⅛-inch thick). You can also use a mandoline or food processor slicing disc for speed.
3. Heat the Pan
Place a large skillet over medium-high heat. Add olive oil and let it shimmer for 30 seconds. The oil should ripple but not smoke.
4. Sauté Aromatics (Optional)
Add minced garlic and stir for 15 seconds until fragrant. Be careful – garlic burns quickly.
5. Cook the Sprouts
Add shredded Brussels Sprouts to the pan in an even layer. Do not overcrowd – cook in batches if needed. Let them sit undisturbed for 2–3 minutes to develop a deep golden crust. Then toss and repeat until edges are crispy and tender, about 8–10 minutes total.
6. Season and Finish
Sprinkle with salt and pepper, then toss to coat. If using, squeeze fresh lemon juice over the top and add Parmesan. Toss once more and remove from heat. This simple technique turns ordinary healthy vegetables into a crave-worthy side.
7. Serve Immediately
Transfer to a plate and enjoy while hot. The texture is best right off the stove.
—
Nutritional Benefits & Advantages (H2)
Shredded Brussels sprouts are a nutritional powerhouse packed into a low-calorie, high-fiber package:
– Vitamin C – One serving provides over 80% of your daily needs, boosting immunity and collagen production.
– Vitamin K – Essential for bone health and blood clotting.
– Fiber – Helps digestion and keeps you full longer (about 4g per cup).
– Antioxidants – Kaempferol and sulforaphane reduce inflammation and oxidative stress.
– Low Glycemic – Won’t spike blood sugar, ideal for diabetic-friendly meals.
Advantage: Cooking Brussels sprouts reduces bitterness while making nutrients like fat-soluble vitamins (A, D, E, K) more bioavailable when paired with olive oil.
—
Tips Variations & Cooking Advice (H2)
Flavor Variations
– Spicy – Add red pepper flakes or a dash of sriracha at the end.
– Umami Boost – Stir in 1 tbsp soy sauce (or tamari for GF) during the last minute.
– Herby – Toss with fresh thyme, rosemary, or parsley after cooking.
Ingredient Swaps
– Oil: Avocado, grapeseed, or coconut oil for different flavor profiles.
– Cheese: Feta crumbles or pecorino instead of Parmesan.
– Acidity: Apple cider vinegar or balsamic glaze instead of lemon.
Alternative Cooking Methods
– Roasting: Toss shredded sprouts with oil, salt, and pepper, then spread on a baking sheet. Roast at 425°F for 15–18 minutes, flipping halfway.
– Air Fryer: Cook at 375°F for 8–10 minutes, shaking the basket halfway.
– Grilling: Place in a grill basket over medium heat; cook 5–7 minutes with frequent shaking.
Dietary Adaptations
– Dairy-Free: Omit cheese or use nutritional yeast.
– Low-Carb/Keto: This dish is naturally low-carb; pair with fatty proteins like salmon or steak.
– Paleo: Use avocado oil and skip cheese.
—
Common Mistakes to Avoid (H2)
| Mistake | Consequence | Solution |
|———|————-|———-|
| Wet Sprouts | Steamed, soggy texture | Dry thoroughly with paper towels or a salad spinner. |
| Overcrowded Pan | Stems steam instead of searing | Cook in batches; spread leaves in a single layer. |
| Skipping Rest Time | Sprouts lose heat quickly | Let them rest 1–2 minutes off heat to finish crisping. |
| Burning Garlic | Acrid, bitter taste | Add garlic after sprouts have cooked 2 minutes, or skip and add later. |
| Underseasoning | Bland, flat flavor | Use generous salt (approx 1 tsp per lb) and fresh pepper. |
—
Storage & Meal Prep Tips (H2)
– Refrigerator: Store leftovers in an airtight container for up to 4 days.
– Freezing: Not recommended – thawed sprouts become mushy.
– Reheating: For crispiest results, reheat in a dry skillet over medium-high for 2–3 minutes or air fry at 375°F for 3 minutes. Microwave will make them limp.
– Meal Prep: Shred raw sprouts up to 2 days ahead (store in a sealed bag in the fridge). Cook just before serving for best texture.
—
Conclusion (H2)
Mastering shredded Brussels sprouts unlocks a versatile, nutritious side that’s as easy as it is delicious. Whether you’re batch prepping for the week or impressing dinner guests, this recipe proves that healthy vegetables can be the star of the plate. The secret lies in high heat, dry ingredients, and a little patience – exactly what transforms Brussels Sprouts into golden, flavor-packed perfection. Try it tonight, and don’t forget to share your crispy creations in the comments below!
—
FAQs (H2)
Can I use frozen Brussels sprouts?
Yes, but thaw them completely and pat very dry. Fresh is crisper, but frozen works in a pinch (reduce cooking time by 2–3 minutes).
Why are my sprouts bitter?
Bitterness usually comes from overcooking or old sprouts. Use fresh, firm ones and don’t cook beyond 15 minutes. Lemon juice also cuts bitterness.
Can I make this without oil?
You can dry-sauté in a non-stick pan with water or broth, but the texture will be softer and less crispy. Oil is key for browning.
How do I know when they’re done?
Look for deep golden edges and a fork-tender stem. Taste a piece – it should be tender but still have a slight crunch.
Can I add protein to make it a main dish?
Absolutely! Toss in cooked chicken, shrimp, tofu, or chickpeas during the last 3 minutes of cooking. Or serve over quinoa for a complete meal.
How to grow Brussels Sprouts in 7 easy steps
Ingredients
Equipment
Method
- Choose a sunny location with well-drained soil that has a pH between 6.0 and 7.0.
- Start seeds indoors 4-6 weeks before the last frost or sow directly outdoors after the danger of frost has passed.
- Plant seedlings 18-24 inches apart in rows 30-36 inches apart, ensuring proper spacing for growth.
- Water regularly, especially during dry spells, to keep the soil consistently moist.
- Fertilize every 3-4 weeks with a balanced fertilizer to support healthy growth.
- Protect plants from pests like cabbage worms and aphids using organic pest control methods if necessary.
- Harvest Brussels sprouts when they are firm, green, and 1-2 inches in diameter, starting from the bottom of the stalk.