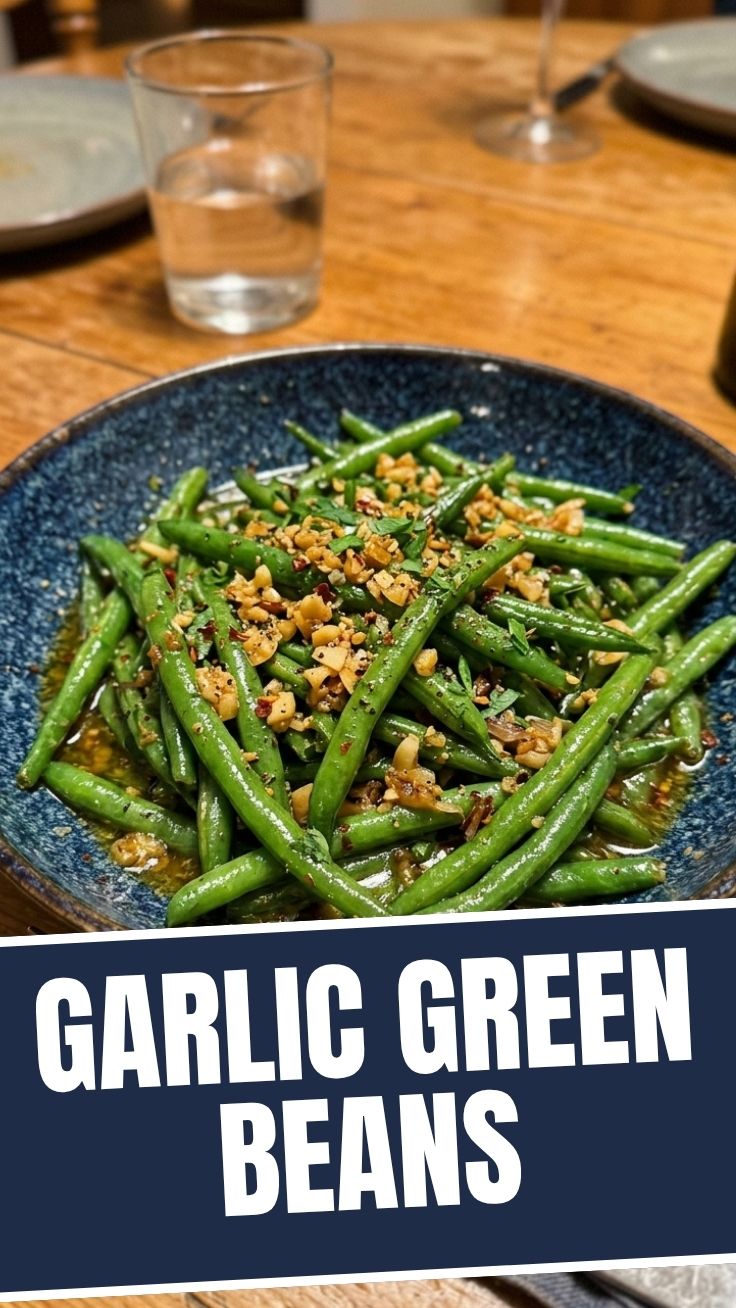
The Ultimate Guide to Perfect Garlic Green Beans: A Crisp, Flavorful Side Dish
Are you tired of bland, soggy green beans that ruin an otherwise perfect meal? Garlic green beans are a game-changer—crisp-tender, aromatic, and ready in under 15 minutes. Mastering this simple side dish at home not only saves you money but also lets you control the quality of ingredients, ensuring fresher flavors without preservatives. Whether you’re pairing them with grilled chicken, steak, or vegetarian mains, this recipe delivers restaurant-quality results every time. Let’s unlock the secrets to Garlic butter green beans that stay vibrant and delicious.
—
Ingredients & Kitchen Tools
Ingredients (Serves 4):
– 1 lb fresh green beans (trimmed; substitute with frozen if needed, but pat dry)
– 4 cloves garlic (minced; 1 tsp garlic powder in a pinch)
– 2 tbsp unsalted butter (vegan butter or olive oil for dairy-free)
– 1 tbsp olive oil (prevents butter from burning)
– 1/2 tsp salt (adjust to taste)
– 1/4 tsp black pepper
– Optional: 1 tbsp lemon zest, 1/4 tsp red pepper flakes, or 2 tbsp toasted almonds
Kitchen Tools:
– Large skillet (non-stick or cast iron works best)
– Sharp knife or kitchen shears (for trimming)
– Garlic press (optional but convenient)
– Paper towels (for drying beans)
– Tongs or spatula
—
Prep Time & Cooking Schedule
– Prep time: 10 minutes (trimming beans, mincing garlic)
– Cook time: 8–10 minutes (sautéing)
– Resting time: 1–2 minutes (optional, for flavors to meld)
– Total time: ~20 minutes
Pro tip: Have all ingredients prepared before you start—the cooking window is short!
—
Step-by-Step Instructions
1. Blanch the beans (optional but recommended): Bring a large pot of salted water to a boil. Add green beans and cook for 2 minutes. Transfer to an ice bath, then pat completely dry. This ensures vibrant color and crisp texture.
2. Heat the pan: In a large skillet over medium-high heat, combine olive oil and butter. Swirl until butter is melted and bubbling.
3. Sauté garlic: Add minced garlic and stir for 30 seconds until fragrant—do not let it brown (it burns quickly and becomes bitter).
4. Cook the beans: Add the green beans in a single layer (work in batches if needed). Cook 5–7 minutes, tossing occasionally, until they are bright green with slightly blistered skin. For al dente garlic green beans, aim for 5 minutes; for softer beans, 7 minutes.
5. Season & finish: Sprinkle salt, pepper, and optional red pepper flakes. Toss to coat. For extra richness, add a final pat of butter right before serving.
Temperature cue: The beans should sizzle when they hit the pan—if not, your heat is too low.
—
Nutritional Benefits & Advantages
Green beans are a low-calorie, nutrient-dense powerhouse:
– High in fiber (aids digestion)
– Rich in Vitamin K (bone health) and Vitamin C (immune support)
– Contains folate (essential for cell growth)
– Antioxidants (help reduce inflammation)
Compared to boiled versions, sautéed Garlic butter green beans retain more water-soluble vitamins while adding healthy fats from butter and olive oil.
—
Tips Variations & Cooking Advice
Flavor Twists:
– Asian-inspired: Replace butter with sesame oil; add 1 tsp soy sauce + toasted sesame seeds.
– Mediterranean: Toss with crumbled feta and sundried tomatoes after cooking.
– Lemony: Add 1 tbsp lemon juice + zest at the end.
Dietary Adaptations:
– Vegan/DF: Substitute butter with vegan butter or refined coconut oil.
– Low-carb/Keto: Use extra olive oil; skip optional almonds.
Method Swaps:
– Oven-roasted: Toss beans with oil and garlic at 425°F for 15–20 minutes.
– Air-fryer: Cook at 375°F for 8–10 minutes, shaking halfway.
—
Common Mistakes to Avoid
| Mistake | Solution |
|———|———-|
| Wet beans (causes steaming, not sautéing) | Dry thoroughly after washing or blanching |
| Overcrowding the pan (beans steam instead of sear) | Cook in batches if needed |
| Burnt garlic (bitter taste) | Add garlic after butter melts, cook 30 seconds |
| Underseasoning (flat flavor) | Salt before cooking (helps draw out moisture) |
| Cooking too long (mushy texture) | Test a bean after 4 minutes for ideal crunch |
—
Storage & Meal Prep Tips
– Refrigeration: Store in airtight container for 3–4 days.
– Freezing: Blanch beans first, then freeze in single layer on a baking sheet. Transfer to a freezer bag (lasts 2–3 months).
– Reheating: Reheat in a hot skillet with 1 tsp butter for 2 minutes; avoid microwaves (makes beans rubbery). For frozen beans, thaw overnight in fridge before reheating.
—
Conclusion
Perfecting garlic green beans is about mastering heat control and seasoning balance—a skill that transforms a simple vegetable into a standout side. Whether you follow the classic butter method or experiment with spicy variations, these Garlic butter green beans offer endless customization while remaining quick and reliable. I challenge you to try this recipe tonight and share your results in the comments below. Have you discovered a unique twist? Let’s inspire each other in the kitchen!
—
FAQs
Q: Can I use frozen green beans?
Yes—add 3–4 extra minutes of cooking time and ensure they are patted dry to avoid excess moisture.
Q: How do I prevent garlic from burning?
Keep heat at medium-high, not high. Add garlic after butter has melted but before it browns, and stir constantly.
Q: What’s the best alternative to butter?
Extra-virgin olive oil or avocado oil for a dairy-free version. Ghee also works beautifully.
Q: Why are my beans tough?
Under-cooked beans or uneven heat. Blanch first and ensure pan is hot enough for immediate sizzle.
Q: Can I make this ahead for a dinner party?
Blanch beans up to 1 day ahead. Sauté just before serving for best texture. Reheat quickly in a skillet with fresh garlic.