The Ultimate Guide to the Perfect Grilled Cheese: Crispy, Gooey, and Irresistible
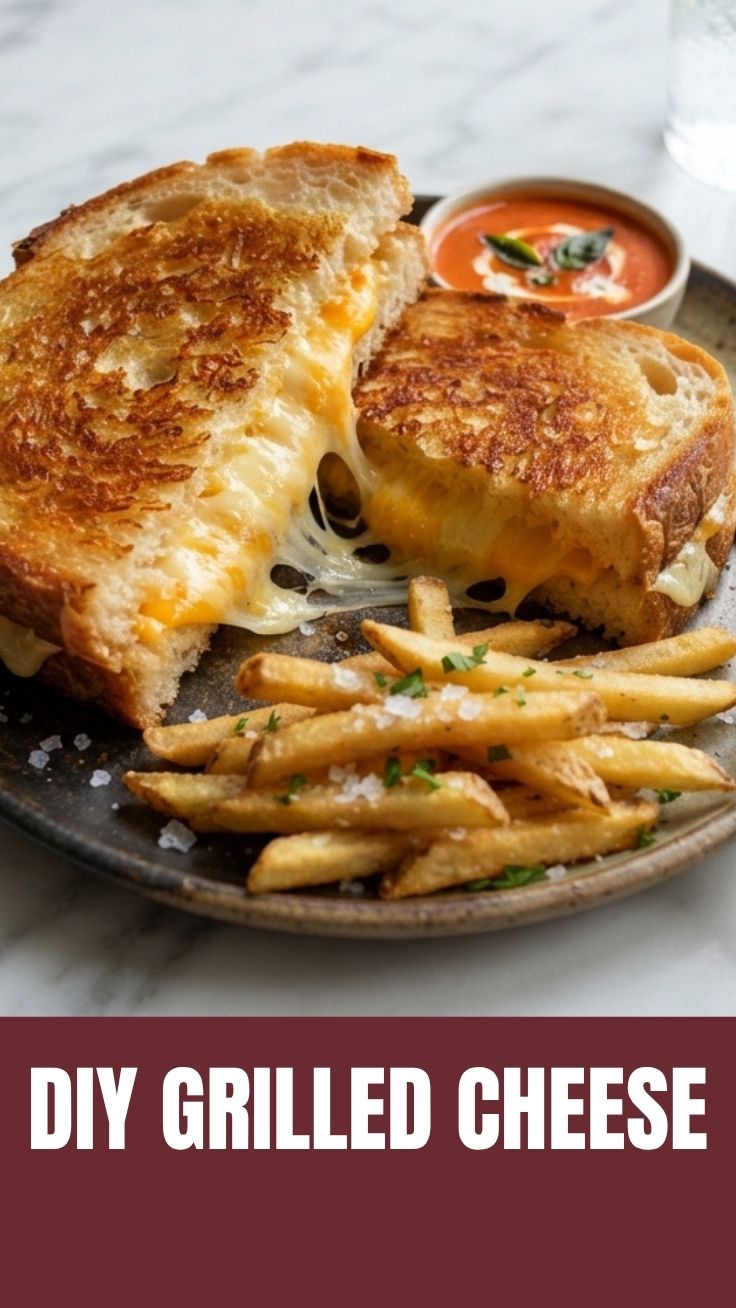
Is there anything more comforting than a perfectly toasted, buttery Grilled Cheese with a golden-brown crust and a molten, stretchy cheese center? Whether you’re a novice cook or a seasoned home chef, mastering this classic dish is a rite of passage. The beauty of making Grilled Cheese at home lies in the absolute control you have over every element—the bread’s crunch, the cheese’s melt factor, and the flavor depth that no diner can replicate. This guide will walk you through everything you need to turn a simple snack into a culinary triumph. For those who love exploring new creative takes, be sure to check out these sandwich recipes for further inspiration. By the end of this post, you’ll have a foolproof method to create the ideal Grilled Cheese that rivals any cafe version.
Ingredients & Kitchen Tools
For the Base Sandwich:
– Bread: 2 slices of sourdough, brioche, or Texas toast. Sourdough offers superior crunch and tang; brioche adds richness.
– Cheese: 2–3 ounces total. A mix of sharp cheddar (for flavor) and low-moisture mozzarella (for stretch) works best.
– Butter: 1–2 tablespoons, softened. Use unsalted to control sodium levels.
– Optional Flavor Boosters: Pinch of flaky sea salt, garlic powder, or fresh herbs.
Kitchen Tools:
– Non-stick skillet or cast-iron pan (cast iron provides even heat)
– Spatula (preferably metal or fish spatula for flipping)
– Butter knife
– Cutting board and chef’s knife
Substitutions:
– Use vegan butter and dairy-free cheese (e.g., Violife) for a dairy-free version.
– Gluten-free bread works well; just adjust cooking time slightly as it browns faster.
Prep Time & Cooking Schedule
| Stage | Time |
|——-|——|
| Prep Time | 5 minutes |
| Cook Time | 6–8 minutes |
| Rest Time | 1 minute (optional but improves structure) |
| Total | 12–14 minutes |
Start by taking butter out of the fridge 10 minutes before cooking to soften. Grate or slice your cheese—shredding it ensures even melting. Warm the pan over medium-low heat for a full 2 minutes before assembling. This preheating step prevents burning the bread before the cheese melts.
Step-by-Step Instructions
1. Butter the Bread: Spread one side of each slice with softened butter (about ½ tablespoon per slice). Be generous—this ensures a deep golden crust.
2. Assemble the Sandwich: Place one slice butter-side down. Layer your cheese evenly, leaving a ¼-inch border to prevent overflow. Top with second slice, butter-side up.
3. Cook the First Side: Place sandwich in preheated pan. Cook for 3–4 minutes until the bottom is deep golden brown. Press gently with a spatula once to ensure even contact.
4. Flip with Confidence: Use a quick, decisive motion. Cook the second side for another 3 minutes, reducing heat slightly if the first side is browning too fast.
5. Check for Doneness: The cheese should be fully melted and slightly oozing. If cheese isn’t melting, cover pan with a lid for 30 seconds to trap steam.
6. Rest and Slice: Let sit for 1 minute to allow cheese to set slightly. Slice diagonally for optimal dippability.
Pro Tip: Temperature control is everything. If butter smokes, the heat is too high. The ideal pan temperature is around 325°F—butter should sizzle gently, not sputter. A perfectly executed Grilled Cheese relies on low, steady heat, and this technique also pairs beautifully with other sandwich recipes like paninis or melts.
Nutritional Benefits & Advantages
A single Grilled Cheese provides:
– Protein: 14–18g from cheese, supporting muscle repair
– Calcium: 300–400mg (30–40% DV) for bone health
– Carbohydrates: 30–35g from bread for sustained energy
– Healthy Fats: Butter and cheese contain conjugated linoleic acid (CLA), linked to improved metabolism
Dietary Advantages:
– Can be made high-protein by adding turkey or egg (grilled chicken melt variation)
– Low-carb option: use keto bread and full-fat cheese
– Budget-friendly: costs under $2 per serving compared to $8–10 at restaurants
Tips Variations & Cooking Advice
Flavor Variations:
– Sweet & Savory: Add thinly sliced apple and a drizzle of honey with brie
– Spicy Kick: Mix pepper jack with cheddar and add pickled jalapeños
– Italian Style: Use provolone, mozzarella, basil leaves, and a sprinkle of red pepper flakes
Cooking Method Swaps:
– Air Fryer: Cook at 350°F for 5–6 minutes, flipping halfway
– Oven: Bake at 400°F for 8–10 minutes on a preheated sheet pan
– Grill Pan: For those outdoor BBQ streaks with a smoky char
Dietary Adaptations:
– Gluten-Free: Use gluten-free artisan bread (Canyon Bakehouse works well)
– Dairy-Free: Substitute butter with Miyoko’s vegan butter and cheese with Daiya cheddar style shreds
Common Mistakes to Avoid
| Mistake | Solution |
|———|———-|
| Burnt bread, unmelted cheese | Cook on medium-low heat. Patience is key—if you hear loud sizzling, it’s too hot. |
| Soggy sandwich | Dry the cheese thoroughly after shredding. Avoid wet ingredients like raw tomatoes. |
| Cheese sticks to the pan | Use enough butter and a non-stick surface. Let the crust fully form before flipping. |
| Bland flavor | Add a pinch of salt to the butter or use aged cheese with more pungent notes. |
| Uneven browning | Press down gently with a spatula after flipping to ensure full contact with the pan. |
Storage & Meal Prep Tips
– Refrigeration: Store leftover Grilled Cheese in an airtight container with a paper towel to absorb moisture. Consume within 2 days.
– Freezing: Wrap individually in foil, then place in a freezer bag. Freeze for up to 1 month.
– Reheating (Crucial): Do not microwave—it will turn rubbery. Instead, reheat in a skillet over low heat for 2–3 minutes per side, or in an air fryer at 320°F for 3 minutes. This restores the crunch.
Meal Prep Tip: Prep cheese slices in advance and store in deli paper. Assemble sandwiches in the morning and cook at lunchtime for a hot, quick meal.
Conclusion
Mastering the Grilled Cheese is about respecting the fundamentals—quality ingredients, patient heat, and the perfect cheese-to-bread ratio. This simple yet deeply satisfying dish proves that comfort food doesn’t need to be complicated. You now have a reliable method to create a crispy, gooey Grilled Cheese every single time. Once you’ve nailed this, you can experiment with different sandwich recipes to keep your lunch rotation fresh and exciting. I encourage you to make this recipe tonight and share your creation on social media with the hashtag #PerfectGrill. The perfect Grilled Cheese is waiting—go get cooking!
FAQs
1. Can I use pre-shredded cheese?
Yes, but fresh shredded cheese melts more uniformly because pre-shredded varieties contain anti-caking agents that can affect texture. If using pre-shredded, add an extra slice to ensure proper coverage.
2. How do I prevent the cheese from leaking out?
Leave a ¼-inch border around the cheese. Also, ensure your bread is thick enough (at least ¾ inch). If cheese still escapes, reduce the amount by ¼ ounce next time.
3. Why did my sandwich turn soggy?
Sogginess usually comes from too much moisture. Drain any wet ingredients like pickles or tomatoes thoroughly. Also, avoid covering the sandwich while it cooks, as trapped steam softens the crust.
4. Can I make this ahead for a party?
Absolutely! Cook the sandwiches fully, let cool, then refrigerate. Reheat in a 350°F oven for 5–7 minutes just before serving. This method preserves the crust better than microwaving.
5. What’s the best cheese for the ultimate melt?
A blend of Gruyère (outstanding melt) and sharp cheddar (flavor) is the gold standard. For dairy-free, follow a plant-based cheddar and mozzarella combo for similar results.
Quick way to grow the perfect Grilled Cheese in 5 minutes
Ingredients
Equipment
Method
- Butter one side of each bread slice.
- Place one slice of bread, butter-side down, in a skillet and add cheese.
- Top with the second slice of bread, butter-side up, and cook until golden brown.
- Flip and cook the other side until golden brown and the cheese is melted.