Irresistible Homemade Breadsticks: The Ultimate Clam Dip Companion
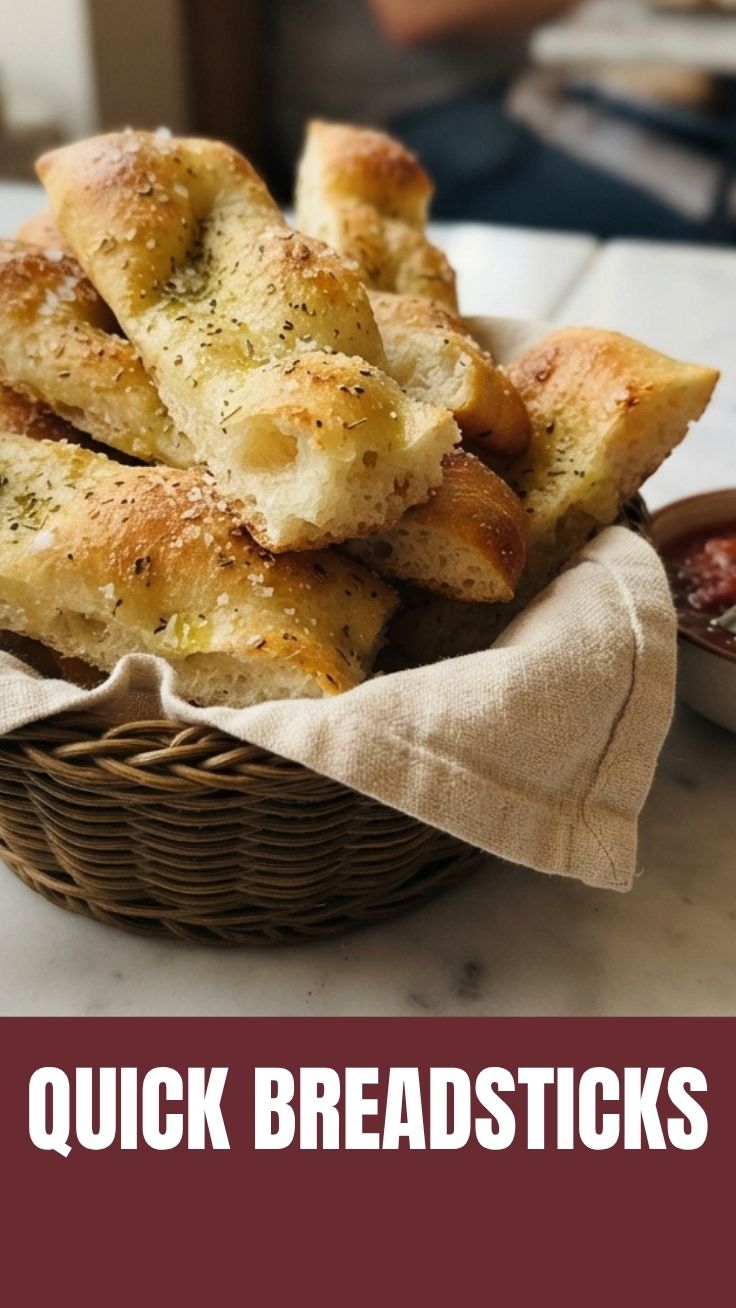
Have you ever wondered why restaurant breadsticks taste so much better than store-bought ones? The secret lies in fresh ingredients, proper technique, and a touch of love. Whether you’re hosting a party or simply craving a comforting snack, homemade Breadsticks elevate any meal from ordinary to extraordinary. In this comprehensive guide, you’ll discover how to create perfectly golden, soft-on-the-inside, crispy-on-the-outside breadsticks that pair beautifully with creamy clam dip. Preparing them at home not only saves money but also lets you control the quality of ingredients and customize flavors to your liking. Let’s dive into the art of making the best breadsticks you’ve ever tasted.
Ingredients & Kitchen Tools
For the Dough:
– 3 cups all-purpose flour (bread flour works too for chewier texture)
– 1 packet (2¼ tsp) active dry yeast – ensures proper rise
– 1 cup warm water (110°F) – activates yeast without killing it
– 2 tbsp olive oil – adds moisture and richness
– 1 tsp salt – enhances flavor and controls yeast activity
– 1 tbsp sugar – feeds yeast and promotes browning
– 1 tsp garlic powder – optional but recommended
For Topping:
– 2 tbsp melted butter – adds glossy finish
– ½ tsp garlic salt – for that classic flavor
– ¼ cup grated Parmesan cheese – optional but delicious
Kitchen Tools:
– Large mixing bowl
– Wooden spoon or stand mixer with dough hook
– Baking sheet
– Parchment paper or silicone mat
– Pastry brush
– Kitchen towel or plastic wrap
– Rolling pin (optional)
– Pizza cutter or sharp knife
Optional Substitutions:
– Gluten-free: Use 1:1 gluten-free flour blend plus 1 tsp xanthan gum
– Dairy-free: Substitute vegan butter and nutritional yeast for Parmesan
– Whole wheat: Replace 1 cup flour with whole wheat flour
Prep Time & Cooking Schedule
– Prep Time: 20 minutes (active)
– Rising Time: 1 to 1.5 hours (for first rise)
– Second Rise: 30 minutes (for shaped breadsticks)
– Baking Time: 12–15 minutes at 400°F (200°C)
– Total Time: Approximately 2 hours
Planning Tip: Start the dough while you prepare other appetizers. The rising time is perfect for making clam dip or assembling a cheese board. If short on time, you can refrigerate the dough overnight after the first rise—just bring it to room temperature before shaping.
Step-by-Step Instructions
Step 1: Activate the Yeast
In a small bowl, combine warm water (110°F/43°C) and sugar. Sprinkle yeast on top and let sit for 5–10 minutes until foamy. If it doesn’t foam, your yeast is dead—start over with fresh yeast.
Step 2: Make the Dough
In a large bowl, mix flour, salt, and garlic powder. Add the yeast mixture and olive oil. Stir until a shaggy dough forms. Turn onto a floured surface and knead for 8–10 minutes (or 5 minutes using a stand mixer) until smooth and elastic. The dough should bounce back when pressed.
Step 3: First Rise
Place dough in an oiled bowl, cover with a damp towel, and let rest in a warm spot (75–85°F) for 1 to 1.5 hours until doubled in size. Pro tip: If your kitchen is cool, place the bowl in an oven with the light on.
Step 4: Shape the Breadsticks
Punch down the dough and divide into 12–16 equal pieces. Roll each piece into a 6–8 inch rope. Place on a parchment-lined baking sheet, spacing them 1 inch apart. Cover and let rise for another 30 minutes. For extra flavor, brush with melted butter halfway through this rise.
Step 5: Bake to Perfection
Preheat oven to 400°F (200°C). Brush breadsticks with melted butter and sprinkle with garlic salt and Parmesan. Bake for 12–15 minutes until golden brown. The Breadsticks should sound hollow when tapped on the bottom. For extra-crispy Garlic breadsticks, brush with additional butter immediately after baking.
Step 6: Cool and Serve
Transfer to a wire rack for 5 minutes. Serve warm alongside clam dip, marinara, or as a side to soups and salads.
Nutritional Benefits & Advantages
Homemade breadsticks offer several health advantages over store-bought versions. You control the sodium content—reducing it by up to 40% compared to packaged varieties. The olive oil provides heart-healthy monounsaturated fats, while the fermentation process makes nutrients more bioavailable. Each breadstick (using this recipe) contains approximately:
– Calories: 120–150
– Protein: 4g
– Carbohydrates: 22g
– Fat: 3g (primarily from olive oil)
The garlic used in seasoning contains allicin, a compound linked to immune support and reduced inflammation. When paired with a protein-rich clam dip, these breadsticks become part of a balanced appetizer.
Tips, Variations & Cooking Advice
Flavor Variations:
– Herb-infused: Add 1 tsp dried rosemary or thyme to the dough
– Cheesy: Roll in shredded mozzarella before second rise
– Spicy: Add ½ tsp red pepper flakes to the topping
– Everything bagel: Sprinkle with sesame, poppy, garlic, and onion flakes
Cooking Methods:
– Air fryer: Cook at 350°F for 6–8 minutes, flipping halfway
– Grill: Cook on medium heat for 3–4 minutes per side for smoky flavor
– Skillet: Pan-fry in butter for 2–3 minutes per side
Dietary Adaptations:
– Gluten-free: Use a quality 1:1 blend and add 1 tsp apple cider vinegar
– Vegan: Use plant-based butter and skip the cheese
– Low-carb: Try almond flour-based recipe (different texture)
Common Mistakes to Avoid
1. Killing the yeast: Water above 130°F destroys yeast—always use a thermometer
2. Over-kneading: Dough will become tough and hard. Stop when smooth and elastic
3. Skipping the second rise: This creates dense breadsticks instead of airy ones
4. Overcrowding the pan: Leave space for expansion during baking
5. Under-baking: Pale breadsticks = doughy centers. Look for deep golden color
6. Adding garlic too early: Fresh garlic can burn—use garlic powder in dough or add garlic butter after baking
Storage & Meal Prep Tips
Refrigeration:
Store cooled breadsticks in an airtight container at room temperature for up to 3 days. Add a paper towel to absorb moisture and prevent sogginess.
Freezing:
– Unbaked: Shape and freeze on a baking sheet, then transfer to a freezer bag. Bake directly from frozen, adding 3–5 minutes.
– Baked: Cool completely, wrap in foil, then place in a freezer bag. Freeze for up to 2 months.
Reheating:
– Oven: 350°F for 5 minutes (best texture)
– Air fryer: 300°F for 3 minutes
– Microwave: 15–20 seconds with a damp paper towel (softer texture)
Meal Prep Tip:
Make a double batch on Sunday and freeze half. You’ll have fresh-tasting breadsticks ready for weeknight dinners or unexpected guests.
Conclusion
Mastering homemade breadsticks transforms your kitchen into a bakery-worthy space. From the satisfying kneading process to the irresistible aroma filling your home, this recipe delivers consistently delicious results. Whether you enjoy them plain or as Garlic breadsticks, these golden sticks pair perfectly with clam dip, soups, or simply on their own. Remember that practice makes perfect—your first batch will be good, but your fifth will be exceptional. The balance of soft interior and crispy exterior is achievable with patience and attention to detail. We encourage you to try this recipe, share your results with family and friends, and explore other appetizer recipes on our site. Happy baking!
FAQs
1. Can I use instant yeast instead of active dry yeast?
Yes. Use the same amount but skip the proofing step. Mix instant yeast directly with the flour, then add warm water. The rise time may be slightly shorter.
2. Why are my breadsticks hard?
This usually happens from over-kneading or too much flour. Knead only until smooth, and measure flour by spooning it into the cup rather than scooping.
3. Can I add cheese inside the dough?
Absolutely. Fold in ½ cup shredded mozzarella or cheddar after the first rise. This creates cheesy pull-apart breadsticks.
4. How do I make them extra crispy?
Brush with olive oil instead of butter before baking, and bake at 425°F for the first 5 minutes, then reduce to 375°F. The higher initial heat creates a crustier exterior.
5. Can I use this dough for other shapes?
Definitely. Shape into knots, twists, or pull-apart rolls. Adjust baking time by 2–3 minutes depending on thickness.
How to grow 5 homemade Breadsticks
Ingredients
Equipment
Method
- Combine warm water, sugar, and yeast in a bowl; let it sit for 5-10 minutes until foamy to activate the yeast.
- In a large bowl, whisk together flour and salt, then add the yeast mixture and olive oil, mixing until a shaggy dough forms.
- Turn the dough onto a lightly floured surface and knead for 5-7 minutes until it becomes smooth and elastic.
- Place the dough in a greased bowl, cover it, and let it rise in a warm place for 60-90 minutes, or until it has doubled in size.
- Punch down the risen dough, divide it into 5 equal pieces, and roll each piece into a breadstick shape approximately 8-10 inches long.
- Arrange the shaped breadsticks on a parchment-lined baking sheet, cover lightly, and let them rise for another 20-30 minutes while preheating the oven to 375°F (190°C).
- Bake the breadsticks for 12-15 minutes, or until they turn golden brown.
- While the breadsticks are still warm, brush them with melted butter mixed with garlic powder and sprinkle with Parmesan cheese if desired.