The Science of the Slice: Your Definitive Guide to New York Cheesecake
What if the key to unlocking the most decadent, bakery-quality cheesecake lay not in a secret ingredient, but in mastering a few simple techniques? Preparing a showstopping dessert at home is one of the most rewarding culinary journeys you can undertake, and the iconic texture of a New York Cheesecake represents the pinnacle of this craft. Its dense, velvety richness and tangy complexity set a high bar for home bakers everywhere. Equally beloved in many kitchens is the subtly lighter, airier Philadelphia Cheesecake, proving just how versatile this classic dessert can be. Whether you crave the ultra-dense bite of one or the delicate crumb of the other, this guide will walk you through every step toward perfection.
Ingredients & Kitchen Tools
For the Crust:
– Graham Crackers: (1½ cups crushed) The traditional base for structure and buttery flavor.
– Unsalted Butter: (5 tbsp, melted) Binds the crust. Substitute: Coconut oil for a dairy-free version.
– Granulated Sugar: (2 tbsp) Adds a touch of sweetness and helps the crust set.
For the Filling:
– Cream Cheese: (4 blocks, 8 oz each, room temperature) The soul of the recipe. Use full-fat for the best texture.
– Sour Cream: (1 cup) Provides moisture and a signature tang.
– Vanilla Extract: (2 tsp, pure) Enhances the dairy notes.
– Lemon Juice: (1 tbsp, fresh) Balances the sweetness.
– Eggs: (4 large, room temperature) Critical for structure and richness.
– Granulated Sugar: (1½ cups)
Essential Tools:
– 9-inch springform pan
– Stand mixer or hand mixer
– Large mixing bowls
– Rubber spatula
– Heavy-duty aluminum foil
– Roasting pan (for the water bath)
Prep Time & Cooking Schedule
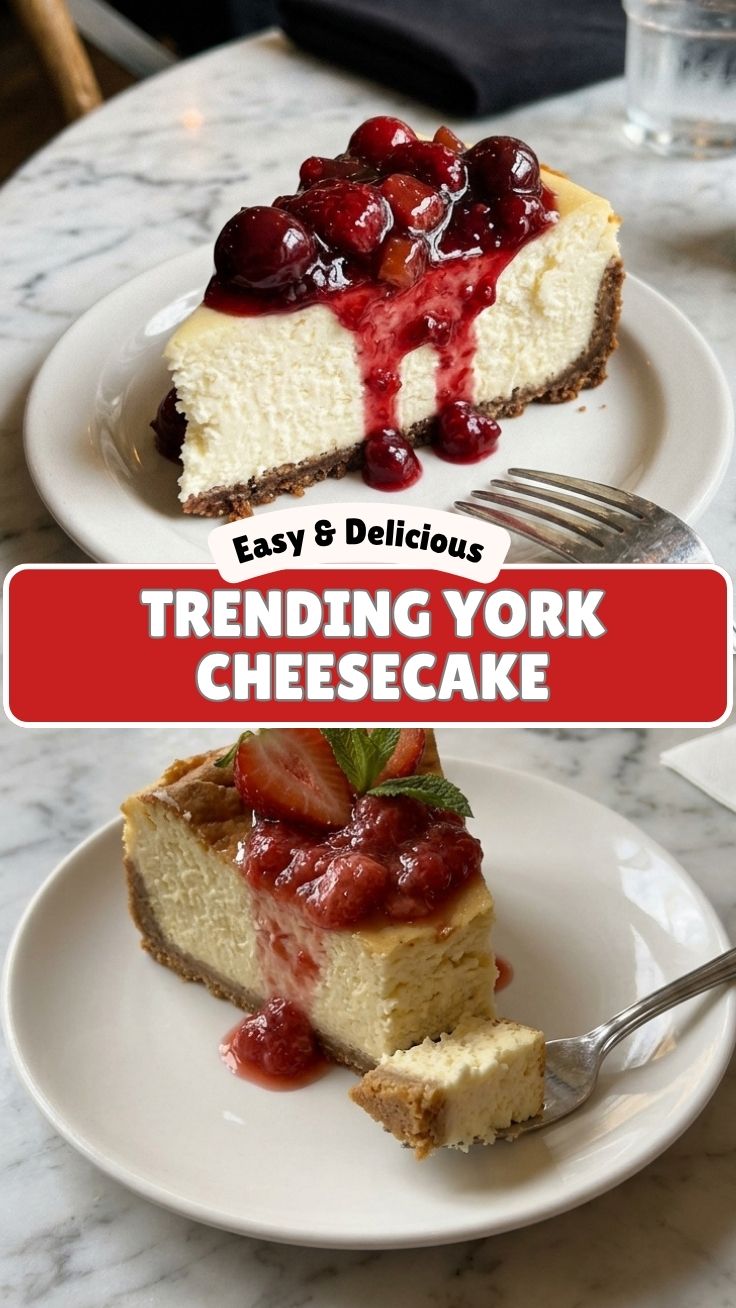
Planning your timeline is essential for avoiding stress. While active prep is quick, the passive setting and cooling times are non-negotiable for that clean, professional slice.
– Prep Time: 25 minutes (crust) + 15 minutes (filling)
– Bake Time: 55–65 minutes
– Cooling in Oven: 1 hour (with the door cracked)
– Room Temperature Cool: 2 hours
– Chilling Time: Minimum 6 hours, ideally overnight
Context: The chilling phase is not just about serving cold—it allows the proteins to relax and the fats to firm up, creating the perfectly dense, sliceable texture you are aiming for.
Step-by-Step Instructions
1. Prepare the Crust: Preheat oven to 350°F. Combine crushed graham crackers, melted butter, and sugar. Press the mixture firmly into the bottom of a springform pan. Pre-bake for 10 minutes and allow to cool.
2. Make the Filling: In a large bowl, beat the room-temperature cream cheese until completely smooth. Add sugar and mix thoroughly. Beat in the sour cream, vanilla extract, and lemon juice. Add the eggs one at a time, mixing on low speed just until incorporated. Over-mixing at this stage incorporates too much air.
3. Water Bath Prep: Wrap the outside of the springform pan tightly with two layers of heavy-duty aluminum foil to prevent water leakage. Place the wrapped pan in a large roasting pan.
4. Bake with Precision: Pour the filling over the crust. Place the roasting pan in the oven and carefully pour hot water into the roasting pan until it reaches halfway up the sides of the springform pan. Bake at 325°F for 55–65 minutes.
5. Cool Gradually: Turn off the oven, crack the door, and let the cheesecake sit inside for 1 hour. This crucial step prevents a cracked surface.
Unlike a Philadelphia Cheesecake, which relies on a bit of flour or cornstarch for structure and a longer, slower bake to achieve its lighter consistency, a true New York Cheesecake achieves its signature density purely through the high ratio of cream cheese and eggs. This demands a gentle hand and a meticulous water bath to ensure a silky, crack-free top.
Nutritional Benefits & Advantages
While cheesecake is certainly an indulgence, it offers some nutritional surprises. Cream cheese is a good source of calcium and high-quality protein, essential for bone health and muscle repair. Sourdough and cultured dairy products (like sour cream) contain beneficial probiotics that aid digestion. By baking from scratch, you have complete control over the quality of ingredients, choosing grass-fed butter and organic eggs for a superior nutritional profile compared to store-bought versions. Additionally, a single slice is highly satiating, making it a perfect dessert that naturally curbs overindulgence.
Tips Variations & Cooking Advice
– Flavor Variations: Add a tablespoon of lemon or orange zest to the batter for a citrusy lift. Swirl in melted chocolate or berry compote before baking.
– Dietary Adaptations:
– Gluten-Free: Substitute graham crackers with almond flour or gluten-free shortbread cookies.
– Dairy-Free: Use high-quality vegan cream cheese and coconut cream in place of sour cream.
– Keto/Low-Carb: Replace sugar with erythritol or monk fruit sweetener and use almond flour for the crust.
– Cooking Advice: If you are sensitive to a tangy flavor, reduce the sour cream to ¾ cup and replace it with ¼ cup of heavy cream. Always use room-temperature ingredients; cold eggs or cream cheese will create a lumpy batter and a grainy texture.
Common Mistakes to Avoid
– Cracking on Top: This is usually caused by over-mixing (incorporating too much air) or a sudden change in temperature. Solution: Always use a water bath to insulate the custard and cool it slowly in the oven.
– Soggy Crust (Soggy Bottom): Water leaks into the pan or the crust wasn’t pre-baked. Solution: Use heavy-duty foil, wrap the pan securely, and always pre-bake the crust for 10 minutes.
– Dense, Rubbery Texture: Beating the eggs too vigorously develops too much gluten and incorporates excess air. Solution: Mix eggs on low speed and stop as soon as the yolk disappears into the batter.
– Sunken Center: The cake was underbaked or the oven door was opened too often during baking. Solution: Trust the jiggle test (edges set, center wobbly) and avoid opening the oven during the first 45 minutes.
Storage & Meal Prep Tips
Refrigeration: Store the cheesecake covered in the refrigerator for up to 5 days. Keep it in an airtight container or tightly wrapped with plastic wrap to prevent it from absorbing other odors.
Freezing: This dessert freezes beautifully for up to 3 months. To freeze, place the completely cooled cheesecake (or individual slices) on a baking sheet and freeze for 1 hour. Then wrap it tightly in plastic wrap followed by a layer of aluminum foil. To thaw, transfer it to the refrigerator overnight.
Reheating: Cheesecake is best served cold or at room temperature. If you have leftover slices that seem too firm, let them sit out for 15 minutes before serving to soften the texture back to a velvety consistency. Do not microwave, as this will break the custard.
Conclusion
The journey to creating a perfect dessert at home is filled with small, critical techniques that anyone can master with patience and practice. Whether your heart is set on the uncompromisingly rich texture of a New York Cheesecake or you prefer the gentle, creamy lift of a Philadelphia Cheesecake, the foundation of quality ingredients and precise technique remains the same. We encourage you to try this recipe, share your beautiful results, and explore more classic desserts to refine your baking skills.
FAQs
Q1: Why did my cheesecake crack on top?
A1: Cracks are usually caused by over-mixing the batter (which incorporates too much air) or rapid temperature changes. Always use a water bath and cool the cheesecake gradually in a turned-off oven with the door cracked open.
Q2: Can I freeze this cheesecake?
A2: Yes. Wrap the fully cooked and chilled cheesecake (without any toppings) tightly in plastic wrap and then aluminum foil. It will stay fresh for up to 3 months. Thaw overnight in the refrigerator before serving.
Q3: How do I know when my cheesecake is done baking?
A3: The best test is the “jiggle test.” The edges should be completely set, but the center (about 2 inches in diameter) should still wobble slightly when you gently shake the pan. It will continue to set as it cools.
Q4: Can I make this gluten-free?
A4: Absolutely. Simply replace the graham cracker crust with a mixture of almond flour, melted butter, and a low-carb sweetener, or use crushed gluten-free cookies. The filling itself is naturally gluten-free.
Q5: What is the exact difference between New York and Philadelphia style?
A5: A New York Cheesecake is denser, richer, and heavier. It uses sour cream or heavy cream and has a higher ratio of cream cheese to eggs. A Philadelphia Cheesecake is lighter and fluffier. It often uses more cream cheese, sometimes a bit of flour for structure, and is baked at a lower temperature for a longer time to achieve a creamy, airy texture.
Proven way to grow 7-layer New York Cheesecake
Ingredients
Equipment
Method
- Begin by preheating your oven to 325 degrees Fahrenheit (160 degrees Celsius). Combine graham cracker crumbs, sugar, and melted butter in a bowl and press evenly into the bottom of a 9-inch springform pan.
- Bake the crust for 10 minutes, then remove from the oven and set aside to cool while you prepare the filling.
- In a large bowl, using an electric mixer, beat the softened cream cheese until smooth and creamy. Gradually add the granulated sugar, continuing to beat until well combined.
- Beat in the eggs one at a time, ensuring each is fully incorporated before adding the next. Stir in the vanilla extract until just combined, being careful not to overmix.
- Pour the cheesecake filling over the cooled crust in the springform pan and gently tap the pan on the counter a few times to release any air bubbles.
- Place the springform pan in a larger roasting pan. Fill the roasting pan with hot water to about halfway up the sides of the springform pan to create a water bath.
- Carefully transfer the roasting pan with the cheesecake to the preheated oven and bake for 60-75 minutes, or until the edges are set and the center jiggles slightly.
- Turn off the oven and leave the cheesecake inside with the door ajar for 1 hour to cool gradually. Remove from the oven and water bath, then let it cool completely on a wire rack before refrigerating for at least 4 hours, or preferably overnight, before serving.