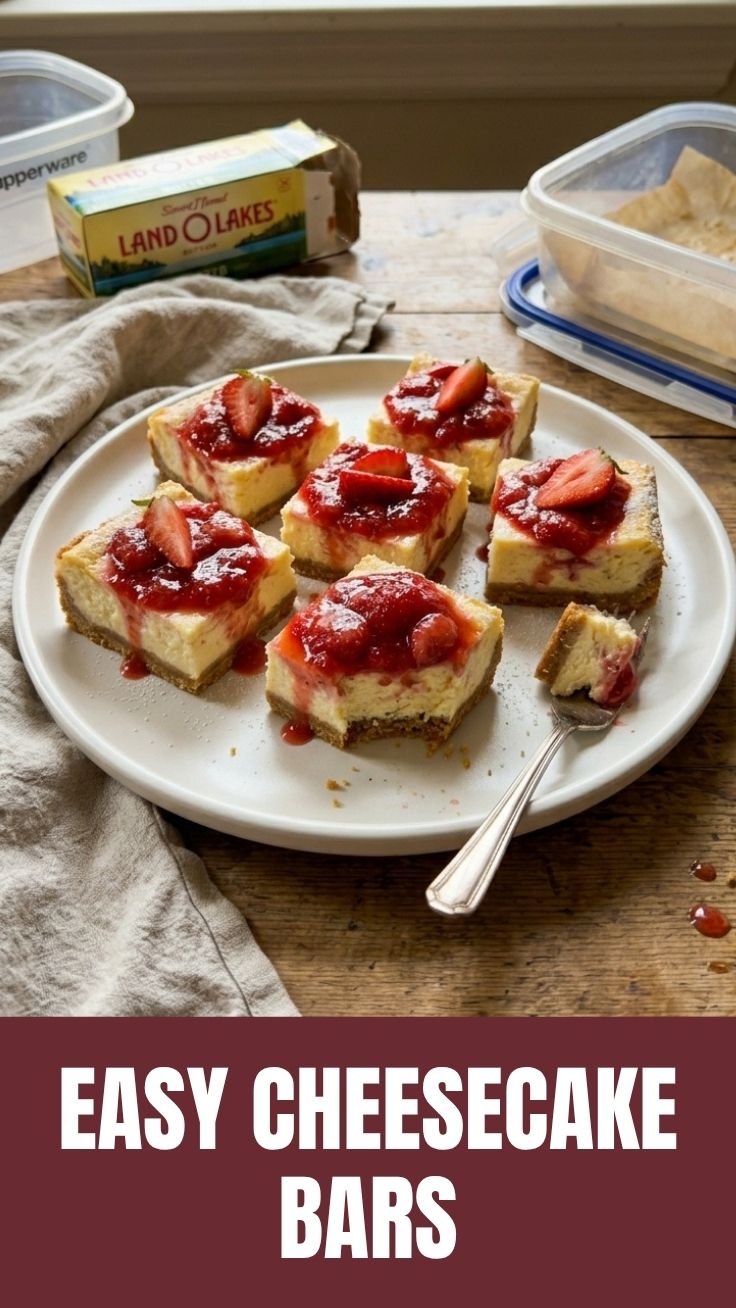
Strawberry Cheesecake Bars: The Ultimate No-Bake Summer Dessert
Have you ever craved a dessert that delivers the creamy richness of cheesecake, the bright tang of fresh strawberries, and the convenience of a handheld treat—all without turning on your oven? That’s exactly what these Strawberry Cheesecake Bars promise. Whether you’re preparing a sweet ending for a backyard barbecue, a kid-friendly snack, or a make-ahead indulgence for busy weeknights, making this recipe at home saves money, lets you control the sugar, and guarantees a fresher, more vibrant flavor than any store-bought version. Today, we’re diving into every detail so you can master these cheesecake bars with confidence.
—
Ingredients & Kitchen Tools
For the crust:
– 1½ cups graham cracker crumbs (or crushed digestive biscuits) – provides a buttery, crunchy base.
– ⅓ cup granulated sugar – balances the tangy filling.
– 6 tbsp unsalted butter, melted – binds the crumbs together.
For the filling:
– 16 oz cream cheese, softened – use full-fat for ultimate creaminess; low-fat works but may be less firm.
– ½ cup powdered sugar – dissolves smoothly without grittiness.
– 1 tsp vanilla extract – enhances the dairy notes.
– 1 cup heavy whipping cream – whipped to soft peaks; you can substitute with 2 cups of stabilized whipped topping.
– 1½ cups fresh strawberries, hulled and diced – plus extra for garnish; frozen strawberries work after thawing and draining.
Optional substitutions:
– Gluten-free: Use gluten-free graham crackers or almond flour crust.
– Dairy-free: Use vegan cream cheese and coconut cream instead of heavy cream.
Kitchen tools: 9×9-inch baking dish, parchment paper, mixing bowls, electric mixer or whisk, spatula, measuring cups/spoons, and a sharp knife for slicing.
—
Prep Time & Cooking Schedule
This is a no-bake recipe, so “cooking” is more about chilling.
– Prep time: 20 minutes (includes crushing crust, mixing filling, arranging layers)
– Chill time: At least 4 hours (overnight is best for clean slices)
– Total time: 4 hours 20 minutes
Plan ahead: The bars need uninterrupted refrigeration to set properly. If you’re serving them for a party, assemble them the day before.
—
Step-by-Step Instructions
1. Prepare the crust. Line your baking dish with parchment paper, leaving overhang for easy lifting. In a bowl, combine graham cracker crumbs, sugar, and melted butter until the mixture resembles wet sand. Press firmly into the bottom of the dish. Refrigerate while you make the filling.
2. Whip the cream. In a chilled bowl, beat heavy cream until stiff peaks form. Set aside.
3. Make the cheesecake base. Beat softened cream cheese, powdered sugar, and vanilla until smooth and fluffy. Fold in the whipped cream gently until no streaks remain. This is your creamy foundation for the Strawberry Cheesecake Bars. The texture should be light yet stable.
4. Layer the filling. Spread half of the cream cheese mixture over the crust. Scatter about 1 cup of diced strawberries evenly on top. Dollop the remaining cream cheese mixture over the strawberries and smooth gently.
5. Top with berries. Arrange the rest of the strawberries on top, pressing them slightly into the filling. At this point, the cheesecake bars are almost complete—refrigeration will set everything.
6. Chill and slice. Cover the dish with plastic wrap and refrigerate for at least 4 hours (ideally overnight). Lift the bars using the parchment, and cut into squares with a sharp, clean knife. For neat slices, wipe the blade between cuts.
Pro tips: To avoid a soggy crust, make sure your strawberries are patted dry if using frozen. If the filling seems too soft, add an extra 2 tablespoons of powdered sugar to stabilize it.
—
Nutritional Benefits & Advantages
Per bar (1/9 of recipe): approximately 320 calories, 22g fat, 28g carbs, 5g protein, 2g fiber. The strawberries provide vitamin C and antioxidants, while cream cheese offers calcium and protein. By making these Strawberry Cheesecake Bars at home, you can reduce added sugar by up to 30% compared to store-bought versions. The no-bake method also preserves the heat-sensitive nutrients in berries.
—
Tips, Variations & Cooking Advice
– Flavor swap: Replace strawberries with raspberries, blueberries, or a mixed berry blend.
– Extra crunch: Add a layer of crushed shortbread cookies or white chocolate chips on top.
– Dairy-free adaptation: Use dairy-free cream cheese and a coconut-based whipped topping. The crust can be made with oat flour and coconut oil.
– Portion change: Use a 9×13-inch dish for thinner, more snack-sized cheesecake bars (reduce chill time to 3 hours).
– No mixer? Whisk the cream by hand with a sturdy balloon whisk—it takes 5–7 minutes, but it’s doable.
—
Common Mistakes to Avoid
– Overbeating the cream: Stiff peaks are perfect; overbeaten cream turns into butter. Stop as soon as peaks hold their shape.
– Skimping on chill time: Less than 4 hours leads to mushy bars. Patience is key.
– Using watery strawberries: If your fruit is overripe or frozen-and-thawed, drain excess liquid or toss with a tablespoon of cornstarch before layering.
– Not pressing the crust firmly enough: A loose crust crumbles when slicing. Use the bottom of a measuring cup to pack it tightly.
—
Storage & Meal Prep Tips
– Refrigeration: Store bars in an airtight container in the fridge for up to 5 days. Place parchment between layers to prevent sticking.
– Freezing: Wrap individual bars tightly in plastic wrap, then foil. Freeze for up to 2 months. Thaw in the fridge overnight.
– Reheating: These are served cold, but if you prefer a slightly softer texture, let them sit at room temperature for 10 minutes before serving. Never microwave—they’ll become runny.
Meal prep: Assemble the entire recipe on a Sunday, chill overnight, and slice as needed throughout the week. They taste even better on day two.
—
Conclusion
Mastering these Strawberry Cheesecake Bars gives you a versatile dessert that’s as beautiful as it is delicious. The no-bake method saves time, the ingredients are simple, and the payoff is a crowd-pleasing treat that adapts to almost any dietary need. Remember, the key to perfect cheesecake bars is patience during chilling—don’t rush it! We invite you to try this recipe, share your results in the comments, or explore our other fruit-forward desserts for more inspiration.
—
FAQs
Q: Can I use frozen strawberries?
Yes, but thaw and drain them thoroughly, then pat dry. Excess moisture will make the bars weep.
Q: How do I make these gluten-free?
Substitute graham crackers with gluten-free cookies or a blend of almond flour and melted butter.
Q: Why is my filling too soft?
You may have under-whipped the cream or used low-fat cream cheese. Next time, chill the bowl and beaters first, and ensure cream cheese is fully softened.
Q: Can I bake these instead for a firmer texture?
This recipe is designed as no-bake. If you prefer baked, use a standard cheesecake bar recipe but note the texture will be denser.
Q: How long can I leave them at room temperature?
No more than 2 hours total, especially if serving outdoors. After that, return to the fridge.
Strawberry Cheesecake Bars
Ingredients
Equipment
Method
- Preheat oven to 350°F (175°C) and line an 8x8 inch baking pan with parchment paper, leaving an overhang on the sides for easy removal.
- For the crust, combine graham cracker crumbs, 1/4 cup granulated sugar, and melted butter in a bowl; press firmly into the prepared baking pan.
- Bake the crust for 10 minutes, then remove from oven and set aside.
- For the cheesecake filling, beat softened cream cheese and 3/4 cup granulated sugar until smooth and creamy.
- Add eggs one at a time, mixing well after each addition, then stir in vanilla extract.
- Pour the cheesecake mixture over the baked crust and spread evenly.
- Bake for 35-40 minutes, or until the edges are set and the center is slightly jiggly; let cool completely.
- For the strawberry topping, gently toss sliced strawberries with 2 tablespoons granulated sugar and lemon juice.
- Spread the strawberry mixture over the cooled cheesecake, then refrigerate for at least 4 hours before serving.