The Secret to Perfect Turkey Gravy: A Foolproof Guide for Your Thanksgiving Dinner
Have you ever sat down to a beautifully roasted bird only to be let down by a watery, lumpy, or bland gravy? It’s a common frustration, but it doesn’t have to be. Mastering a rich, velvety Turkey Gravy from scratch is the single most impactful skill you can bring to your Thanksgiving dinner. It transforms simple roasted meat into a memorable feast, and the best part? It’s surprisingly simple to achieve with the right technique. This guide will walk you through every step, from choosing the right pan to avoiding those dreaded lumps, ensuring your homemade gravy is the star of the table.
Ingredients & Kitchen Tools
Ingredients
– Turkey drippings and pan juices (from the roasting pan): The heart of the flavor. If you don’t have a turkey, use chicken or turkey stock and a few tablespoons of butter.
– All-purpose flour (¼ cup): The classic thickening agent. For a gluten-free option, use cornstarch or arrowroot powder.
– Chicken or turkey stock (2-3 cups): Use low-sodium to control saltiness. Homemade is best, but store-bought works in a pinch.
– Butter (2-3 tablespoons): Adds richness and helps prevent lumps in the roux.
– Salt and black pepper (to taste): Season gradually.
– Optional flavor boosters: Fresh thyme, rosemary, a splash of white wine, or a teaspoon of soy sauce for depth.
Kitchen Tools
– Fat separator (gravy skimmer): Essential for removing excess fat, ensuring a smooth, non-greasy sauce.
– Whisk: A must-have for a lump-free roux.
– Medium saucepan: For cooking the gravy.
– Measuring cups and spoons: For accuracy.
– Wooden spoon or spatula: For scraping the pan fond (the browned bits).
Prep Time & Cooking Schedule
– Prep time: 5 minutes (to gather tools and ingredients)
– Cook time: 15–20 minutes
– Total time: 20–25 minutes
– Resting time: 5 minutes (to allow flavors to meld)
Pro tip: Make the gravy while the turkey rests. This timing ensures the drippings are hot and fresh, and the gravy is ready to serve immediately after carving.
Step-by-Step Instructions
1. Prepare the base: After roasting your turkey, transfer it to a carving board to rest. Place the roasting pan on the stovetop over medium heat. Pour the pan drippings through a fine-mesh strainer into a fat separator. Let it sit for 1–2 minutes. Pour the clear, defatted liquid into a measuring cup. You should have about 1½ cups of concentrated turkey stock.
2. Make the roux: In the same saucepan, melt 3 tablespoons of butter over medium heat. Whisk in ¼ cup of all-purpose flour. Cook, stirring constantly, for 2–3 minutes until the mixture turns a light golden brown and smells nutty. This step eliminates the raw flour taste.
3. Whisk in the liquid: Slowly pour the defatted turkey stock into the roux, whisking vigorously to prevent lumps. Add 1 cup of additional turkey or chicken stock. Continue whisking until the mixture is smooth and begins to thicken, about 3–5 minutes. The gravy is ready when it coats the back of a spoon.
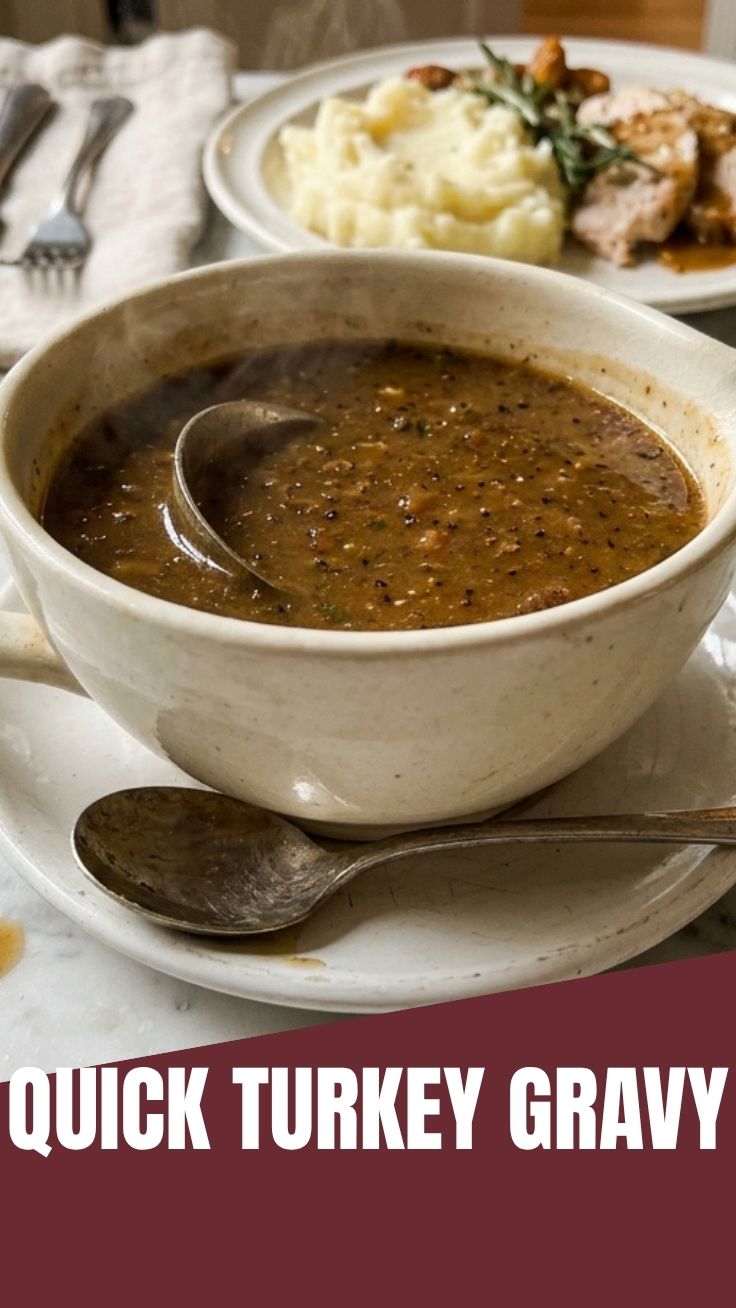
4. Season and finish: Stir in any leftover pan juices (if not too fatty), a few sprigs of fresh thyme, and salt and pepper to taste. Simmer for 2 more minutes. Remove the herbs. A perfectly balanced Turkey Gravy is the glue that holds a Thanksgiving dinner together, ensuring every bite is moist and flavorful.
Nutritional Benefits & Advantages
Homemade Turkey Gravy is far superior to canned versions in both taste and nutrition. The primary ingredient—turkey drippings—contains protein, B vitamins (especially B6 and B12), and selenium, which supports immune function. By using a fat separator, you can control the amount of saturated fat, making it a healthier choice. Furthermore, you can adjust sodium levels, which is a significant advantage for those watching their blood pressure. The addition of herbs like thyme provides antioxidants and anti-inflammatory properties. This is a nutrient-dense, real-food condiment that enhances digestion and overall meal satisfaction.
Tips, Variations & Cooking Advice
– Flavor variations: Add a splash of dry white wine or sherry after making the roux. For a smoky twist, use a bit of smoked paprika.
– Ingredient swaps: For a dairy-free version, substitute butter with olive oil or a plant-based butter. For a low-carb option, use xanthan gum (¼ teaspoon per cup of liquid) instead of flour.
– Dietary adaptations: Make it gluten-free by using a 1:1 gluten-free flour blend or cornstarch slurry (2 tablespoons cornstarch + ¼ cup cold water).
– Portion changes: Double the recipe easily by using ½ cup flour and 1 cup fat. Store leftovers in the fridge.
Common Mistakes to Avoid
– Mistake 1: Lumpy gravy. This happens when you add liquid too quickly or don’t whisk enough. Always pour slowly and whisk constantly.
– Mistake 2: Greasy gravy. Not using a fat separator. Always skim the fat thoroughly.
– Mistake 3: Bland gravy. Forgetting to season with salt, pepper, and herbs. Taste as you go.
– Mistake 4: Burnt roux. Cooking the flour over too high heat. Use medium heat and stir continuously.
– Mistake 5: Too thin or too thick. Adjust consistency by adding more stock to thin, or simmering longer to thicken.
Storage & Meal Prep Tips
– Refrigeration: Store cooled gravy in an airtight container for up to 4 days. Reheat in a saucepan over low heat, whisking constantly. Add a splash of stock or water if it’s too thick.
– Freezing: Pour cooled gravy into freezer-safe bags or containers. It will keep for up to 3 months. Thaw overnight in the refrigerator before reheating.
– Reheating: To maintain texture, avoid microwaving. Instead, reheat gently on the stovetop, whisking to restore smoothness.
Conclusion
A silky, savory Turkey Gravy is the soul of any Thanksgiving dinner, and now you have the tools to create it with confidence. By focusing on a proper roux, using a fat separator, and seasoning thoughtfully, you can elevate a simple meal into a memorable feast. Never settle for clumpy, packaged gravy again. Give this recipe a try, and watch your family’s faces light up as they pour that golden, homemade goodness over their plates. Share your results in the comments below, and explore our other holiday favorites for a complete, stress-free feast.
FAQs
1. Can I make turkey gravy without a fat separator?
Yes, you can skim the fat off the top with a spoon. Alternatively, you can refrigerate the drippings for 30 minutes, and the fat will solidify on top, making it easy to remove.
2. How do I fix lumpy gravy after it’s already made?
Pour the gravy through a fine-mesh strainer into a clean saucepan. If it’s still lumpy, use an immersion blender to smooth it out.
3. Can I make gravy ahead of time?
Absolutely. Prepare the gravy up to 2 days in advance. Store it in the fridge and reheat gently on the stovetop, adding a splash of stock to loosen it.
4. What if I don’t have enough drippings?
Supplement with store-bought turkey or chicken stock. To boost flavor, simmer the stock with a few sprigs of thyme, a bay leaf, and a tablespoon of soy sauce.
5. How do I make a dairy-free version?
Replace butter with olive oil or a plant-based butter. Use a cornstarch slurry (2 tablespoons cornstarch + ¼ cup cold water) instead of flour for the roux.
Best way to grow a rich Turkey Gravy in 3 steps
Ingredients
Equipment
Method
- First, separate the turkey drippings from the fat using a fat separator or by skimming, reserving about 1/4 cup of the drippings.
- Next, in a saucepan over medium heat, whisk together the reserved turkey drippings and flour to form a smooth roux, cooking for 1-2 minutes until lightly golden.
- Finally, gradually whisk in the chicken or turkey broth, bringing the mixture to a simmer, then season with salt and pepper and continue to cook until the gravy thickens to your desired consistency.