Why Your Next Pizza Night Deserves a Better Foundation
Have you ever bitten into a slice of pizza only to be disappointed by a soggy, flavorless crust? You deserve better. Preparing your own pizza dough at home isn’t just about saving money—it’s about crafting a foundation that’s crisp, chewy, and bursting with character. With just a few pantry staples and a little patience, you can elevate your pizza game from takeout-level to artisan-quality. This guide will walk you through creating the perfect homemade pizza dough, ensuring every bite delivers the texture and taste you crave. Let’s transform your kitchen into the best pizzeria in town.
Ingredients & Kitchen Tools
For the Dough:
– 3 cups all-purpose flour (or bread flour for chewier crust) – Bread flour has higher protein for better gluten development.
– 1 cup warm water (110°F/43°C) – Too hot kills yeast; too cold slows activation.
– 2 ¼ teaspoons active dry yeast (one packet) – Instant yeast works too; skip proofing step.
– 1 tablespoon olive oil – Adds richness and helps browning.
– 1 teaspoon sugar – Feeds the yeast; optional for savory dough.
– 1 teaspoon salt – Strengthens gluten and controls yeast growth.
Essential Tools:
– Large mixing bowl (glass or stainless steel)
– Wooden spoon or dough scraper
– Clean kitchen towel or plastic wrap
– Rolling pin (optional; hands work well)
– Baking sheet or pizza stone
– Parchment paper (prevents sticking)
Substitutions:
– Gluten-free: Use 1:1 gluten-free flour blend + 1 teaspoon xanthan gum.
– Whole wheat: Replace 1 cup all-purpose with whole wheat flour; add 2 tablespoons water.
Prep Time & Cooking Schedule
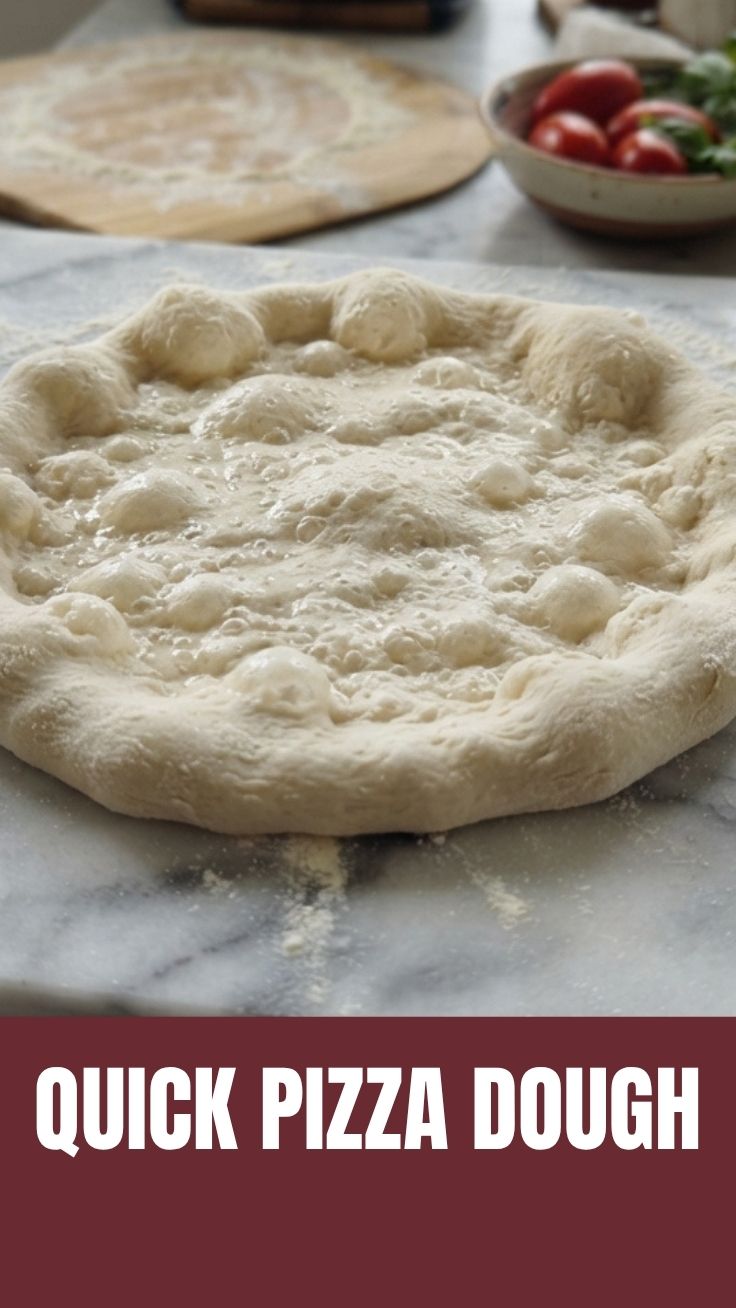
– Prep Time: 20 minutes (active mixing and kneading)
– Rising Time: 1–2 hours (first rise) + 30 minutes (second rise if shaping)
– Baking Time: 12–15 minutes at 475°F (246°C)
– Total Time: Approximately 2 hours
Pro Tip: Start the dough before your favorite show; by the time the credits roll, it’s ready. For busy weeknights, prepare the dough a day ahead and refrigerate after the first rise—slow fermentation deepens flavor.
Step-by-Step Instructions
1. Activate the Yeast: In a small bowl, combine warm water, sugar, and yeast. Let stand 5–10 minutes until frothy. If no foam appears, the yeast is dead—start fresh.
2. Mix Dry Ingredients: In a large bowl, whisk flour and salt together.
3. Combine Wet Ingredients: Pour yeast mixture and olive oil into the flour. Stir with a wooden spoon until a shaggy dough forms.
4. Knead: Turn dough onto a floured surface. Knead for 8–10 minutes until smooth and elastic. Use the “windowpane test”—stretch a small piece; if light shines through without tearing, gluten is developed.
5. First Rise: Place dough in a lightly oiled bowl, cover with a damp towel, and let rise in a warm spot until doubled (1–2 hours). Aim for 75–80°F if possible; a turned-off oven with the light on works.
6. Shape: Punch down dough. Divide into two balls for thin crust or one for thicker. Let rest 10 minutes. Stretch on floured parchment paper—avoid over-rolling; hand-stretching preserves air bubbles.
7. Preheat and Bake: Set oven to highest temperature (475°F+). Add toppings and bake 12–15 minutes until golden and bubbling. For a crispier bottom, bake directly on a preheated pizza stone. For this pizza dough, temperature control is key—under-baking leads to sogginess. For a truly elevated homemade pizza dough, brush the edge with garlic butter before baking for a golden, aromatic crust.
Nutritional Benefits & Advantages
Making your own dough puts you in control of what goes on your plate. This recipe uses minimal processed ingredients, cutting down on preservatives and sodium found in store-bought versions. The olive oil provides heart-healthy monounsaturated fats, while the flour offers complex carbohydrates for sustained energy. Compared to delivery pizza, homemade versions reduce saturated fat and allow for customizable toppings—load up vegetables for fiber and vitamins. Plus, the act of kneading can be a stress-relieving ritual.
Tips Variations & Cooking Advice
– Flavor Boost: Add 1 teaspoon dried oregano or garlic powder to the flour.
– Herb Infusion: Brush baked crust with olive oil and minced rosemary.
– Dietary Adaptation: For dairy-free, skip cheese or use vegan alternatives.
– Alternative Cooking: Grill the dough directly on grates for a smoky char (2–3 minutes per side before topping).
– Portion Control: Divide dough into 4-ounce balls for personal-sized pizzas—perfect for portion management.
Common Mistakes to Avoid
– Over-kneading: Dough becomes tough. Stop when it’s smooth and springs back when poked.
– Under-rising: Cold kitchen slows yeast. Place bowl in a warm spot or use the oven light method.
– Too much flour during shaping: This dries out the crust. Use minimal flour; instead, oil your hands.
– Soggy center: Overloading with watery toppings like fresh mozzarella or wet vegetables. Pre-cook or blot them to remove moisture.
Storage & Meal Prep Tips
– Refrigeration: After first rise, punch down dough and wrap tightly in plastic wrap. Keep up to 3 days in the fridge.
– Freezing: Shape into balls, wrap individually, and freeze for up to 3 months. Thaw overnight in the fridge before using.
– Baked Crust: Cool completely, wrap in foil, and refrigerate for 2 days. Reheat in a 400°F oven for 5 minutes to restore crispness.
– Leftover Pizza: Store in an airtight container for up to 3 days. Reheat in a skillet over medium heat for a crunchy bottom, or microwave for convenience.
Conclusion
Perfecting your pizza dough at home unlocks a world of culinary creativity—from thin and crispy to thick and chewy, every slice is a reflection of your effort. This homemade pizza dough recipe offers control over ingredients, flavor, and texture that no delivery can match. Whether you’re hosting a pizza night or meal-prepping for the week, this foundation is your canvas. Try it tonight, experiment with toppings, and share your masterpiece in the comments. For more dough-based inspiration, explore our flatbread and calzone guides.
FAQs
1. Can I use instant yeast instead of active dry yeast?
Yes, use the same amount. Skip the proofing step and mix directly with flour. Add warm water and proceed as usual—rising time may shorten by 15–20 minutes.
2. Why is my dough not rising?
Check yeast freshness. Ensure water temperature is between 105–115°F—too hot kills yeast, too cold slows it. Also, cold kitchens impede rising; place dough in a warm spot.
3. How do I prevent a soggy crust?
Avoid overloading with wet toppings. Pre-cook vegetables like mushrooms or peppers. Use a preheated pizza stone or baking sheet to ensure bottom heat.
4. Can I make this dough gluten-free?
Yes, substitute all-purpose flour with a 1:1 gluten-free blend. Add 1 teaspoon xanthan gum if not included in the blend. Knead less (1–2 minutes) and expect a denser texture.
5. How long can I store the dough in the refrigerator?
Up to 3 days after the first rise. Wrap tightly in plastic wrap to prevent drying. Let it rest at room temperature for 30 minutes before shaping.
Proven way to grow pizza dough in 1 hour. Pizza Dough
Ingredients
Equipment
Method
- Combine flour, yeast, sugar, and salt in a large bowl, then gradually add warm water and olive oil, mixing until a shaggy dough forms.
- Knead the dough on a floured surface for about 5-7 minutes until it becomes smooth and elastic, then lightly grease a clean bowl with olive oil and place the dough inside.
- Cover the bowl with plastic wrap and let it rise in a warm place for 45-60 minutes, or until doubled in size.
- Punch down the dough to release air, then divide it into two equal portions for your pizzas.